Java基础 Java作为一个面向对象开发语言, 秉承了面向对象三大特征, 并且还有极为丰富庞大的扩展库, 由于其开源的设计思想, 也涌现了很多优秀i框架和工具.
Java的web开发 Java开发环境 目前主流的开发环境是ida, 激活可以参考这里:https://www.exception.site/
激活成功后大概是这个样子
激活后可以自行从百度找汉化教程(其实装个插件就可以)
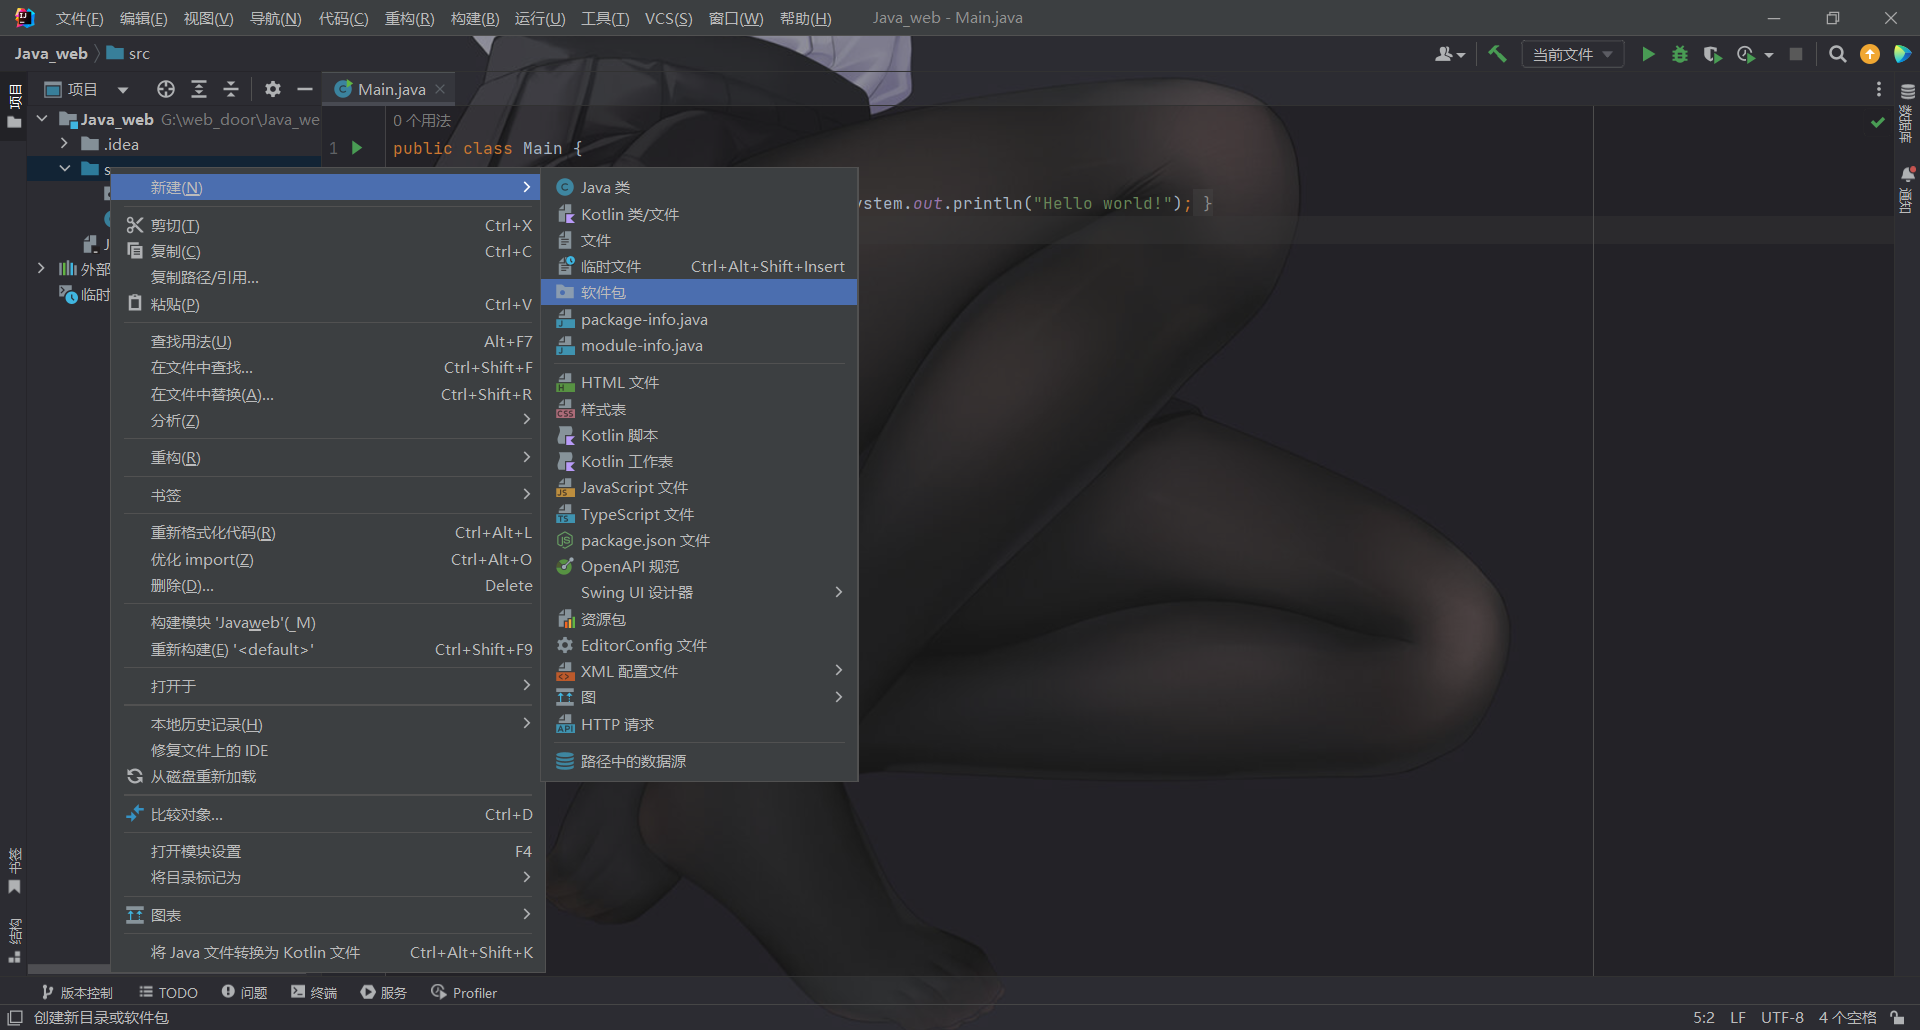
编写hello world 先新建一个包
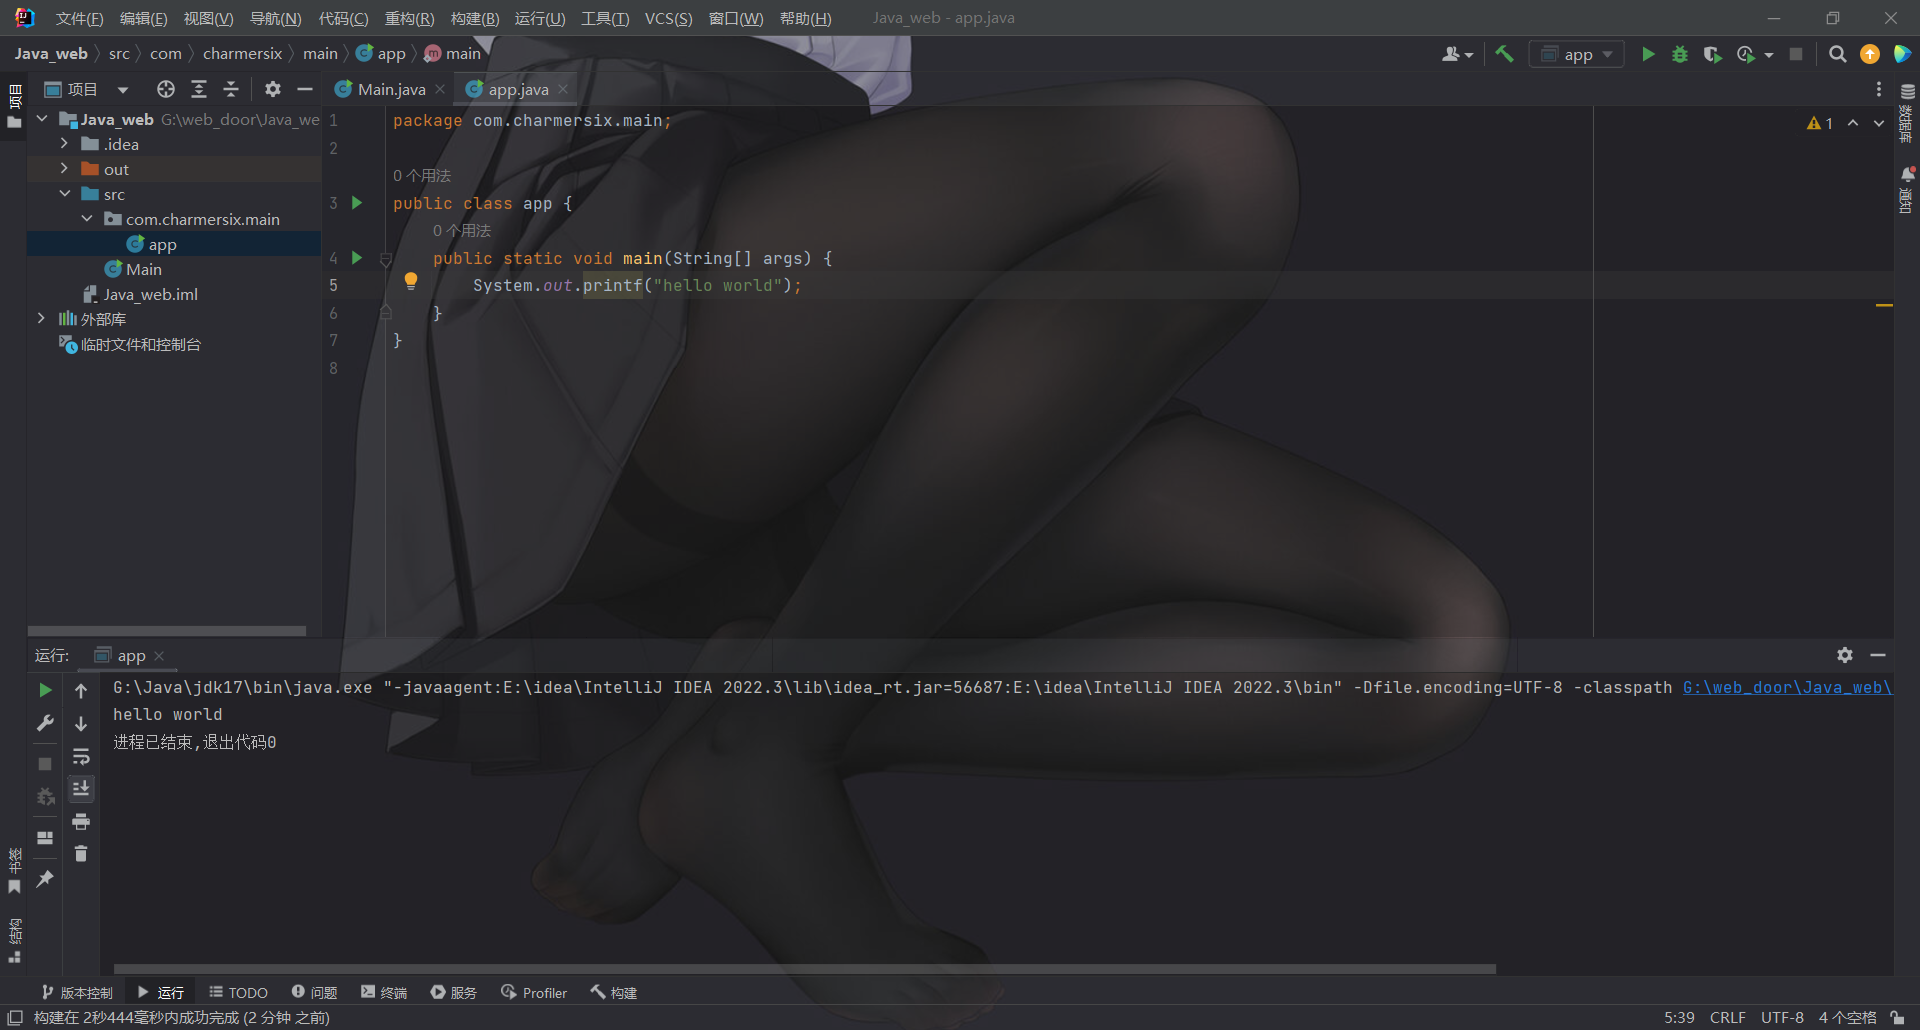
然后新建一个app类
1
2
3
4
5
6
7
package com.charmersix.main;public class app { public static void main (String[] args) { System.out.println("hello world" ); } }
这里虽然看着很长, 但是我们只需要输入main 和 sout即可
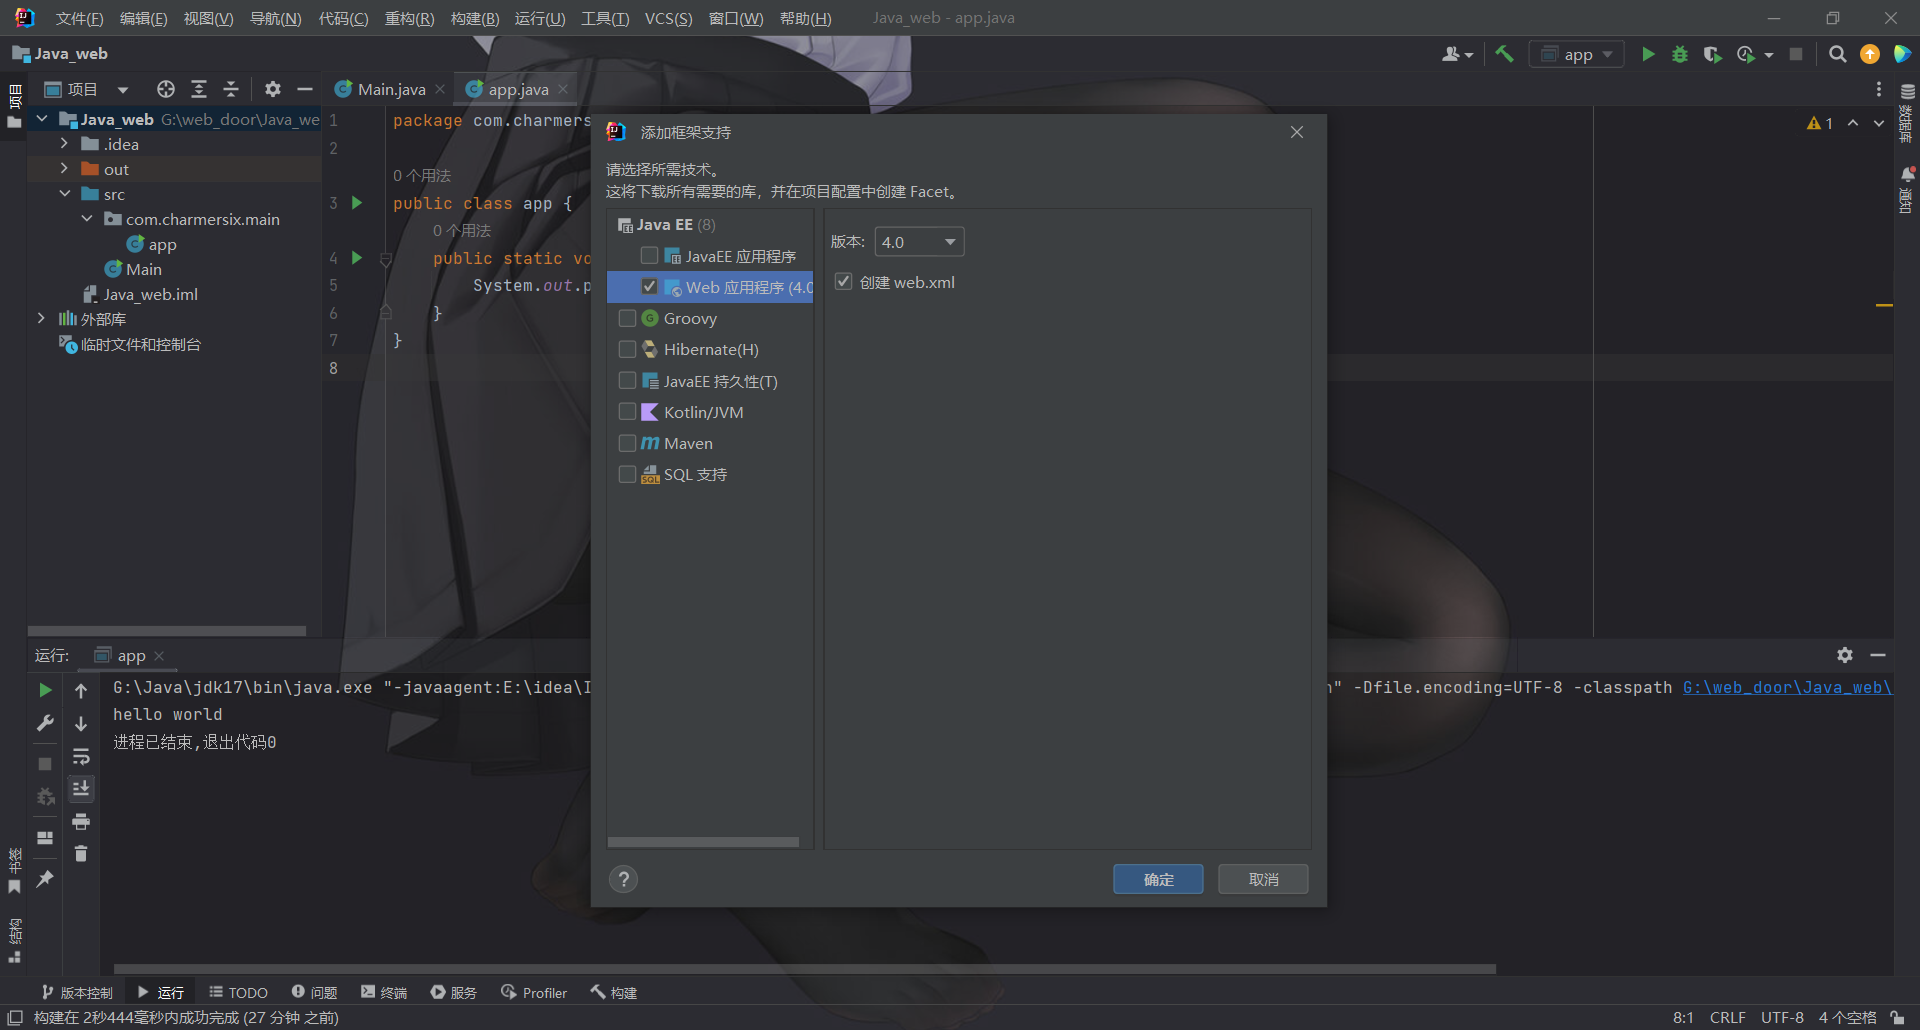
开发web应用 首先我们添加一个web框架, 在主目录下右键
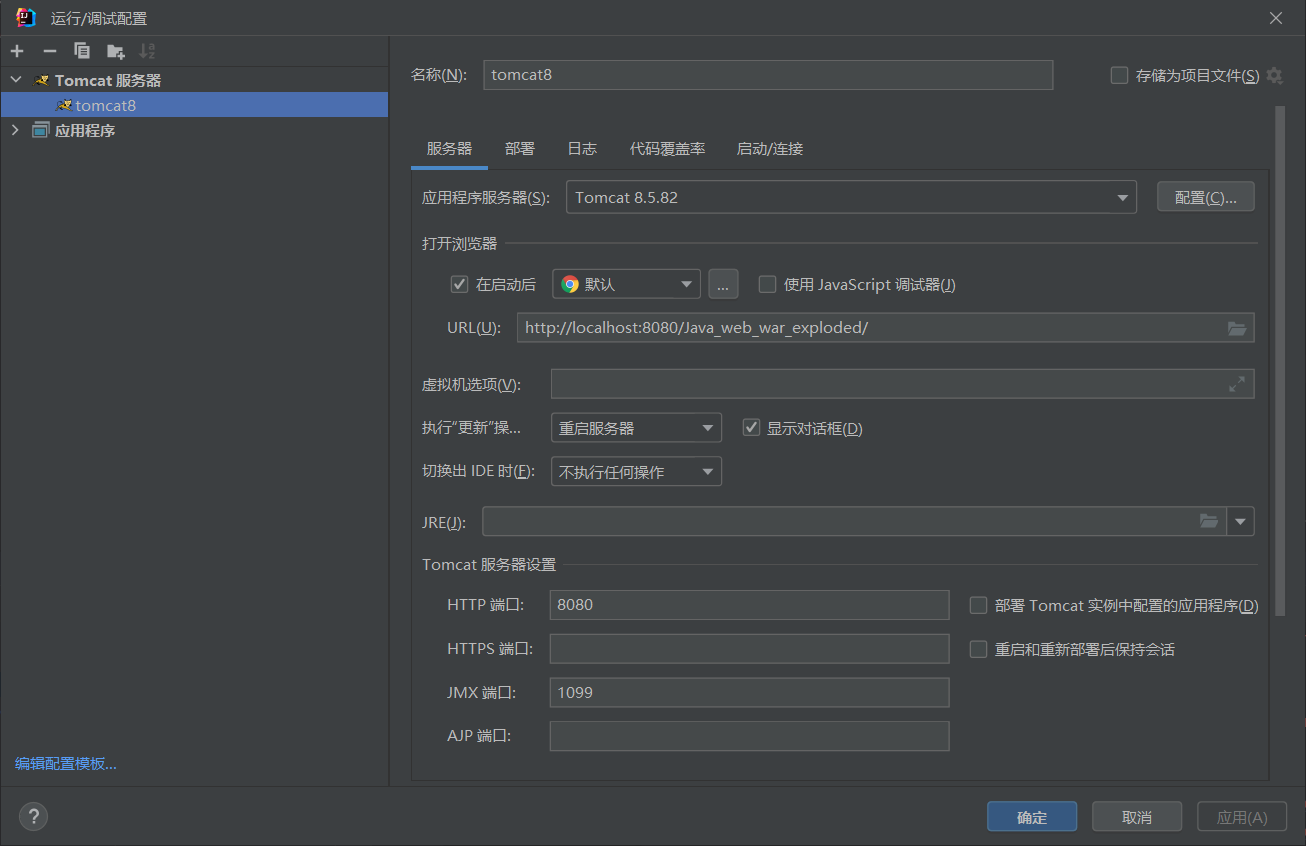
这里我们需要一个中间件, 我们下载一个tomcat8
然后还需要我们配置一下
尝试运行hello world
成功执行
接下来利用servlet开发web服务
首先我们新建包->IndexServlet类
servlet类似于前端控制器
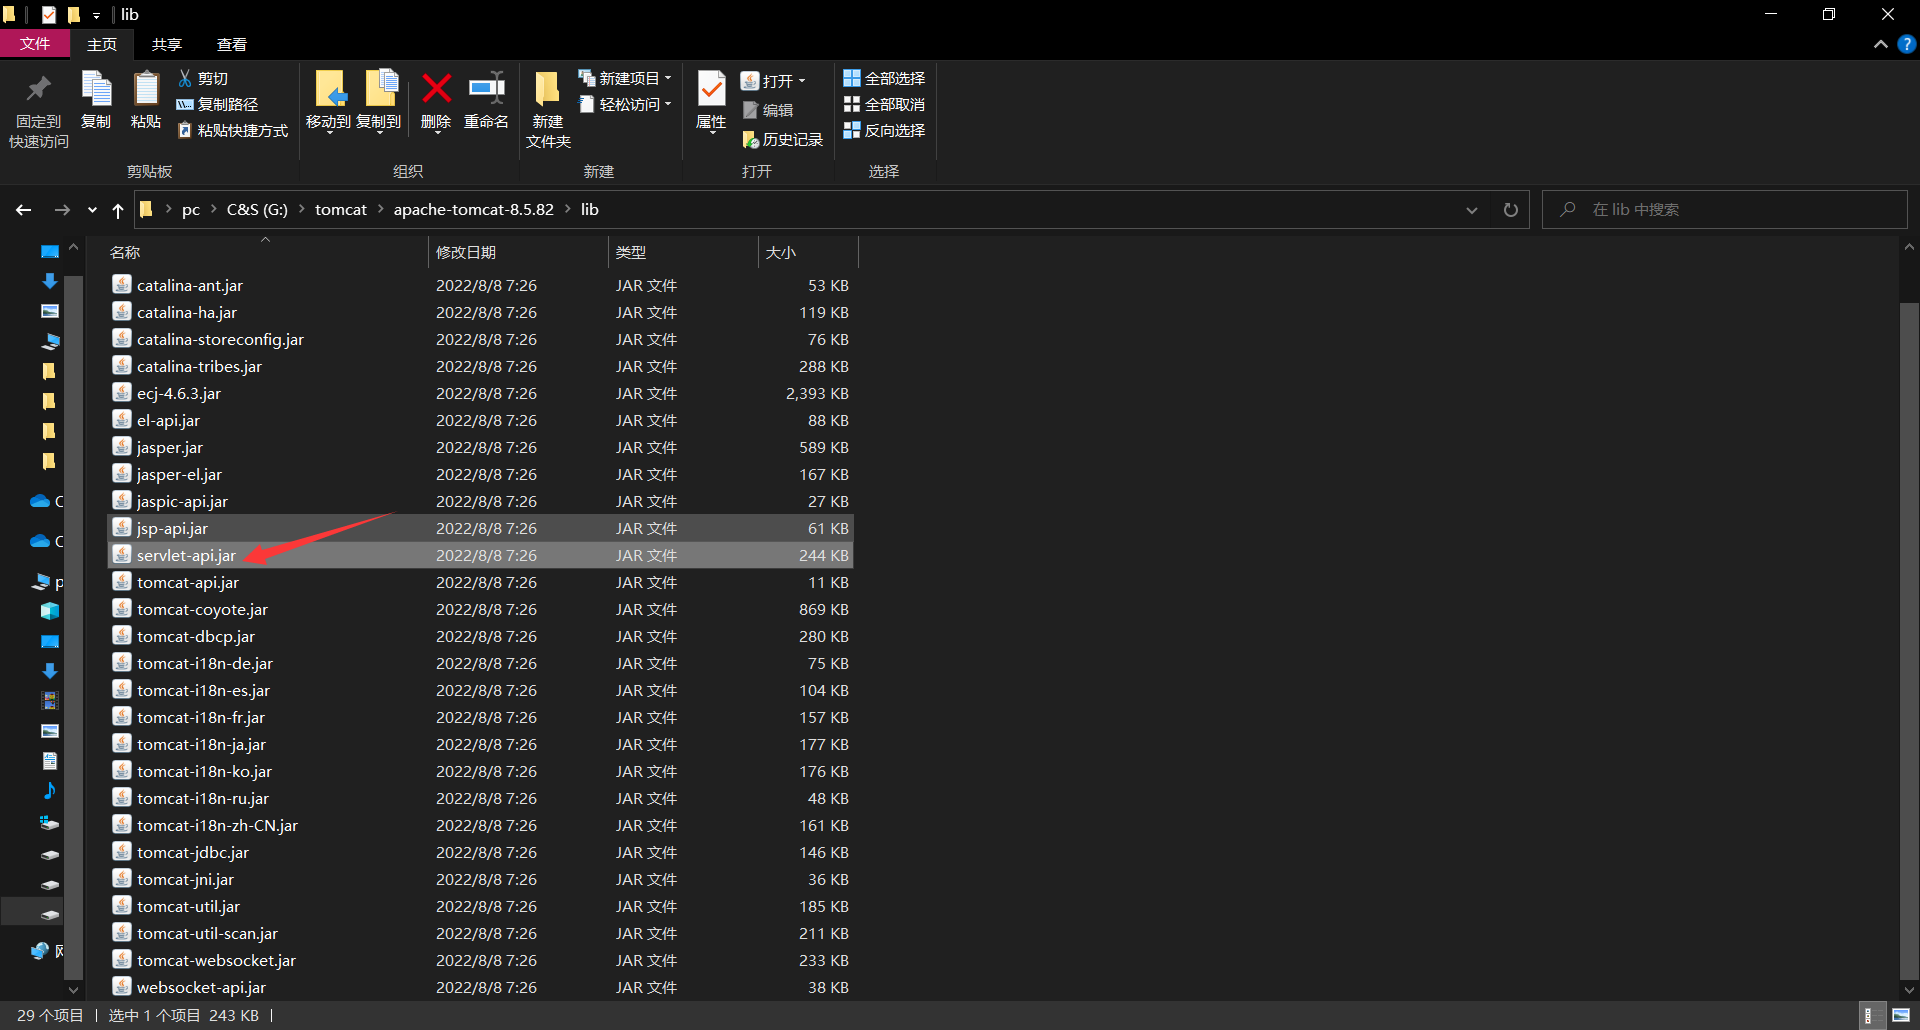
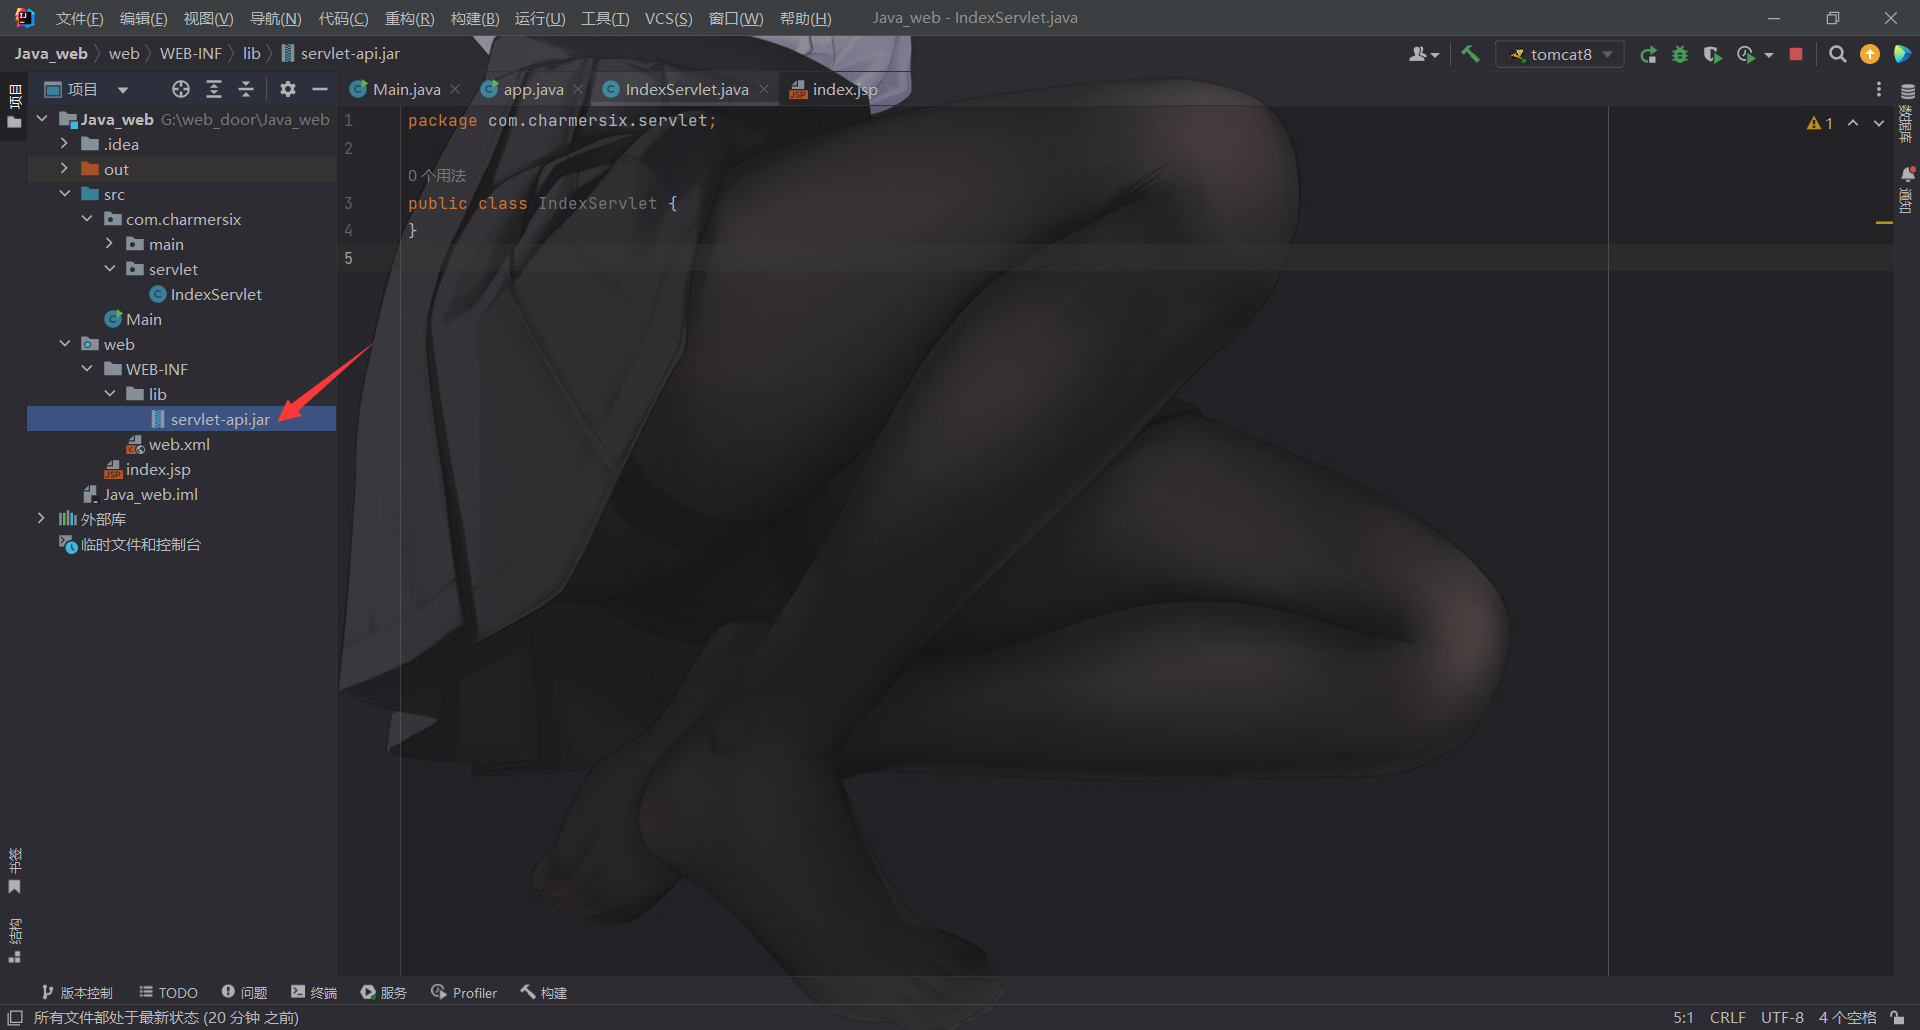
目前没有servlet依赖, 此依赖可以在tomcat内找到, 我们直接从tomcat中复制出来
这里没有自动识别到, 我们需要去手动加一下
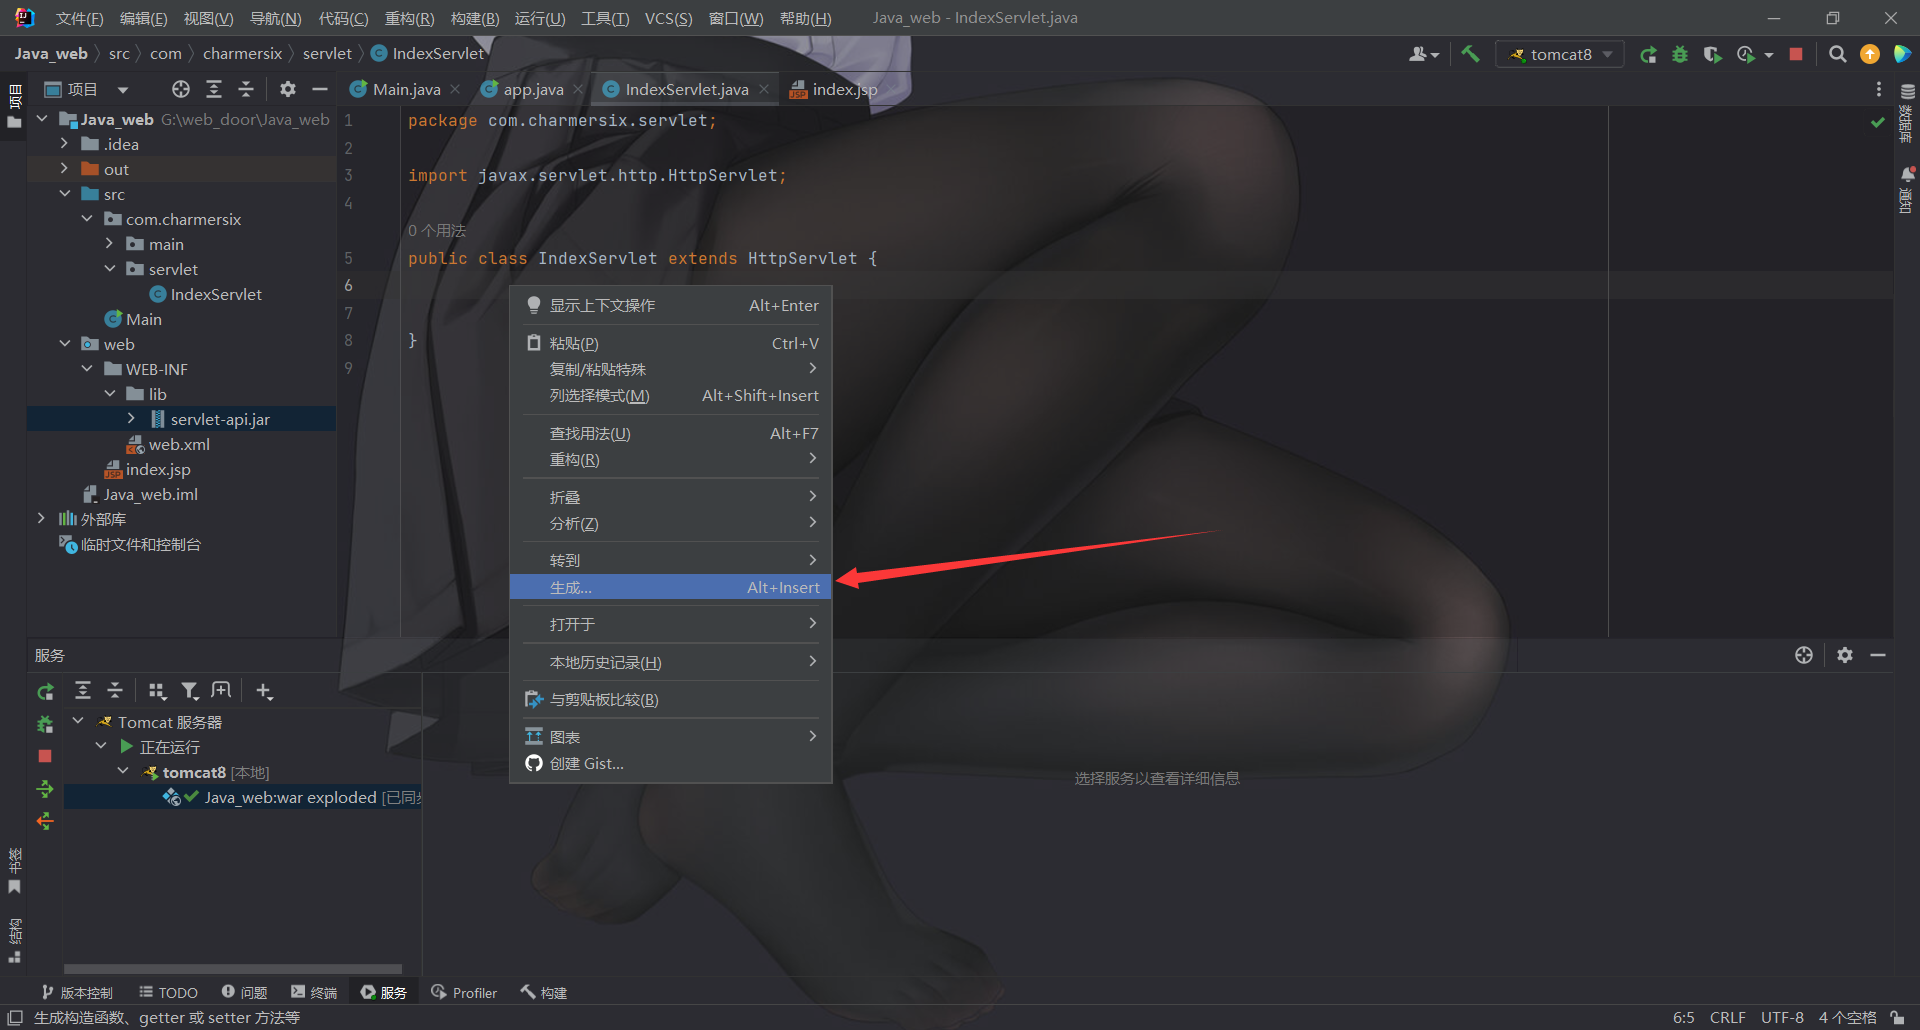
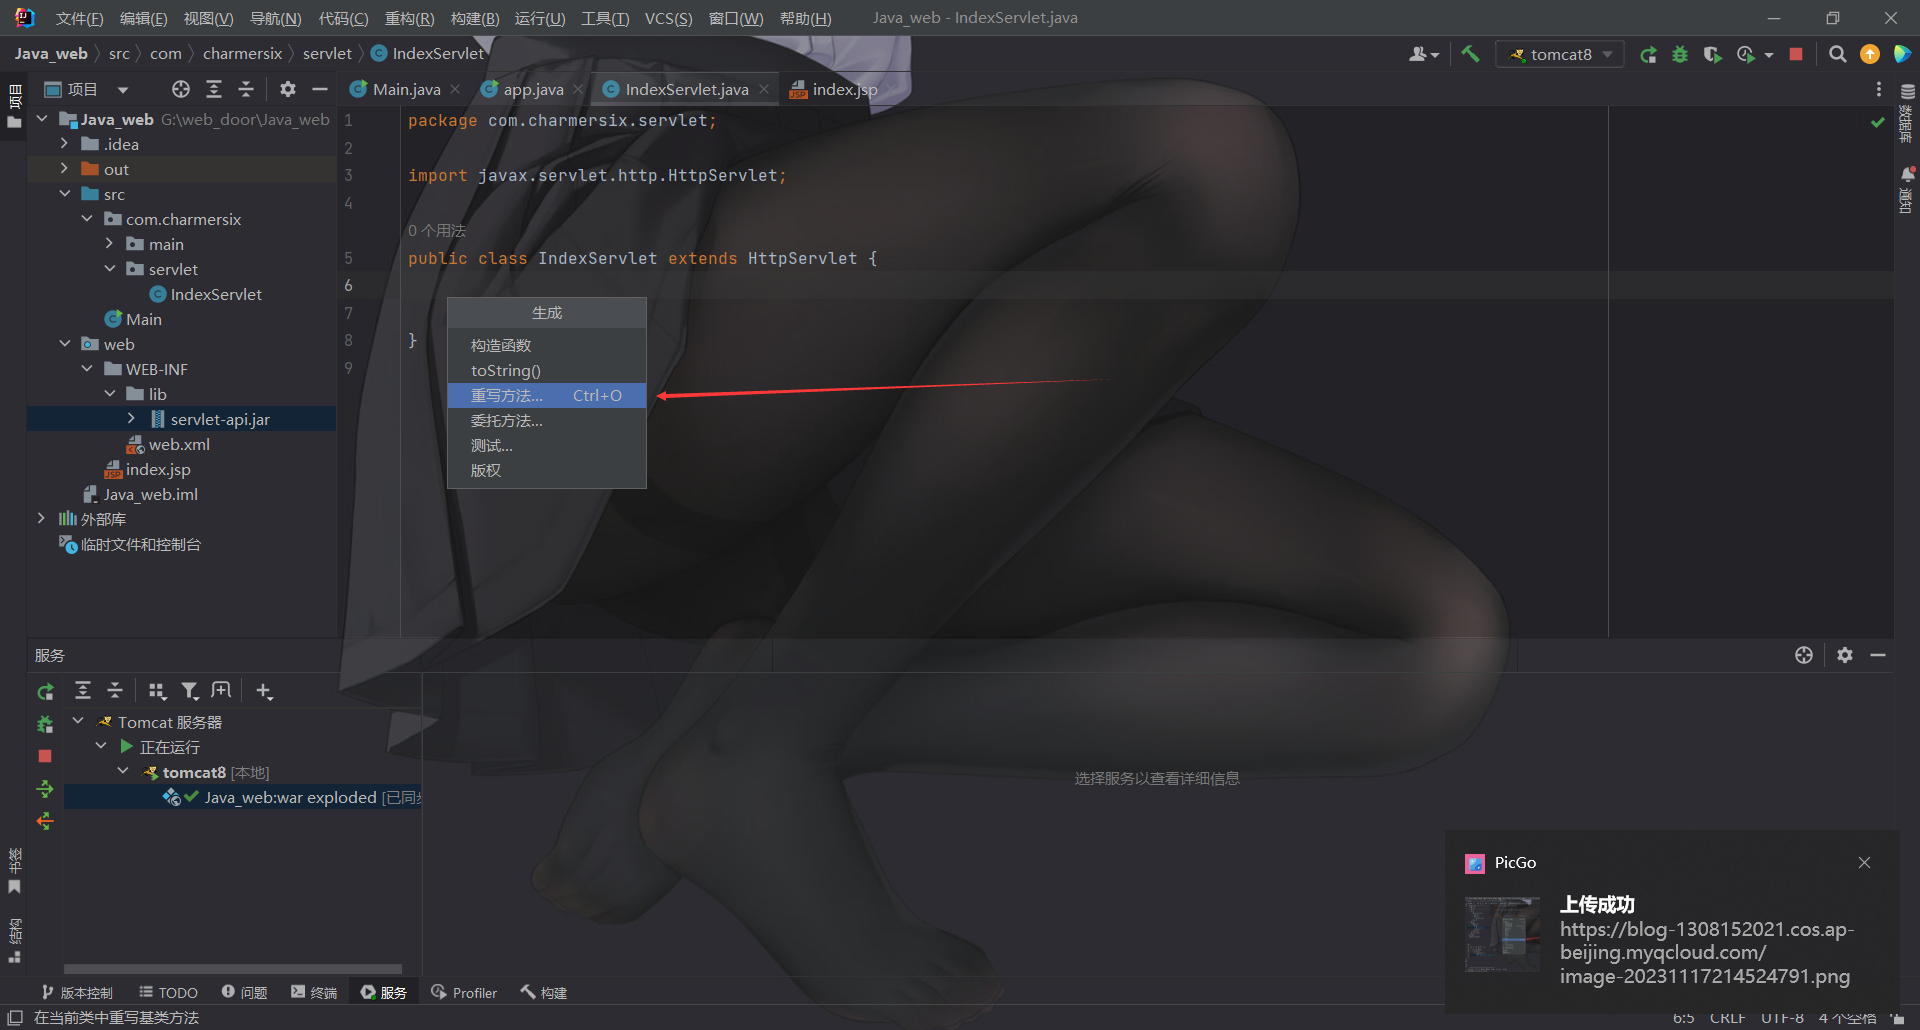
然后我们添加一个继承HttpServlet, 然后右键生成
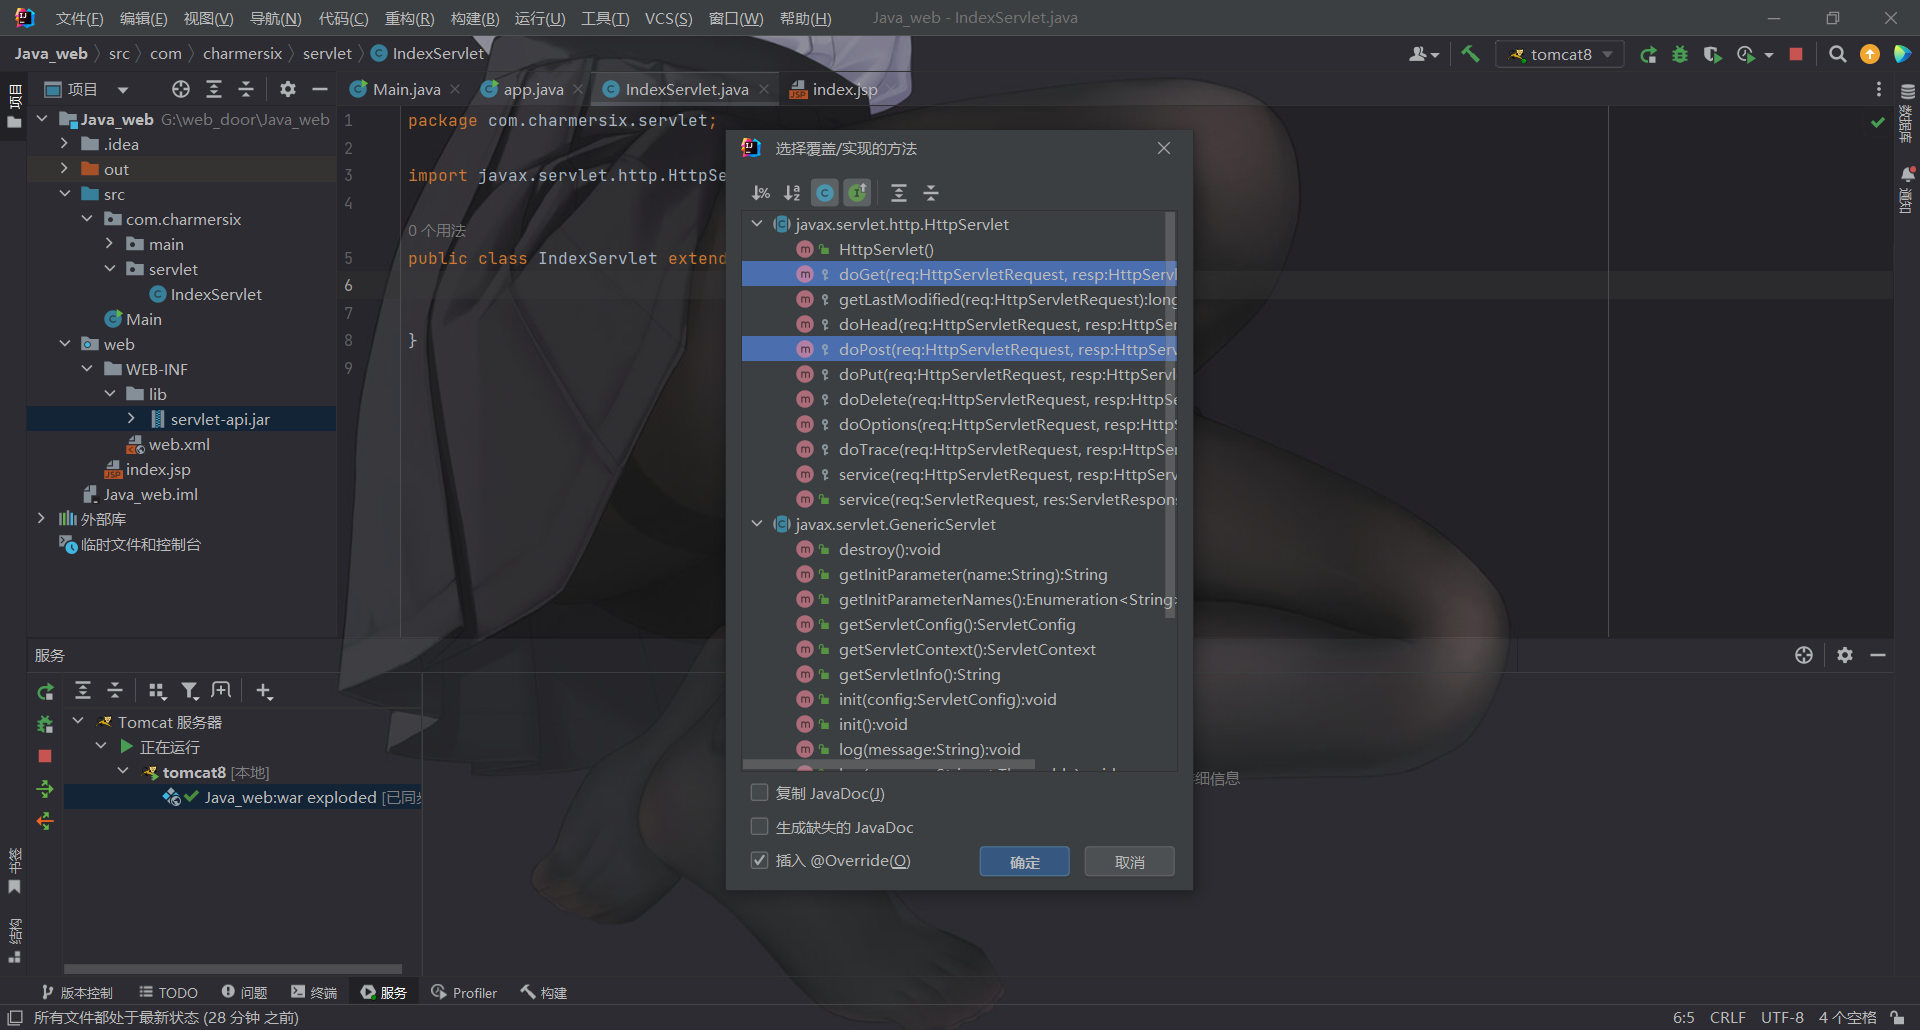
这里选doGet和doPost
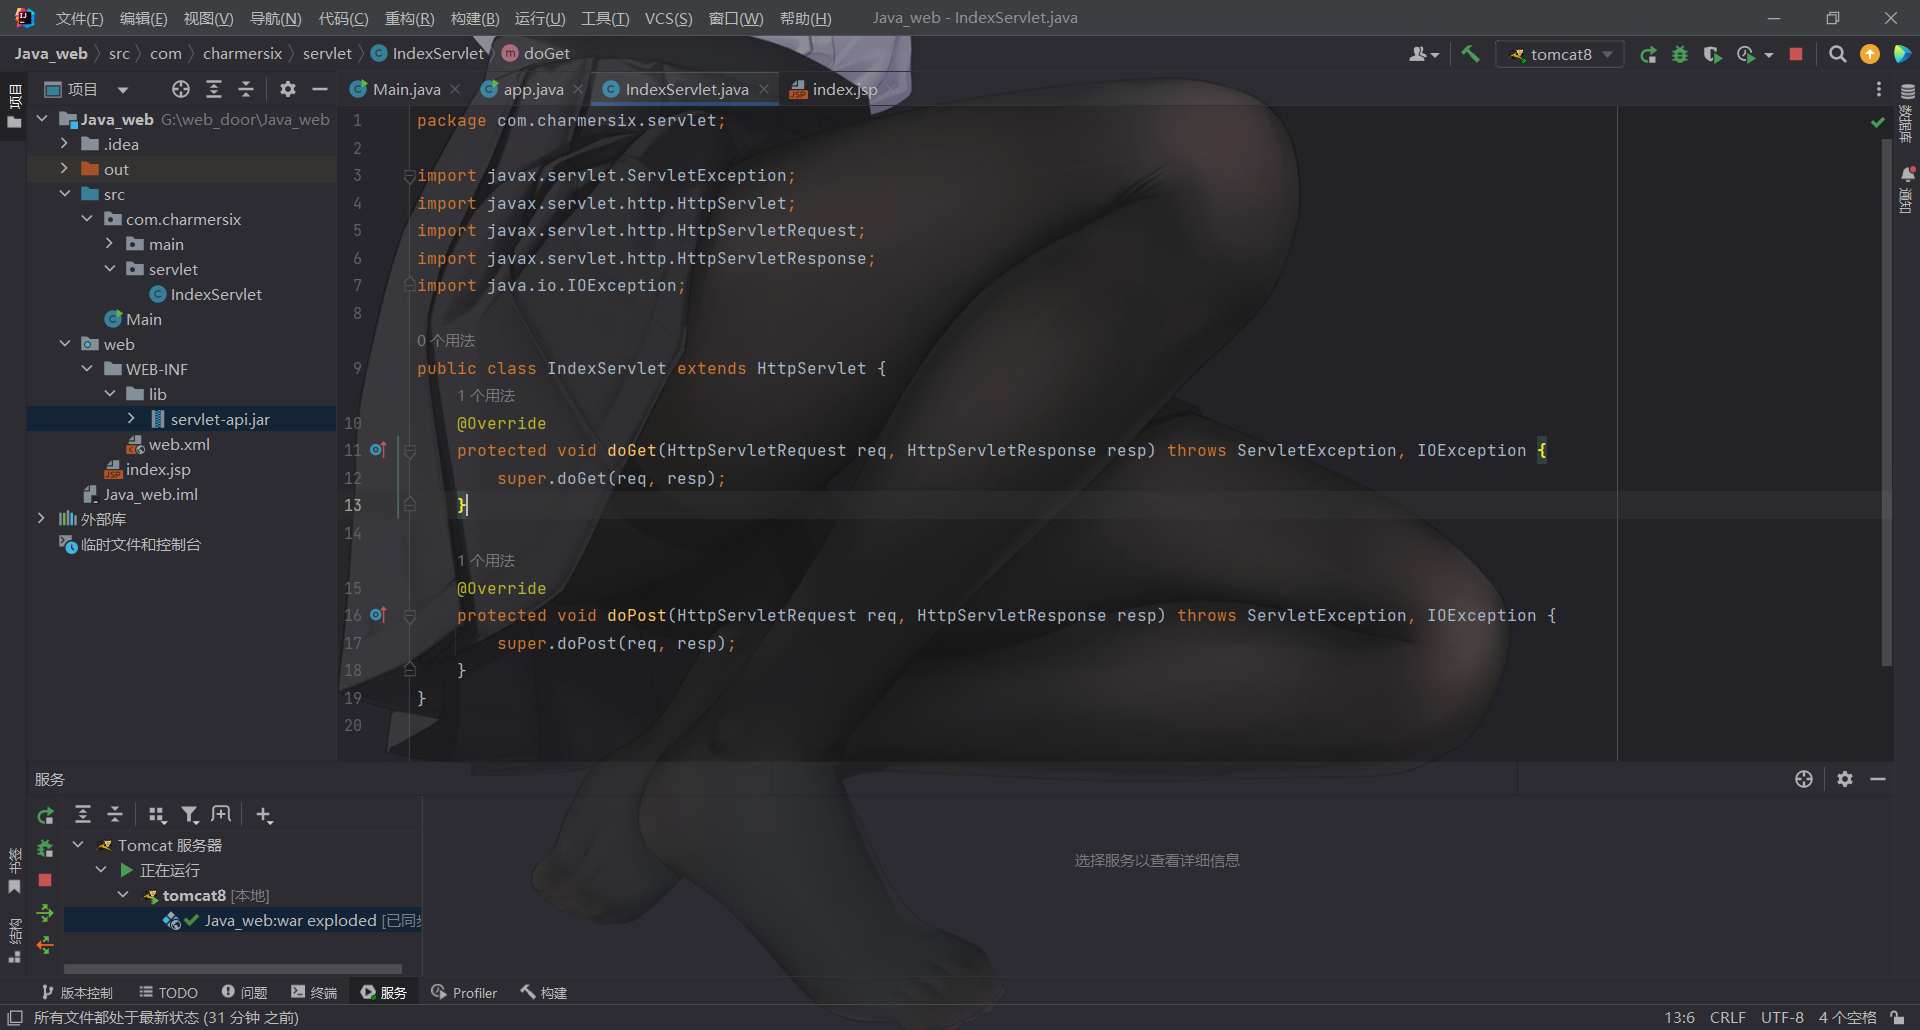
会自动生成方法
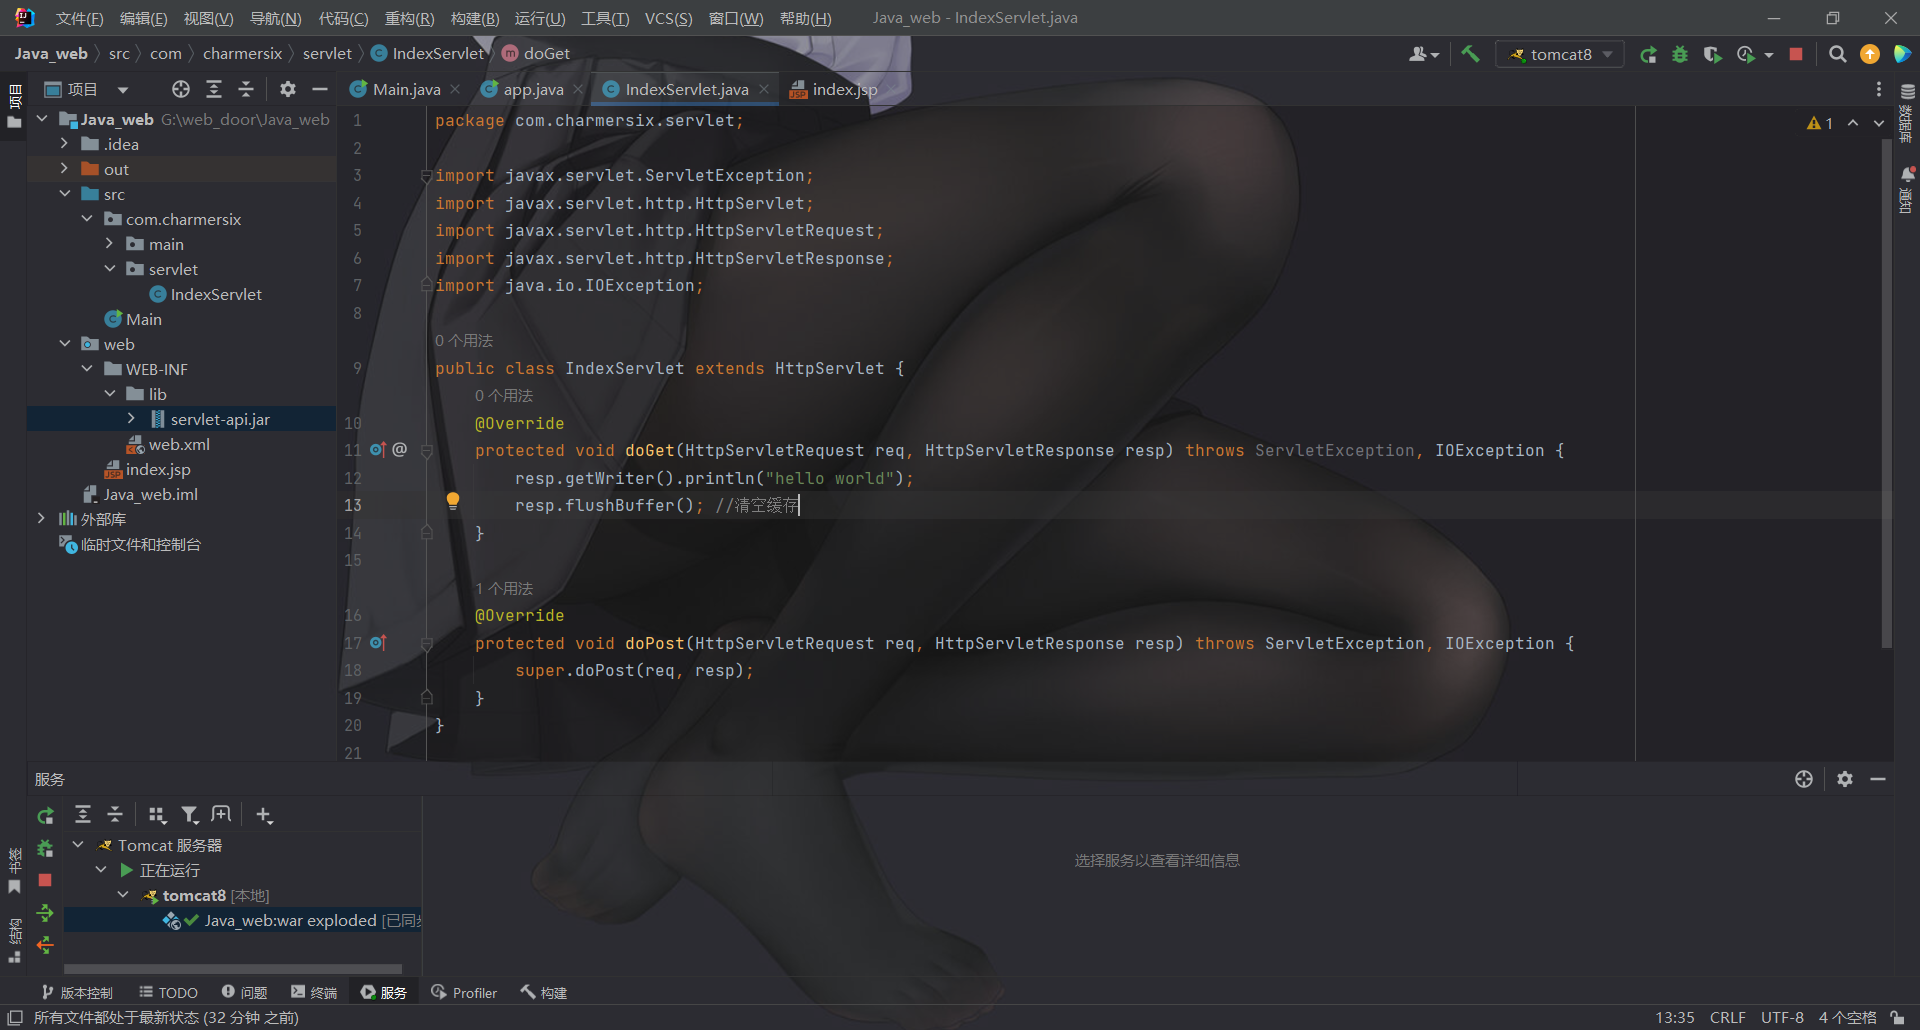
这里还是写helloworld
1 2 resp.getWriter().println("hello world" ); resp.flushBuffer();
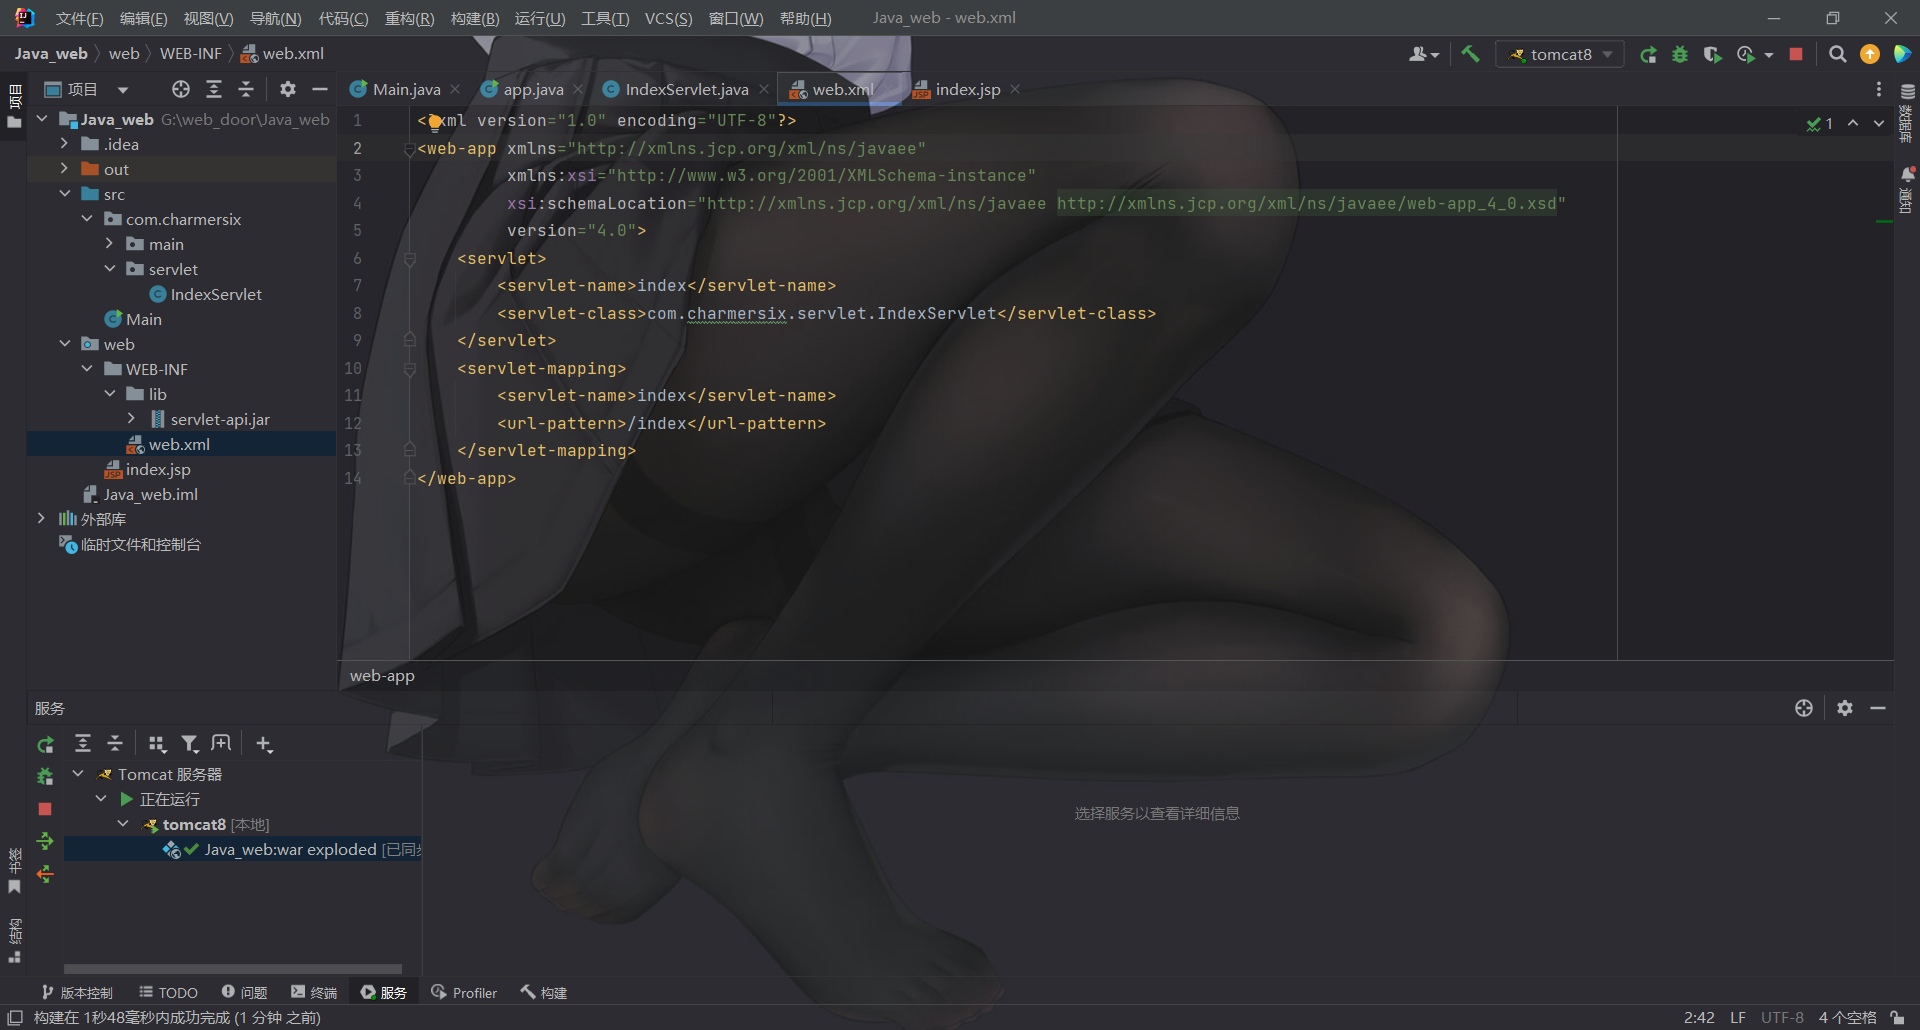
然后我们需要声明servlet, 这里我们可以在web.xml里声明
1
2
3
4
5
6
7
8
9
10
11
12
13
14
<?xml version="1.0" encoding="UTF-8" ?> <web-app xmlns ="http://xmlns.jcp.org/xml/ns/javaee" xmlns:xsi ="http://www.w3.org/2001/XMLSchema-instance" xsi:schemaLocation ="http://xmlns.jcp.org/xml/ns/javaee http://xmlns.jcp.org/xml/ns/javaee/web-app_4_0.xsd" version ="4.0" > <servlet > <servlet-name > index</servlet-name > <servlet-class > com.charmersix.servlet.IndexServlet</servlet-class > </servlet > <servlet-mapping > <servlet-name > index</servlet-name > <url-pattern > /index</url-pattern > </servlet-mapping > </web-app >
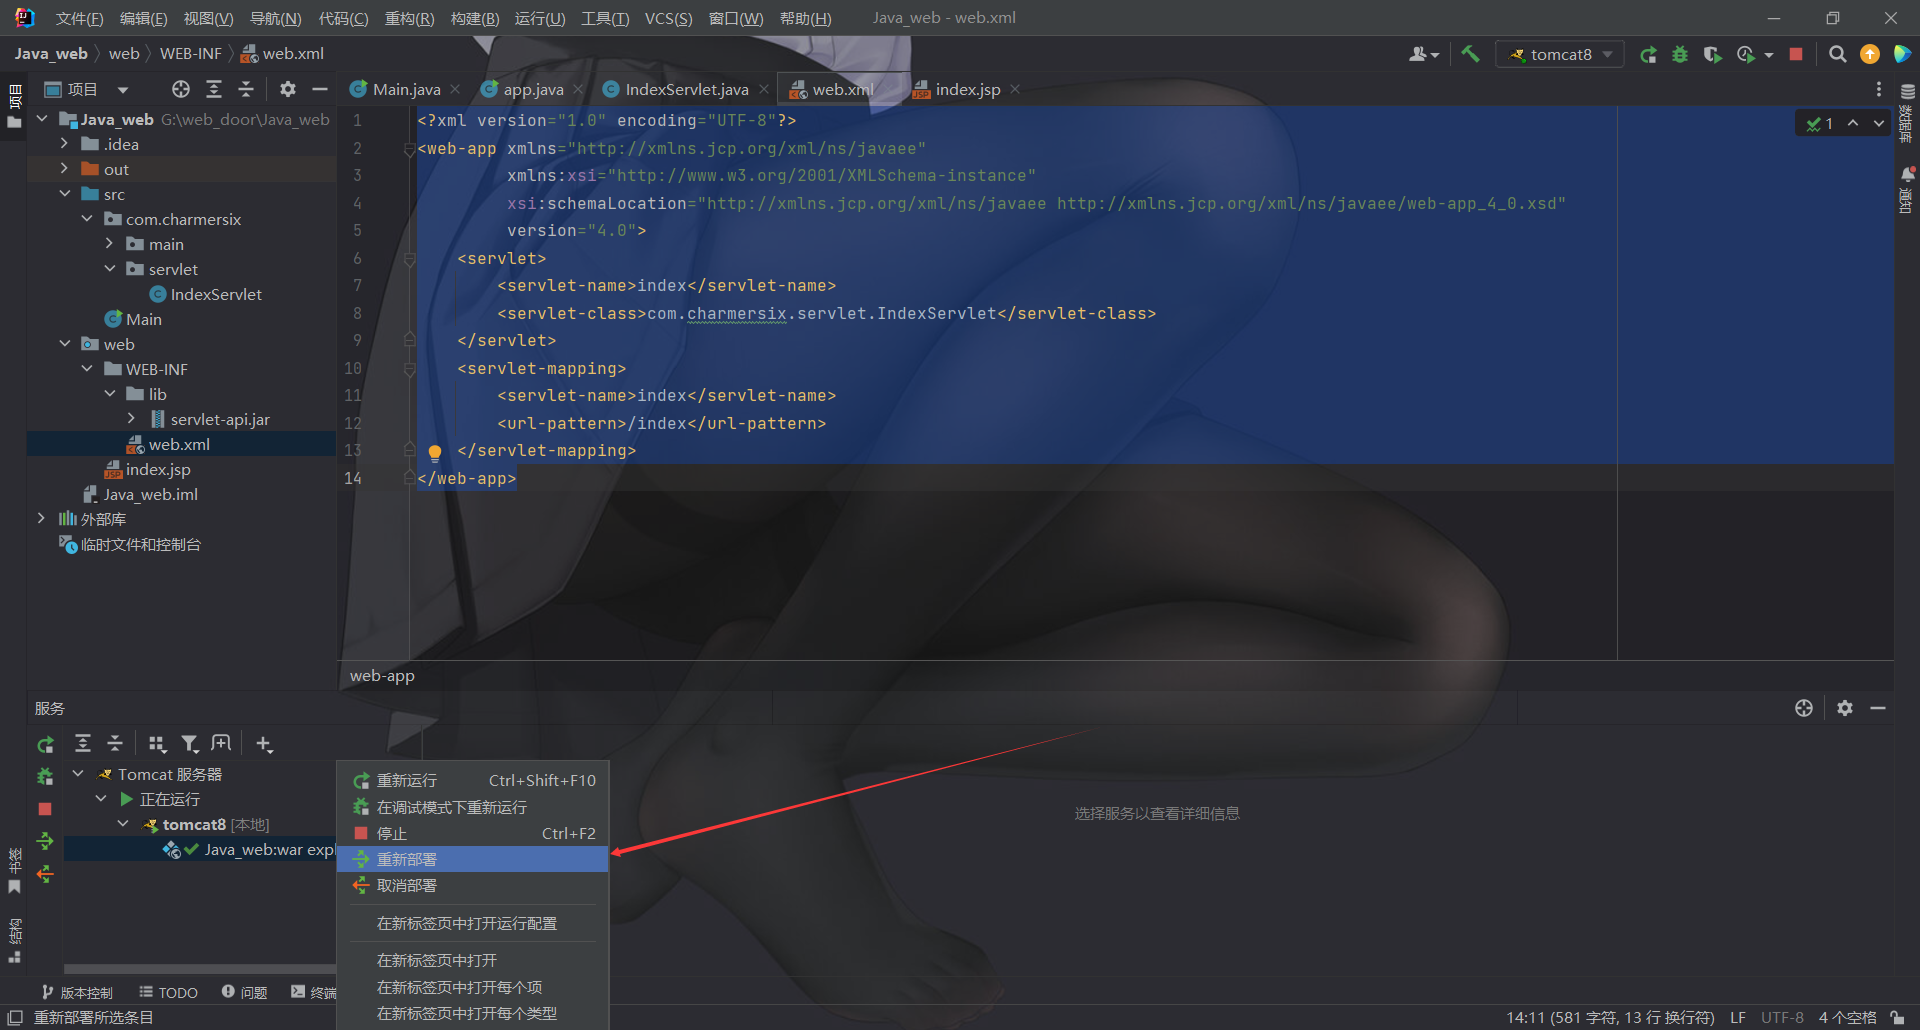
然后重新部署
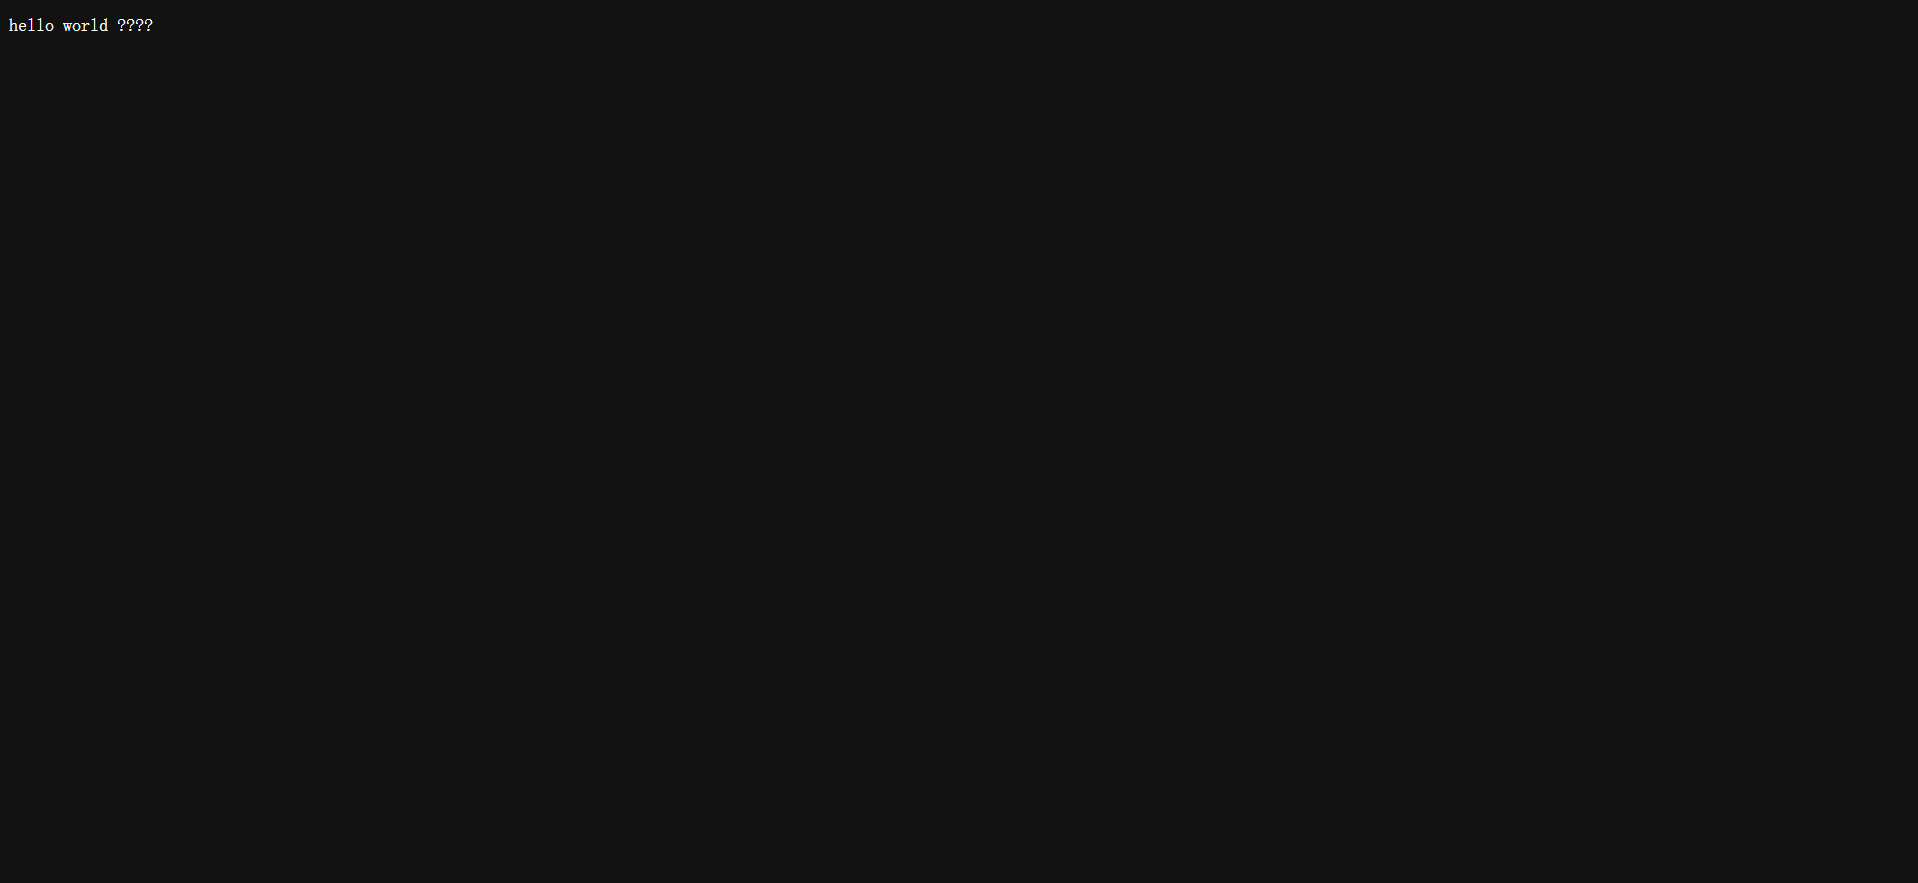
这里会遇到中文不能正常显示的问题
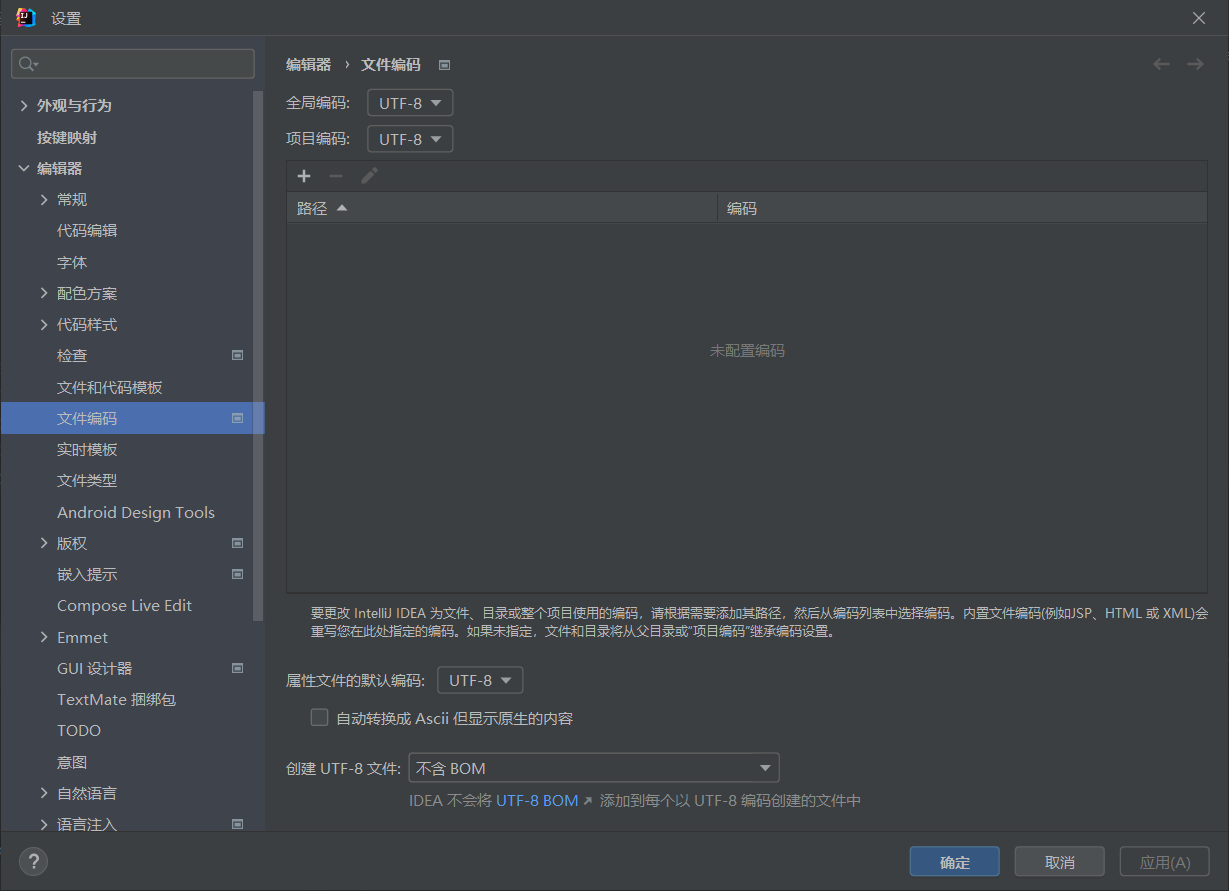
首先我们在文件->设置->文件编码里把编码都改为utf-8
但是还是没有解决, 我们再尝试一下别的方法
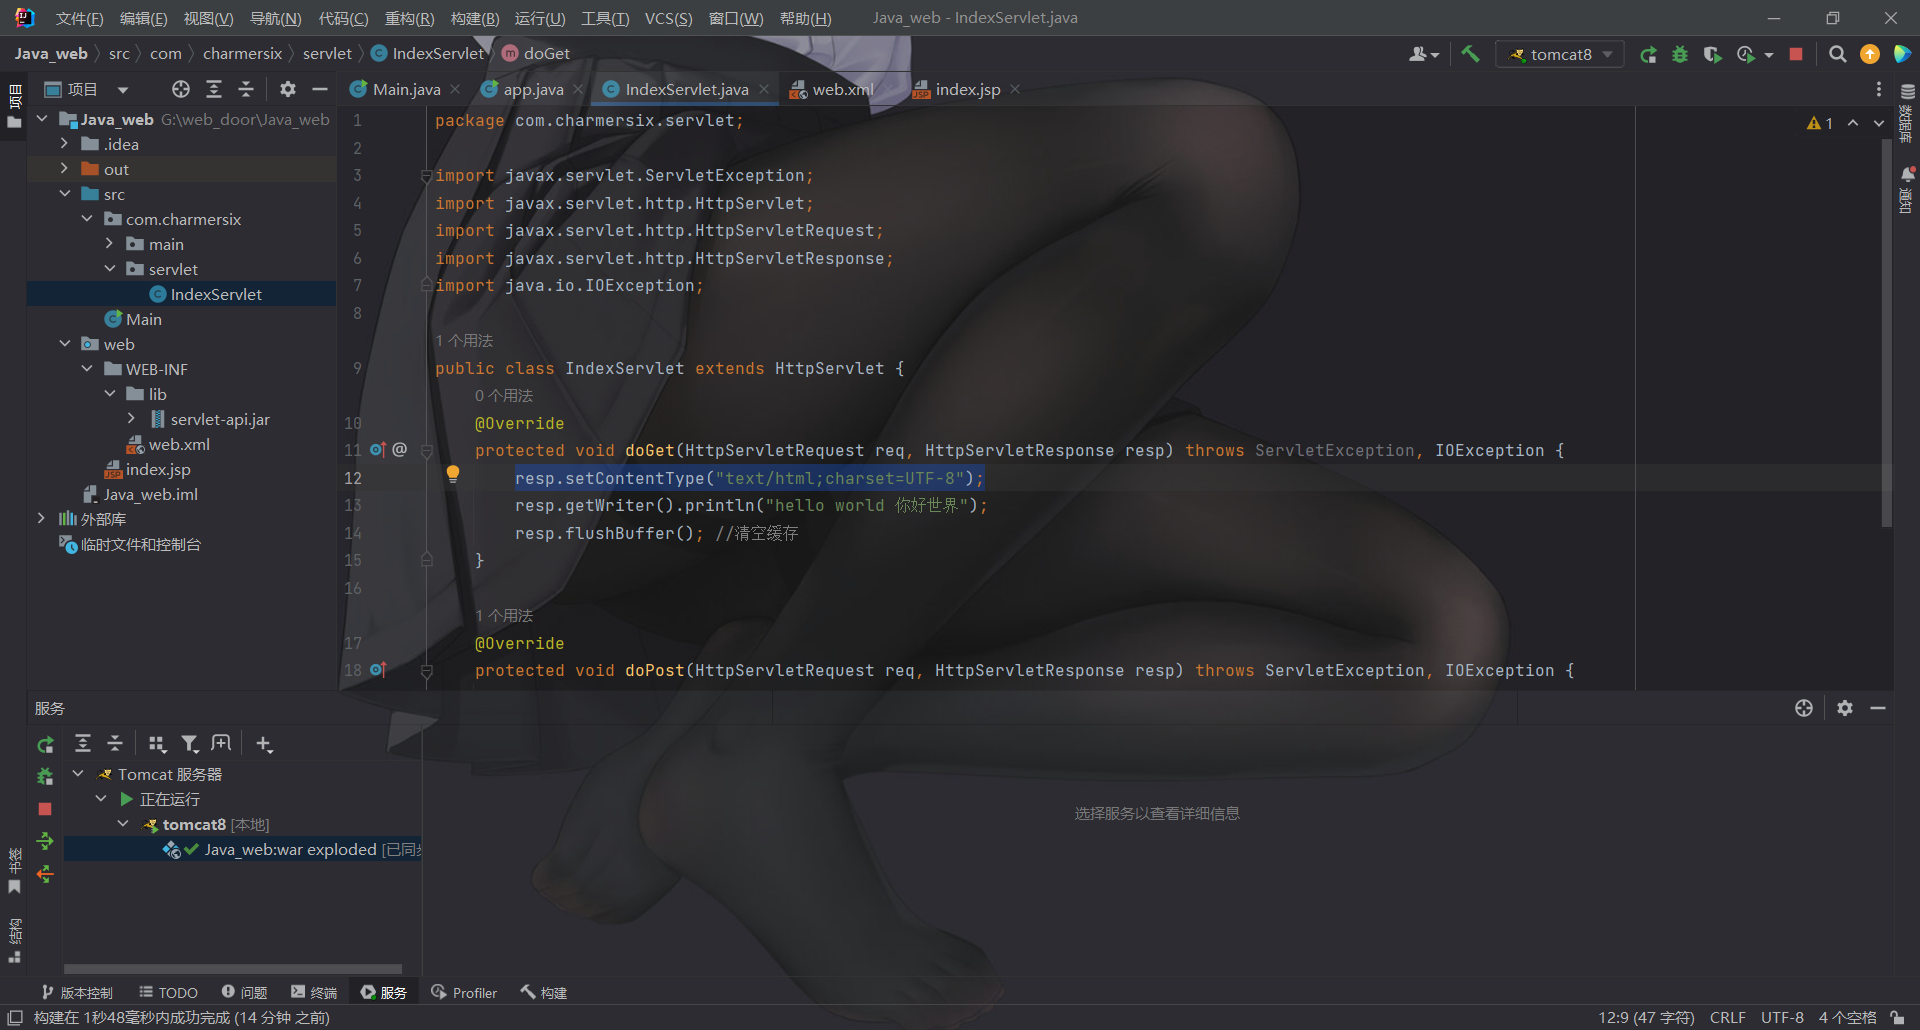
我们回到IndexServlet添加一行代码
1 resp.setContentType("text/html;charset=UTF-8" );
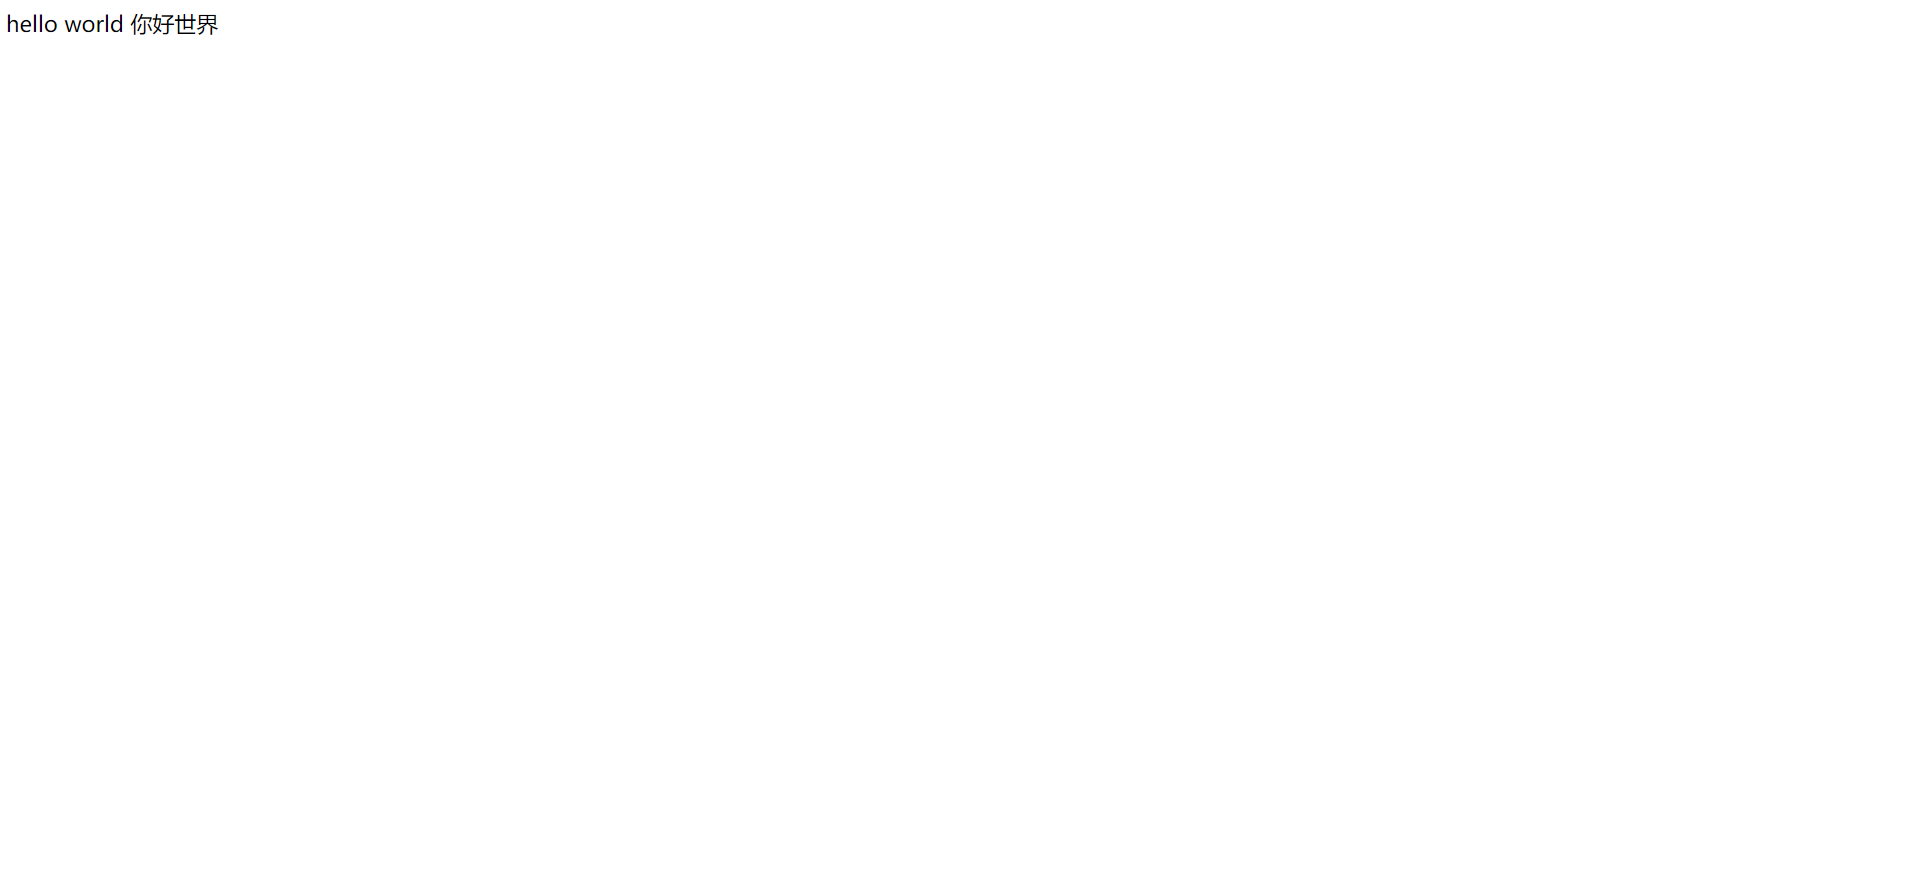
还是尝试重新部署
中文就可以正常显示了
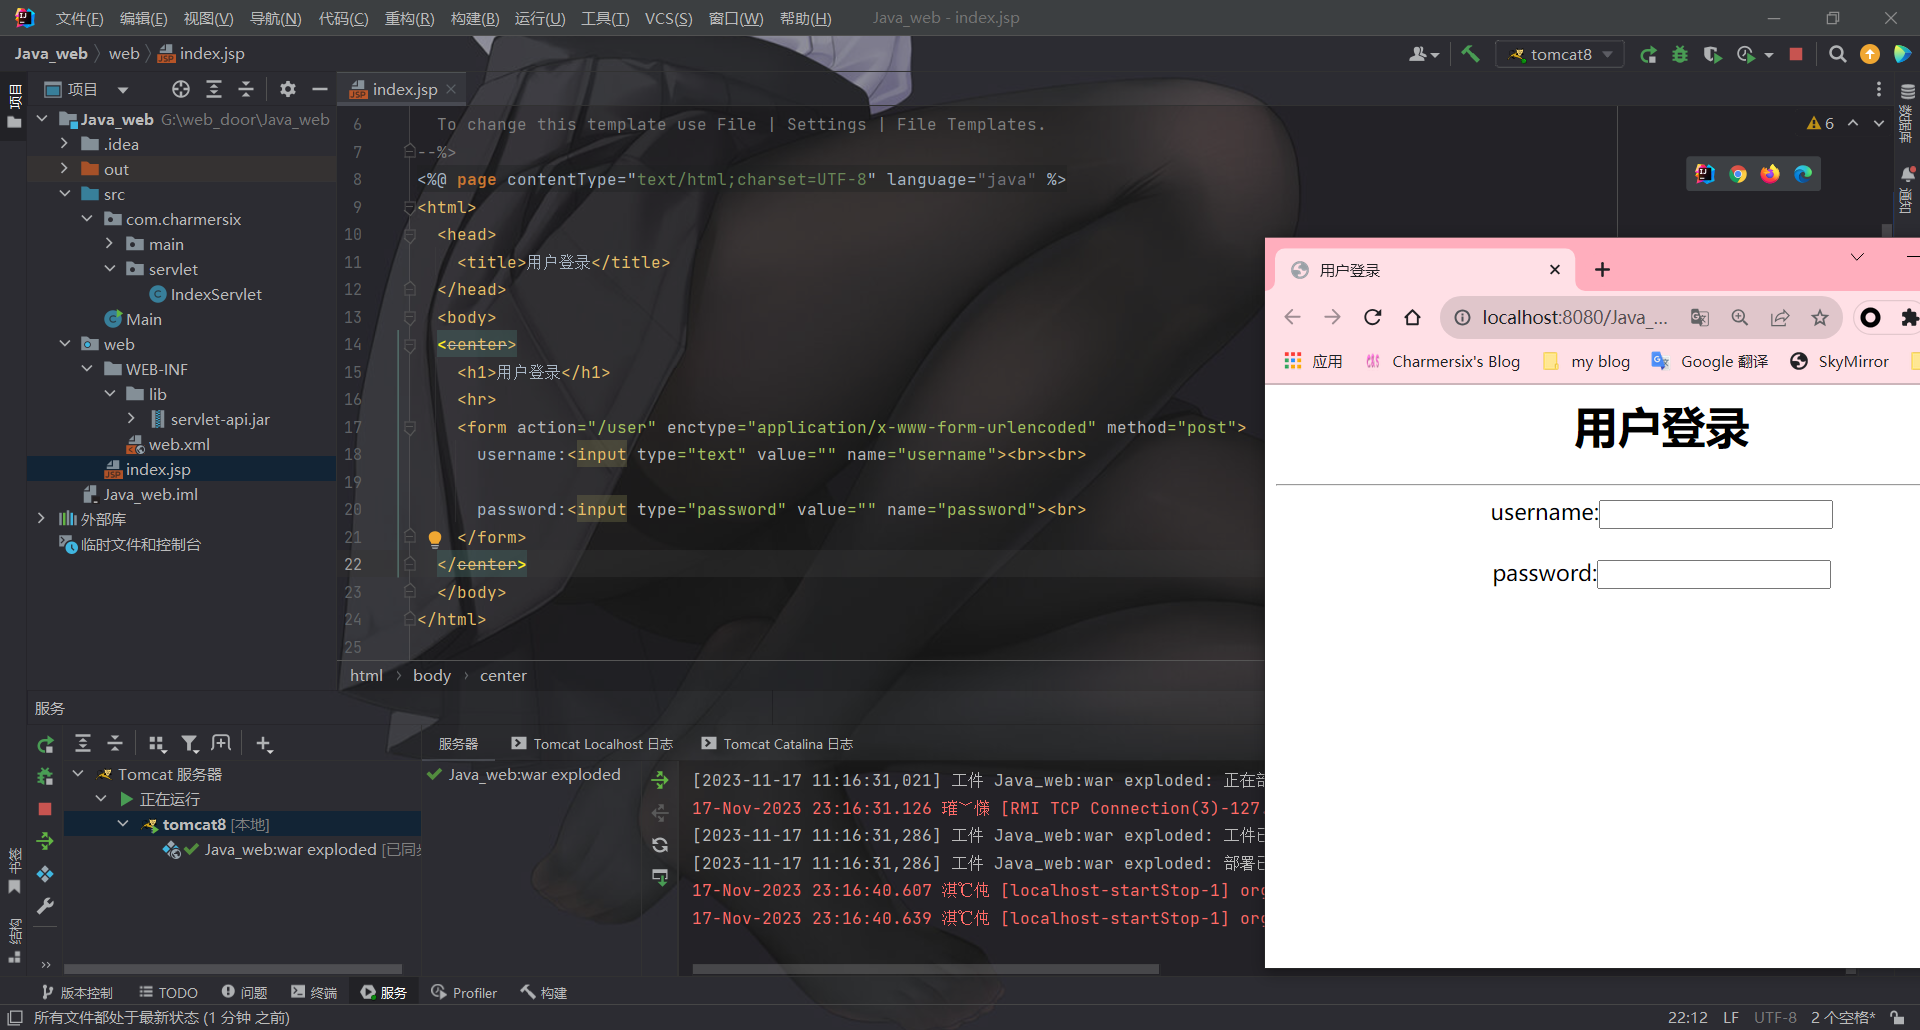
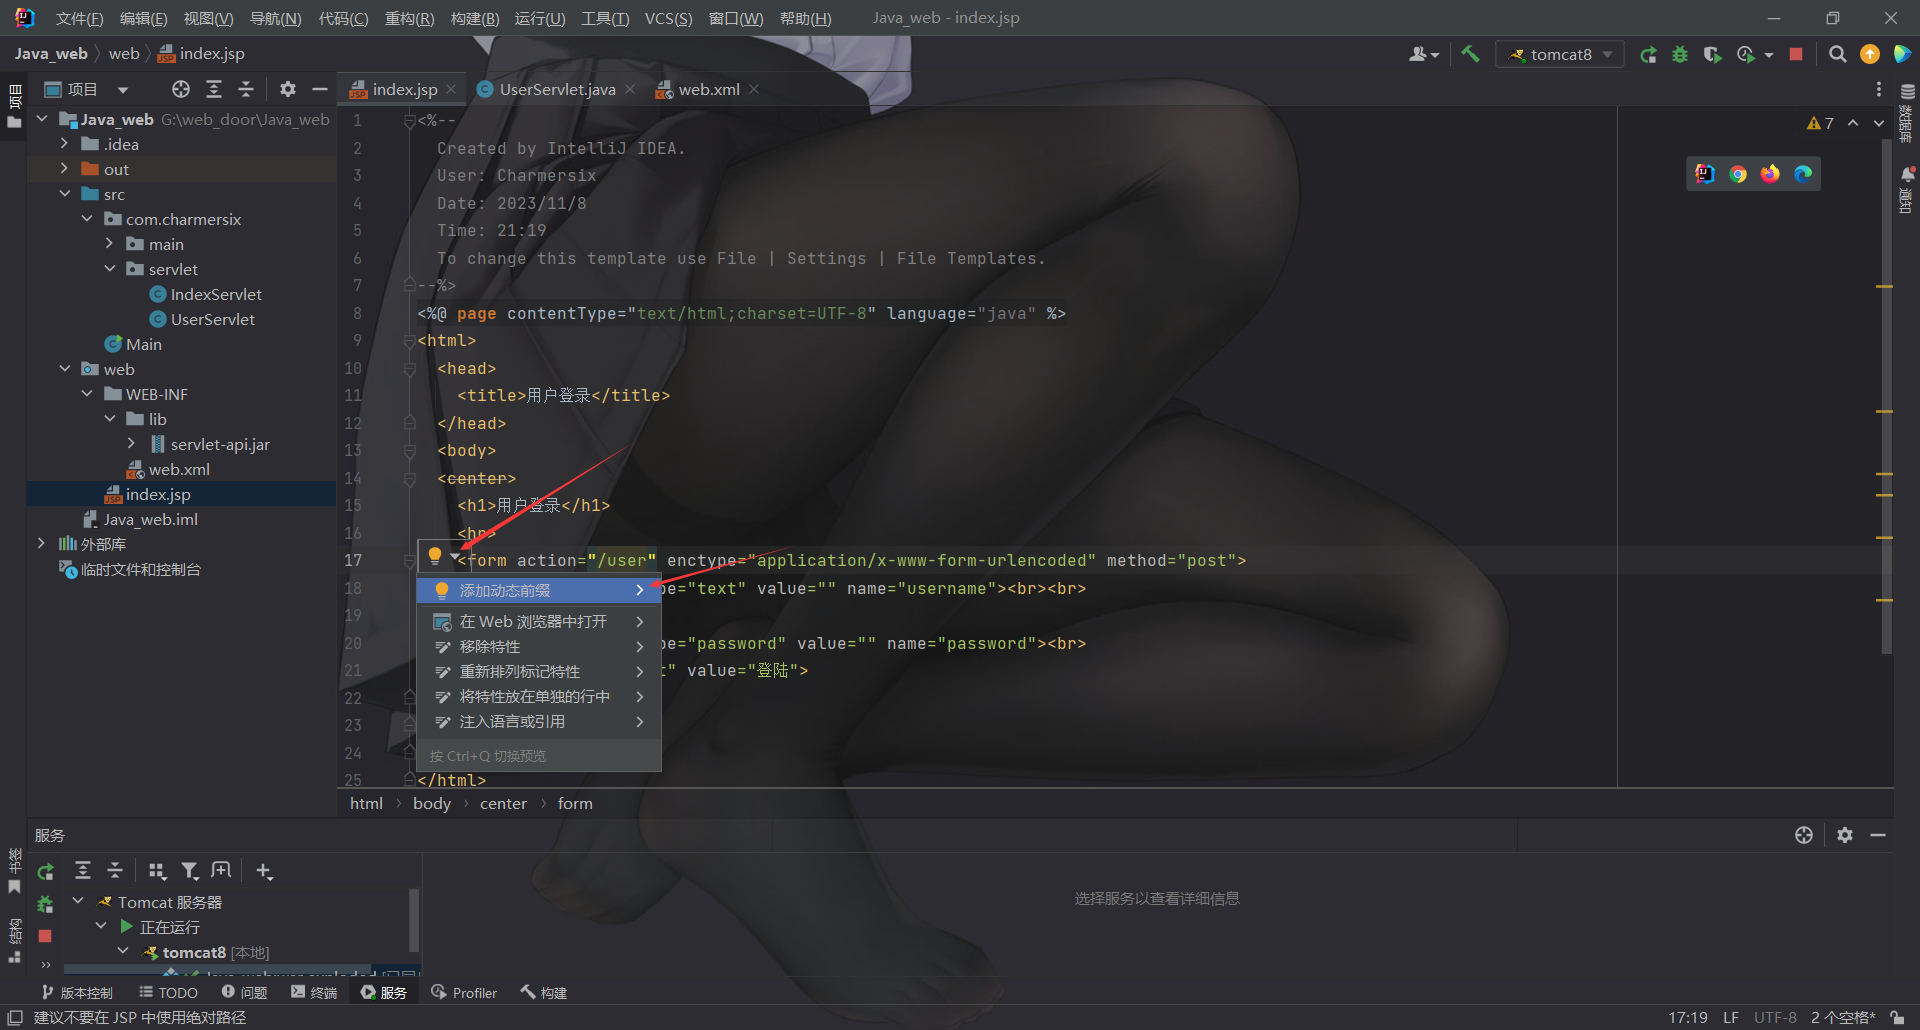
web登录验证 首先我们写前端界面
1 2 3 4 5 6 7 8 9 10 11 12 13 14 15 16 17 <html > <head > <title > 用户登录</title > </head > <body > <center > <h1 > 用户登录</h1 > <hr > <form action ="/user" enctype ="application/x-www-form-urlencoded" method ="post" > username:<input type ="text" value ="" name ="username" > <br > <br > password:<input type ="password" value ="" name ="password" > <br > <input type ="submit" value ="登陆" > </form > </center > </body > </html >
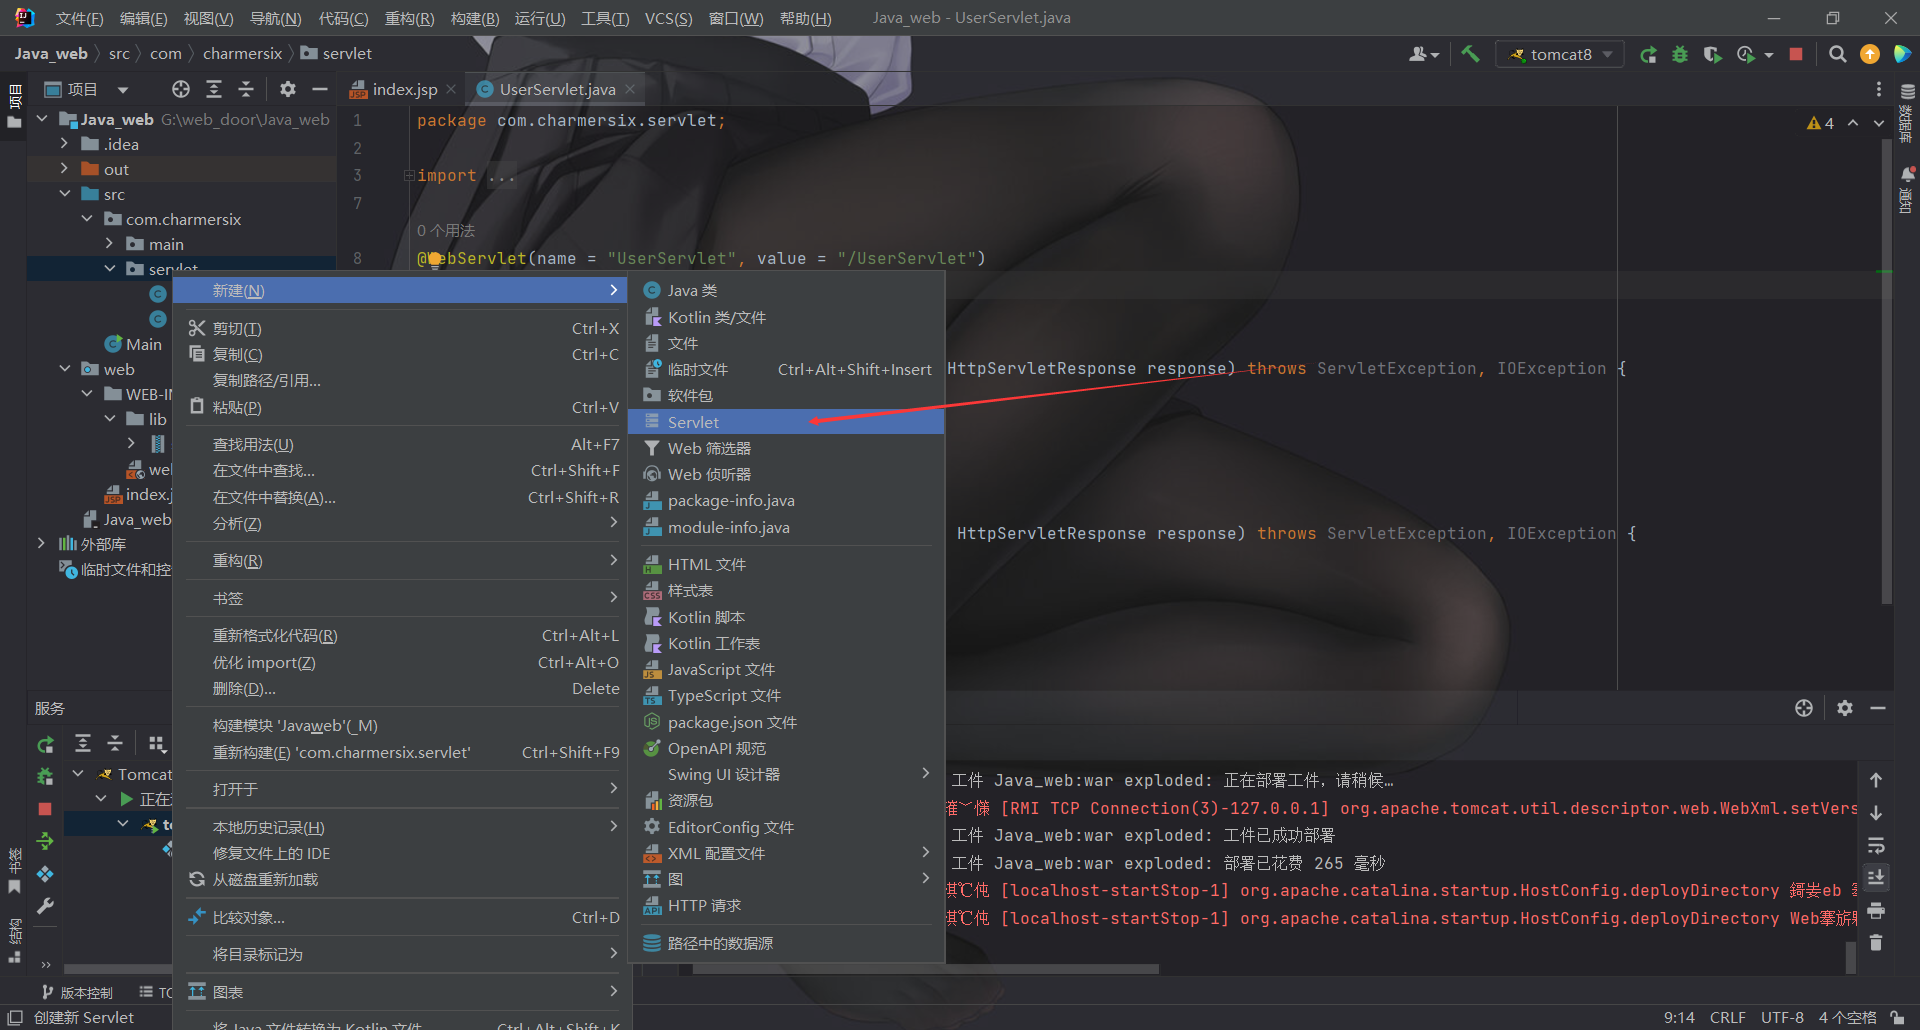
然后创建servlet接收登录
首先我们new一个servlet
这样就可以直接创建好
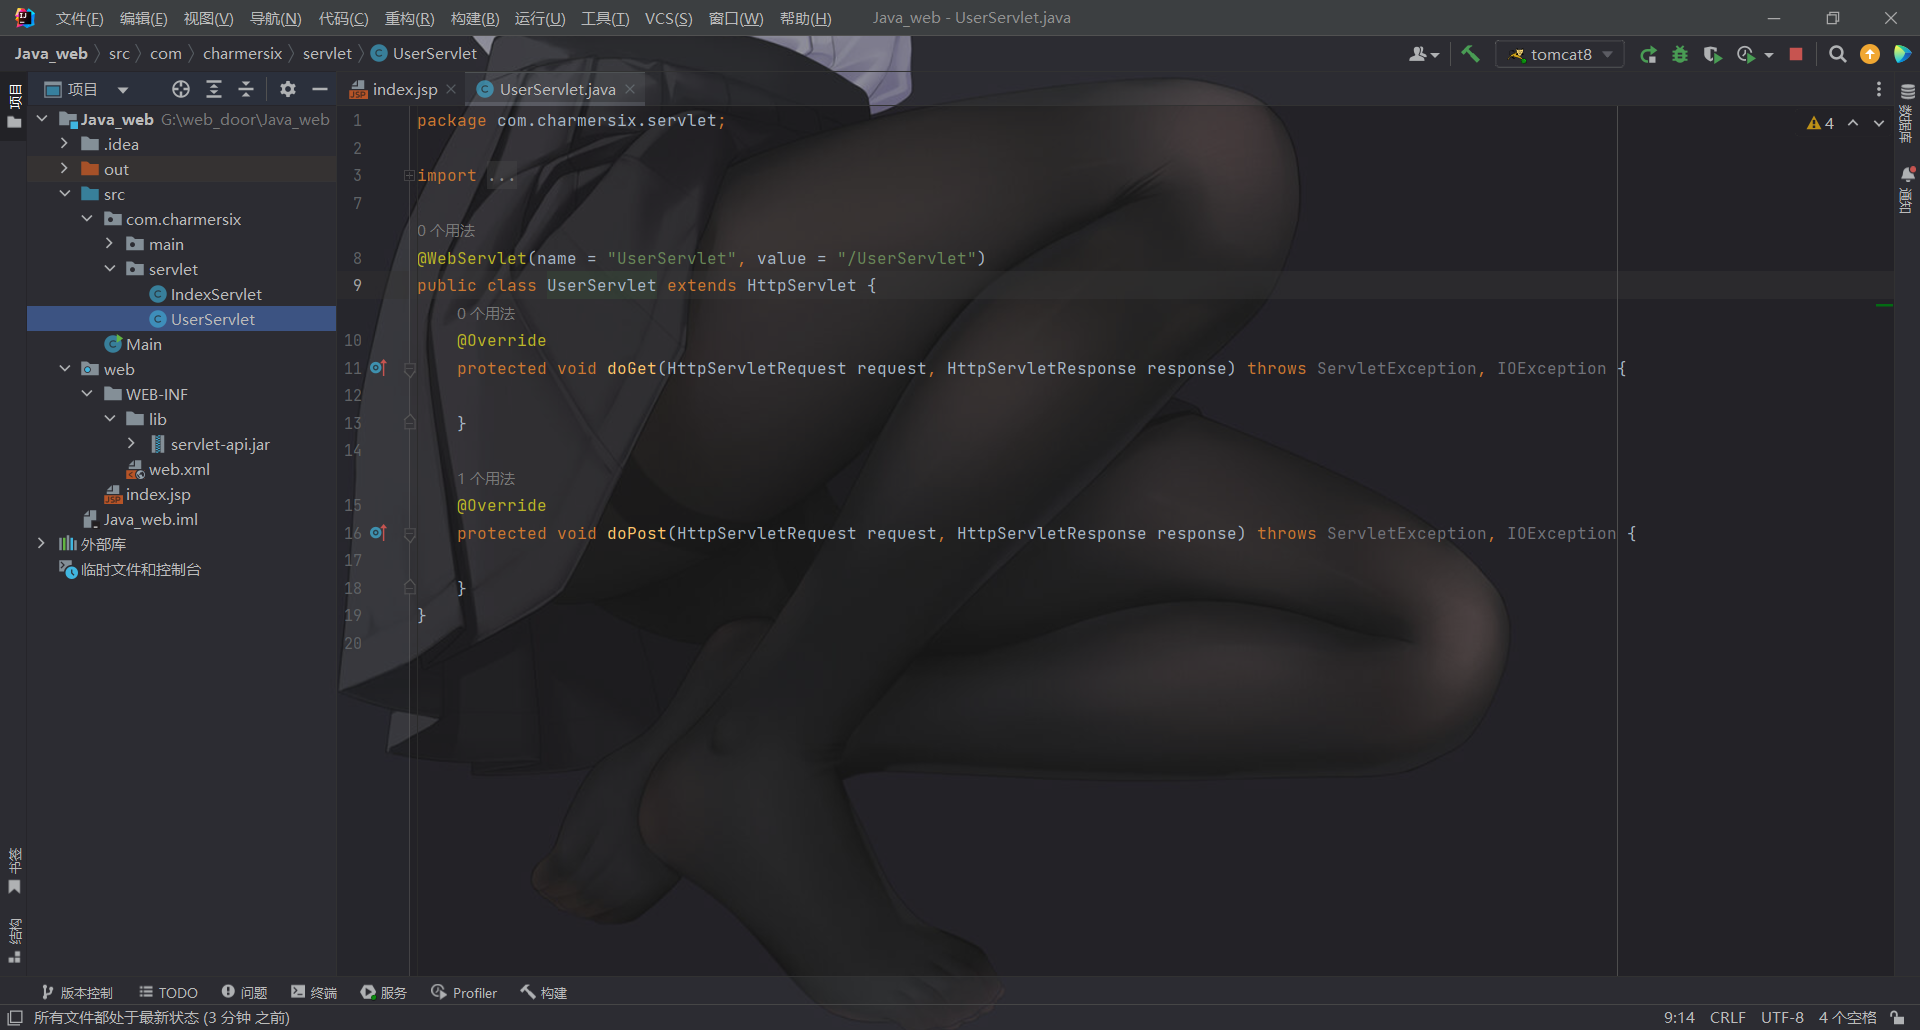
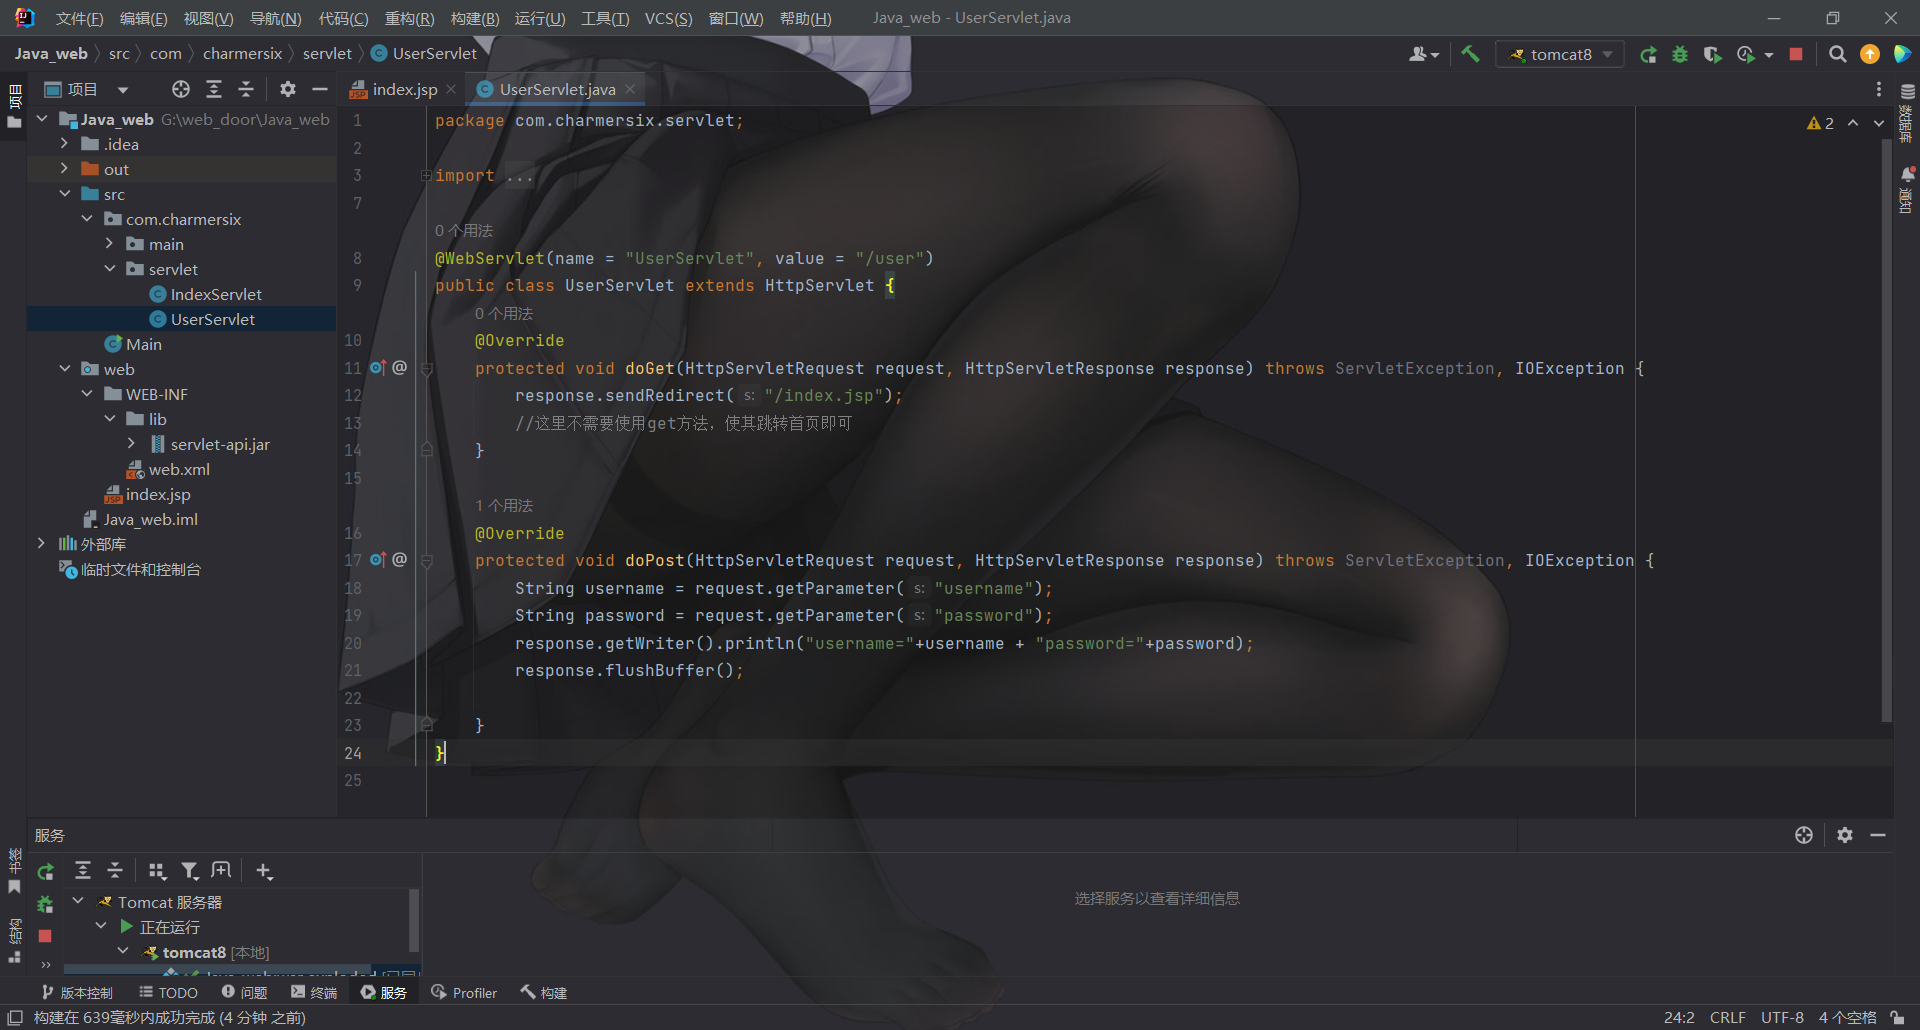
然后我们编写Servlet
1
2
3
4
5
6
7
8
9
10
11
12
13
14
15
16
17
18
19
20
21
22
23
24
package com.charmersix.servlet;import javax.servlet.*;import javax.servlet.http.*;import javax.servlet.annotation.*;import java.io.IOException;@WebServlet(name = "UserServlet", value = "/user") public class UserServlet extends HttpServlet { @Override protected void doGet (HttpServletRequest request, HttpServletResponse response) throws ServletException, IOException { response.sendRedirect("/index.jsp" ); } @Override protected void doPost (HttpServletRequest request, HttpServletResponse response) throws ServletException, IOException { String username = request.getParameter("username" ); String password = request.getParameter("password" ); response.getWriter().println("username=" +username + "password=" +password); response.flushBuffer(); } }
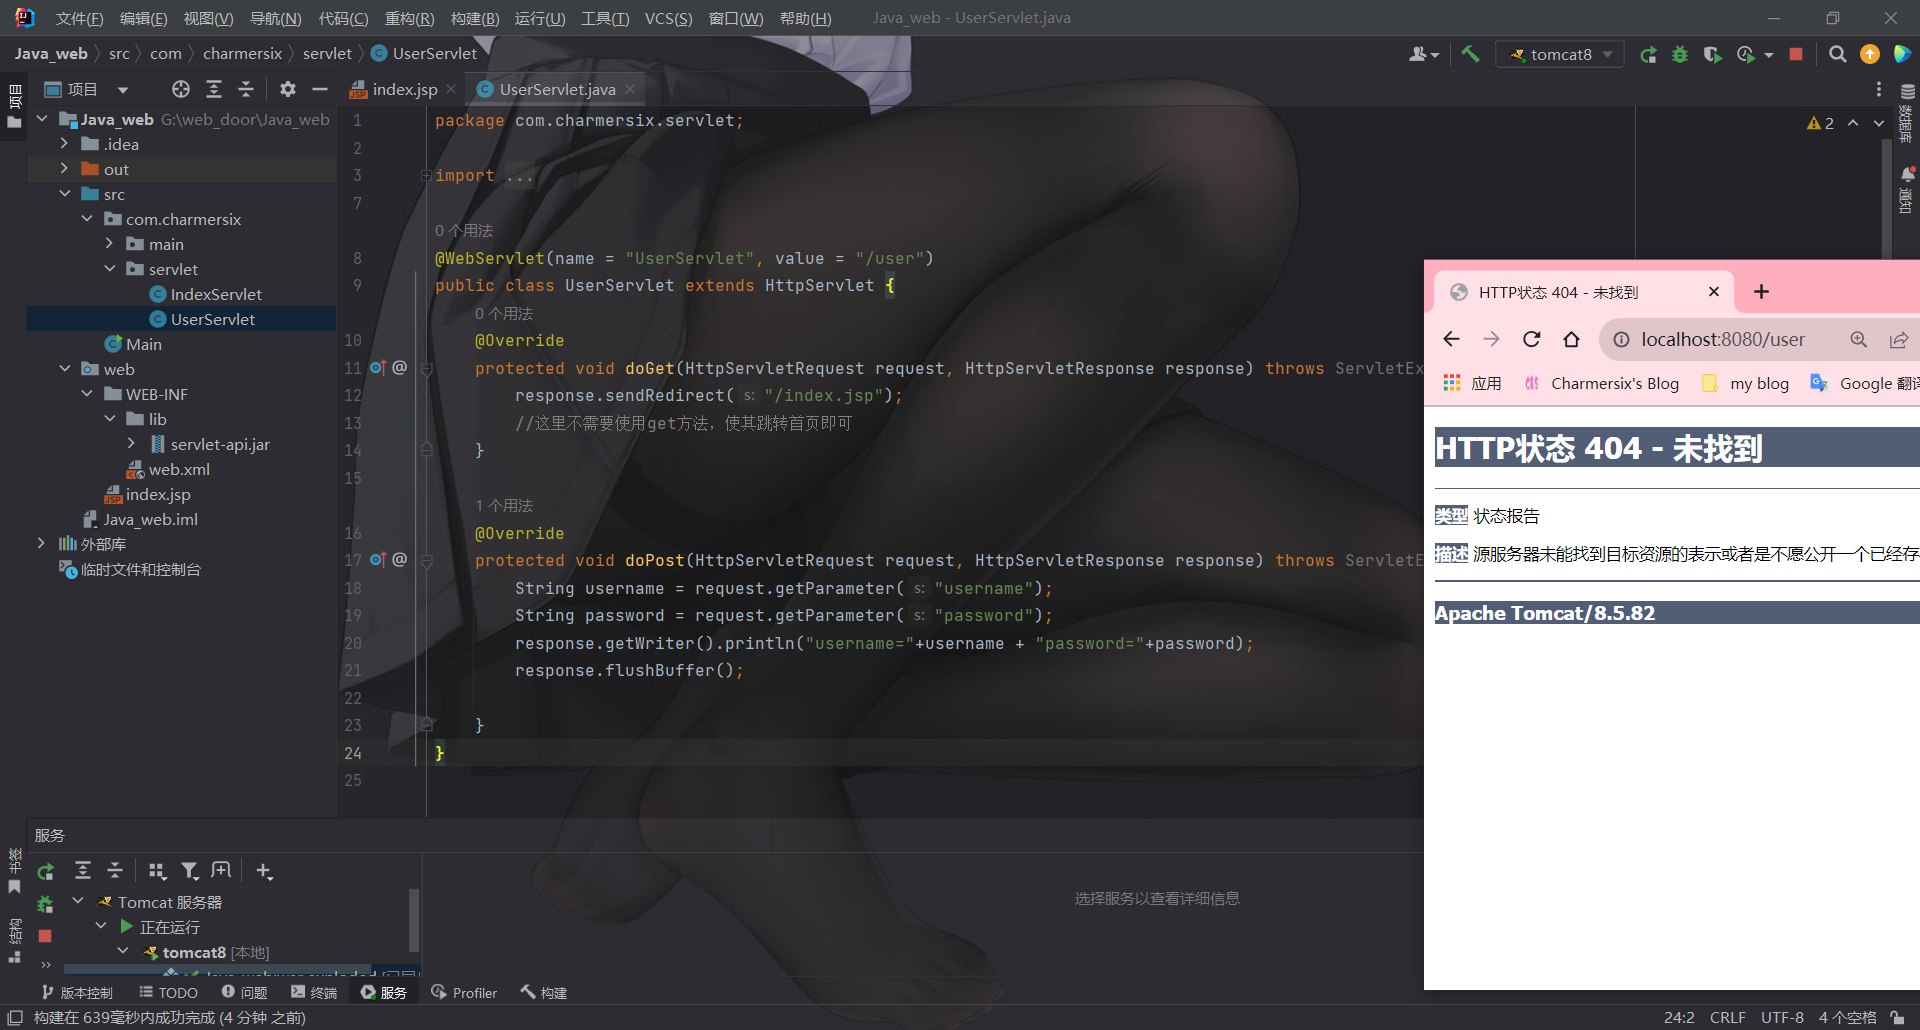
重新部署, 却出现了新的问题
登录发现报404, 原因明显:跳转的路径不对
我们在这里添加一个动态前缀即可
执行成功
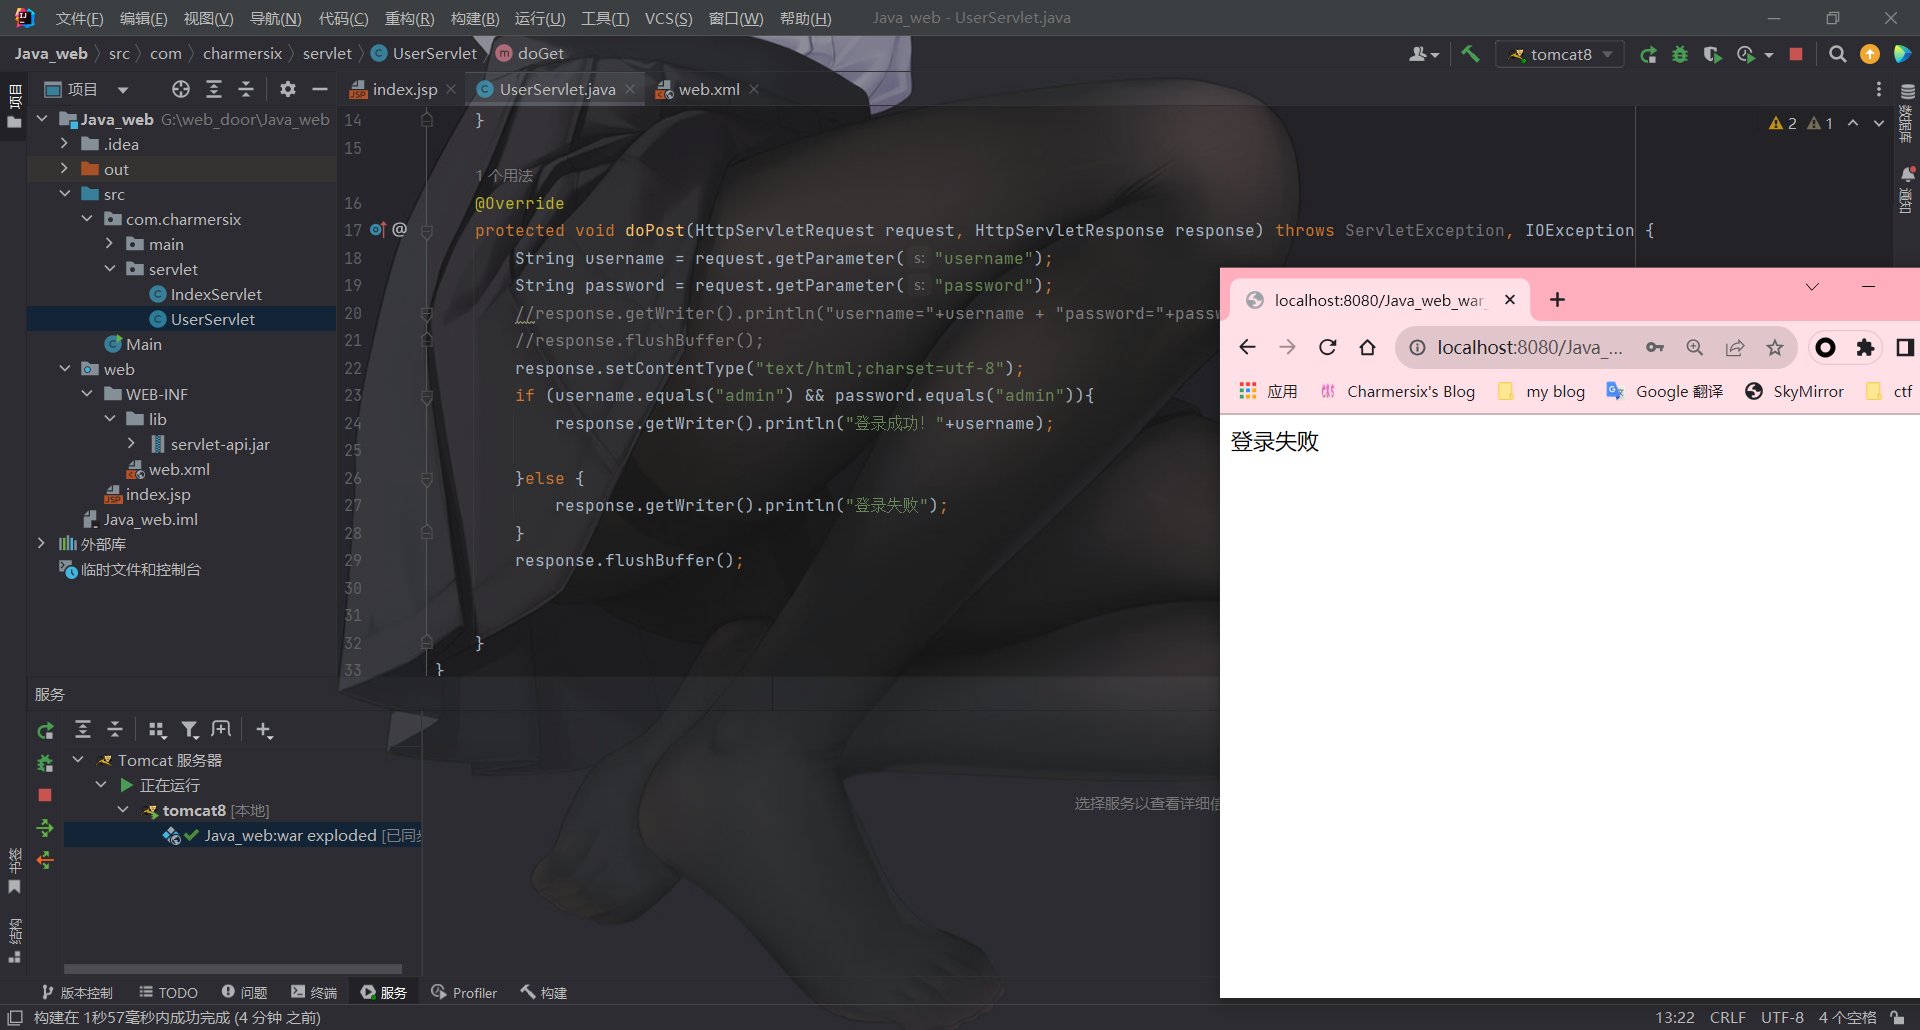
接下来我们加个判断进去
1
2
3
4
5
6
7
8
9
10
11
12
13
14
15
16
17
18
19
20
21
22
23
24
25
26
27
28
29
30
31
32
33
package com.charmersix.servlet;import javax.servlet.*;import javax.servlet.http.*;import javax.servlet.annotation.*;import java.io.IOException;@WebServlet(name = "UserServlet", value = "/user") public class UserServlet extends HttpServlet { @Override protected void doGet (HttpServletRequest request, HttpServletResponse response) throws ServletException, IOException { response.sendRedirect("/index.jsp" ); } @Override protected void doPost (HttpServletRequest request, HttpServletResponse response) throws ServletException, IOException { String username = request.getParameter("username" ); String password = request.getParameter("password" ); response.setContentType("text/html;charset=utf-8" ); if (username.equals("admin" ) && password.equals("admin" )){ response.getWriter().println("登录成功!" +username); }else { response.getWriter().println("登录失败" ); } response.flushBuffer(); } }
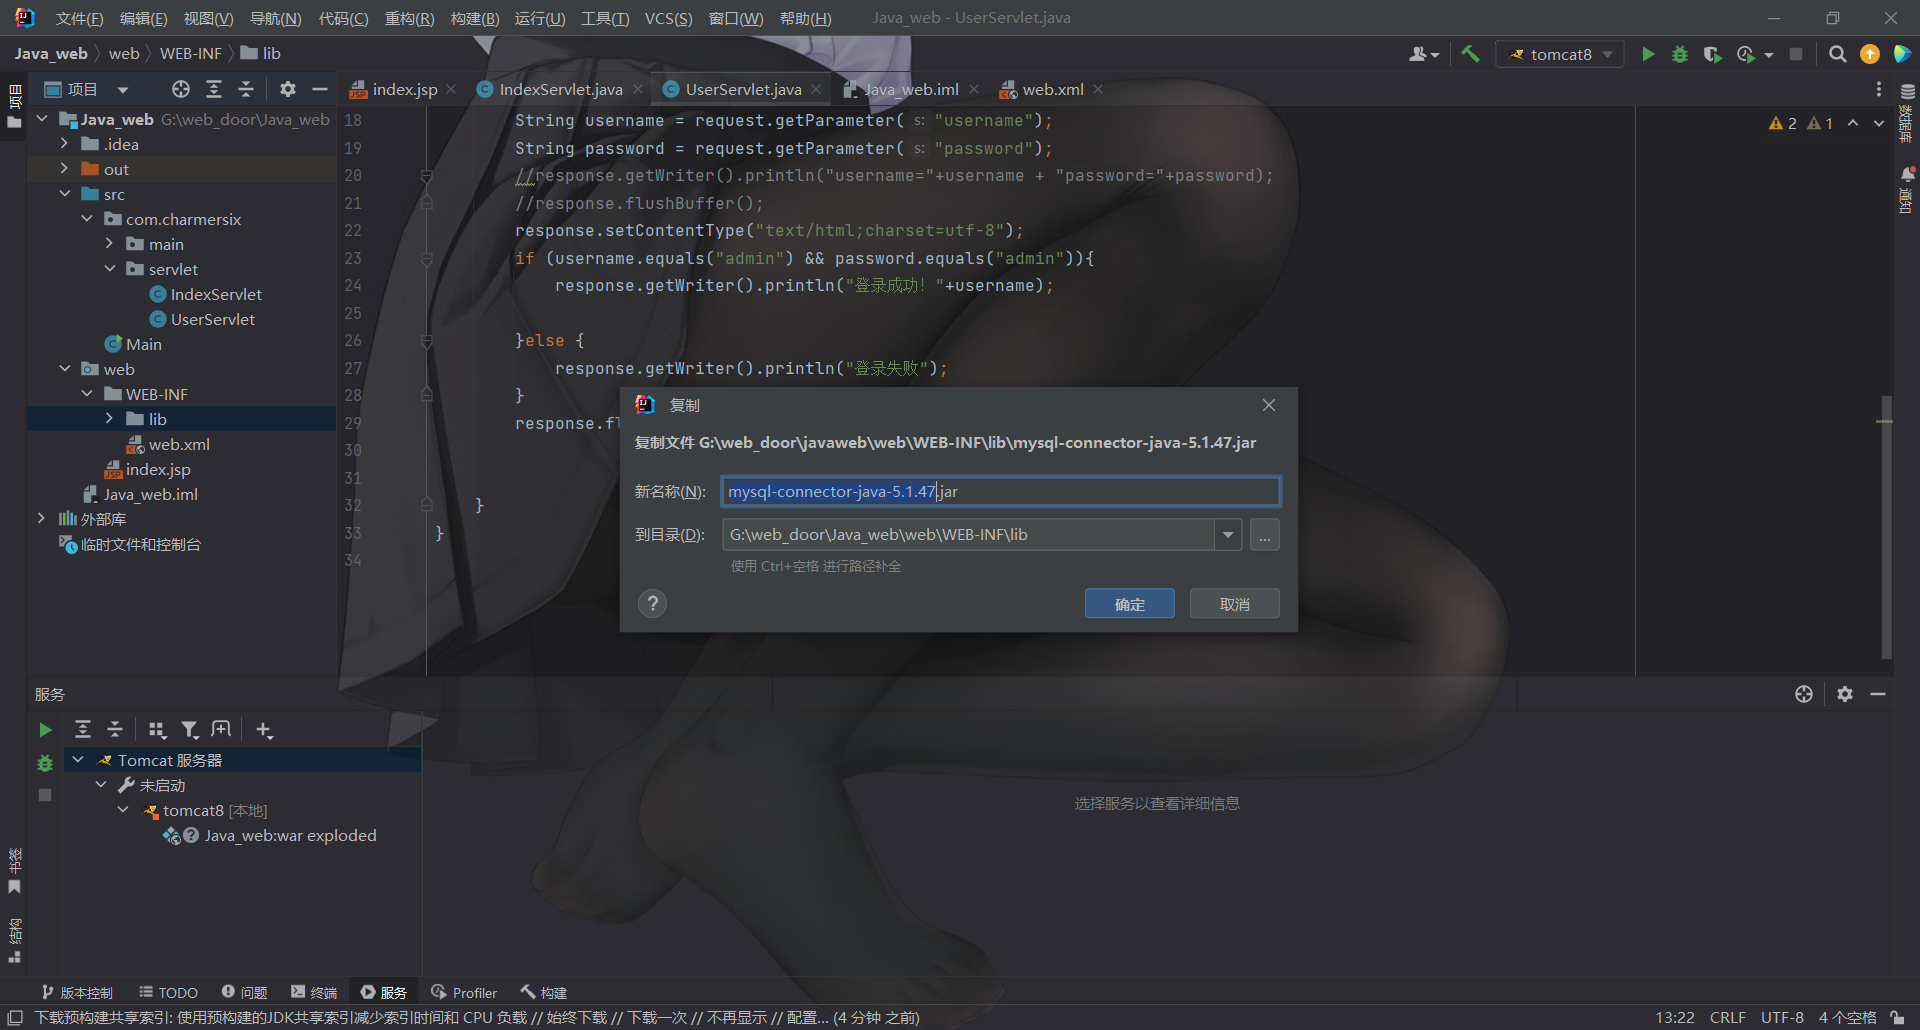
接下来, 我们加入数据库辅助验证, 首先我们lib目录下加一个mysql-connector-java-5.1.47.jar
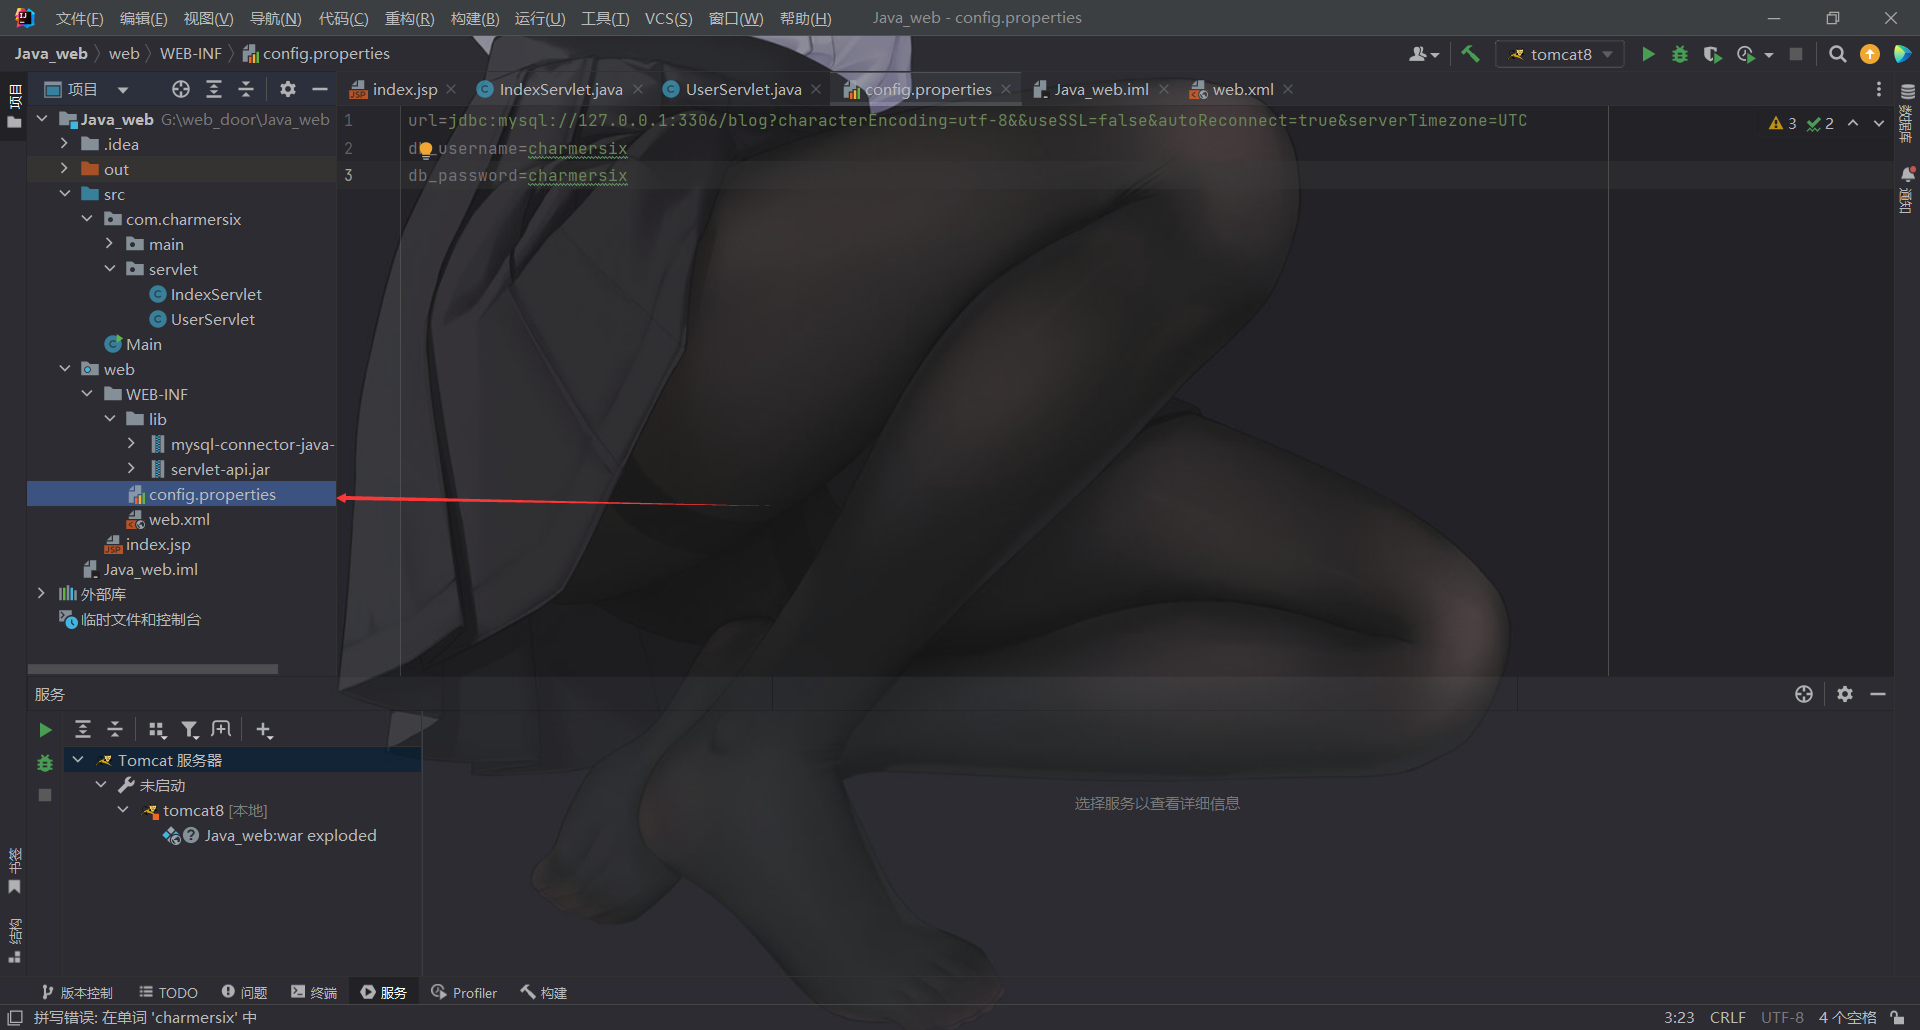
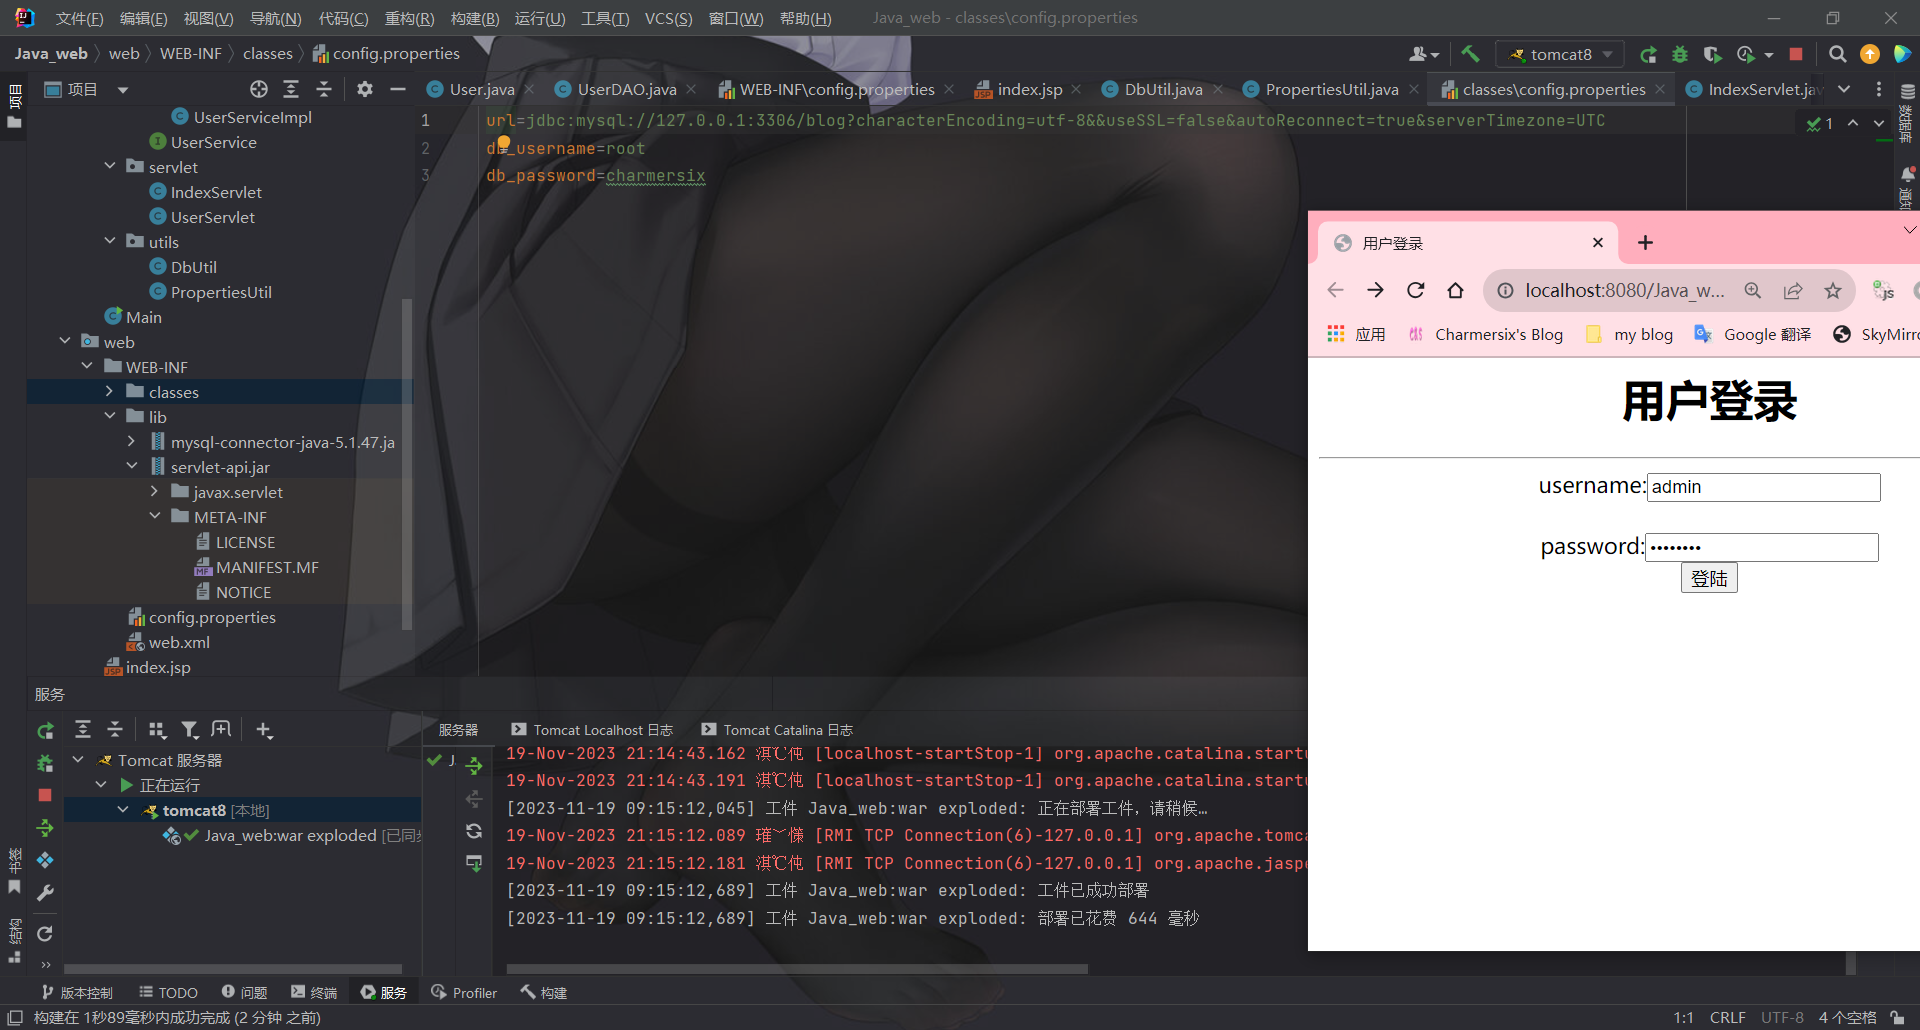
然后我们写一个数据库配置文件
1
2
3
url=jdbc:mysql://127.0.0.1:3306/blog?characterEncoding=utf-8&&useSSL=false&autoReconnect=true&serverTimezone=UTC db_username=charmersix db_password=charmersix
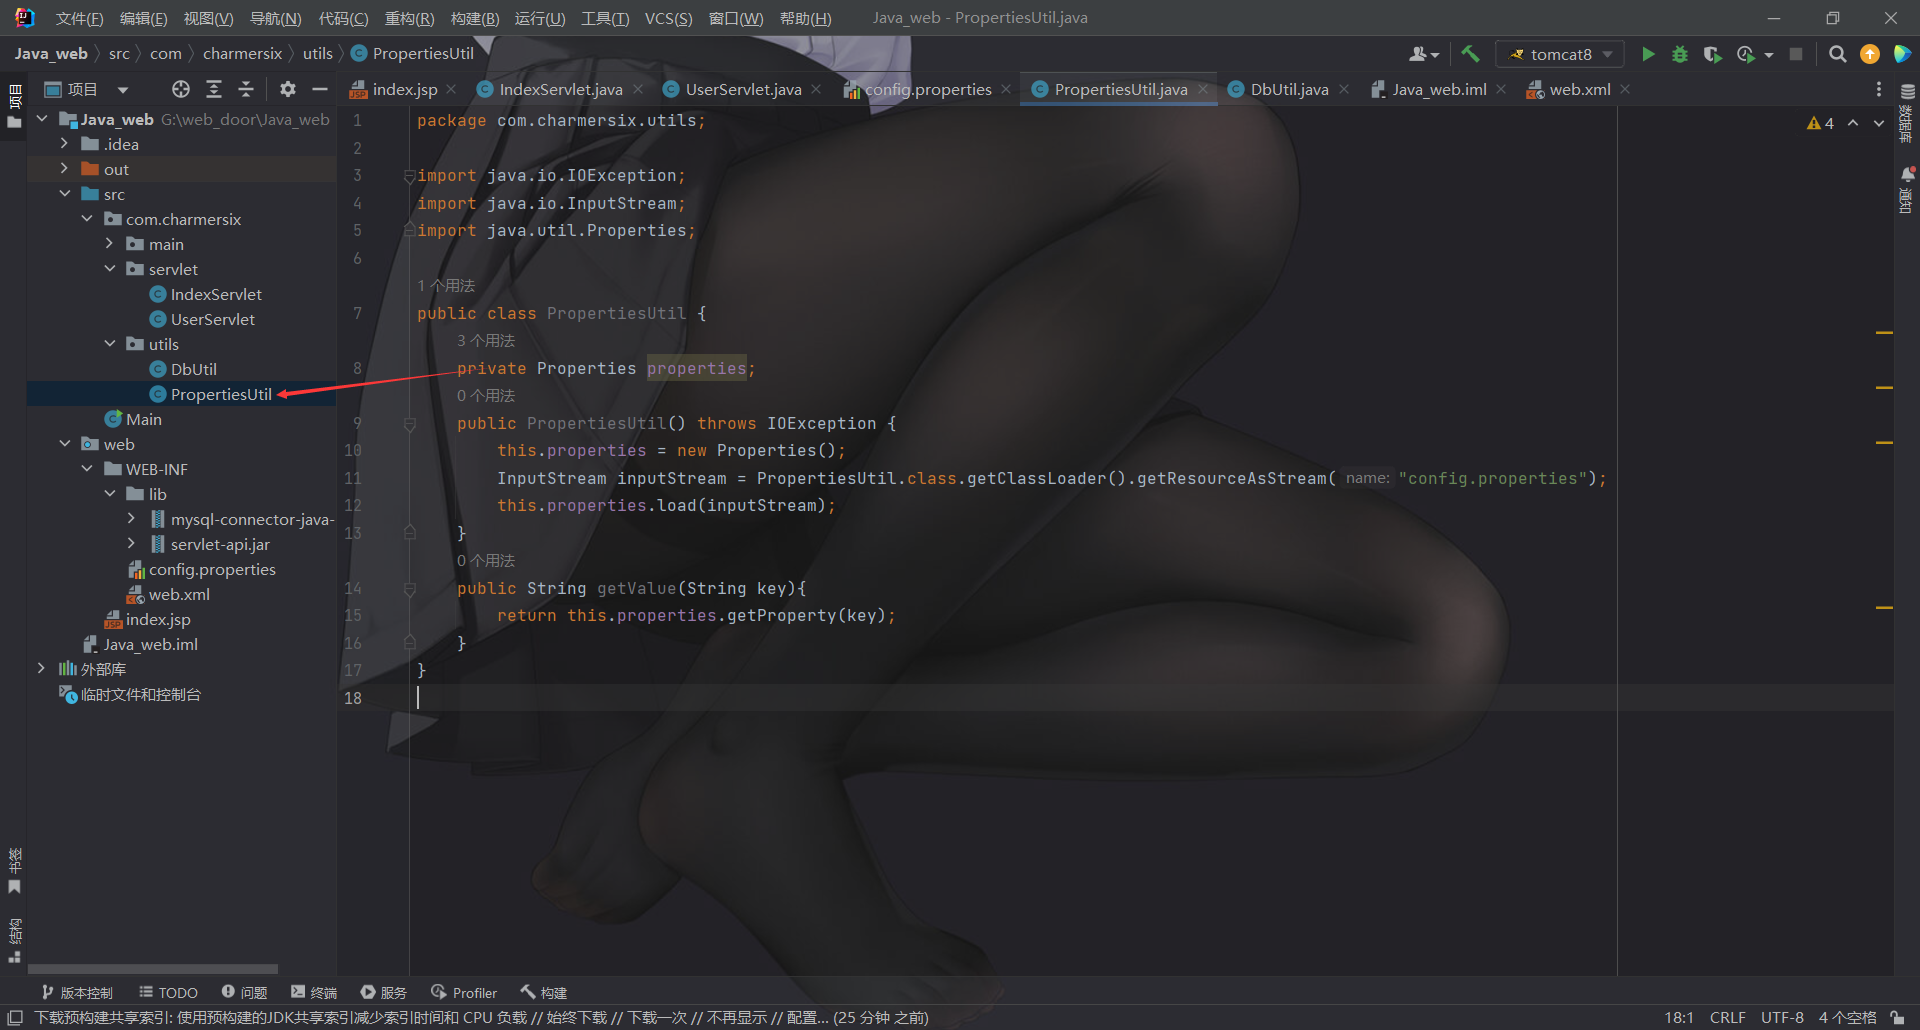
首先我们新建一个读取配置文件的类
1
2
3
4
5
6
7
8
9
10
11
12
13
14
15
16
17
package com.charmersix.utils;import java.io.IOException;import java.io.InputStream;import java.util.Properties;public class PropertiesUtil { private Properties properties; public PropertiesUtil () throws IOException { this .properties = new Properties (); InputStream inputStream = PropertiesUtil.class.getClassLoader().getResourceAsStream("config.properties" ); this .properties.load(inputStream); } public String getValue (String key) { return this .properties.getProperty(key); } }
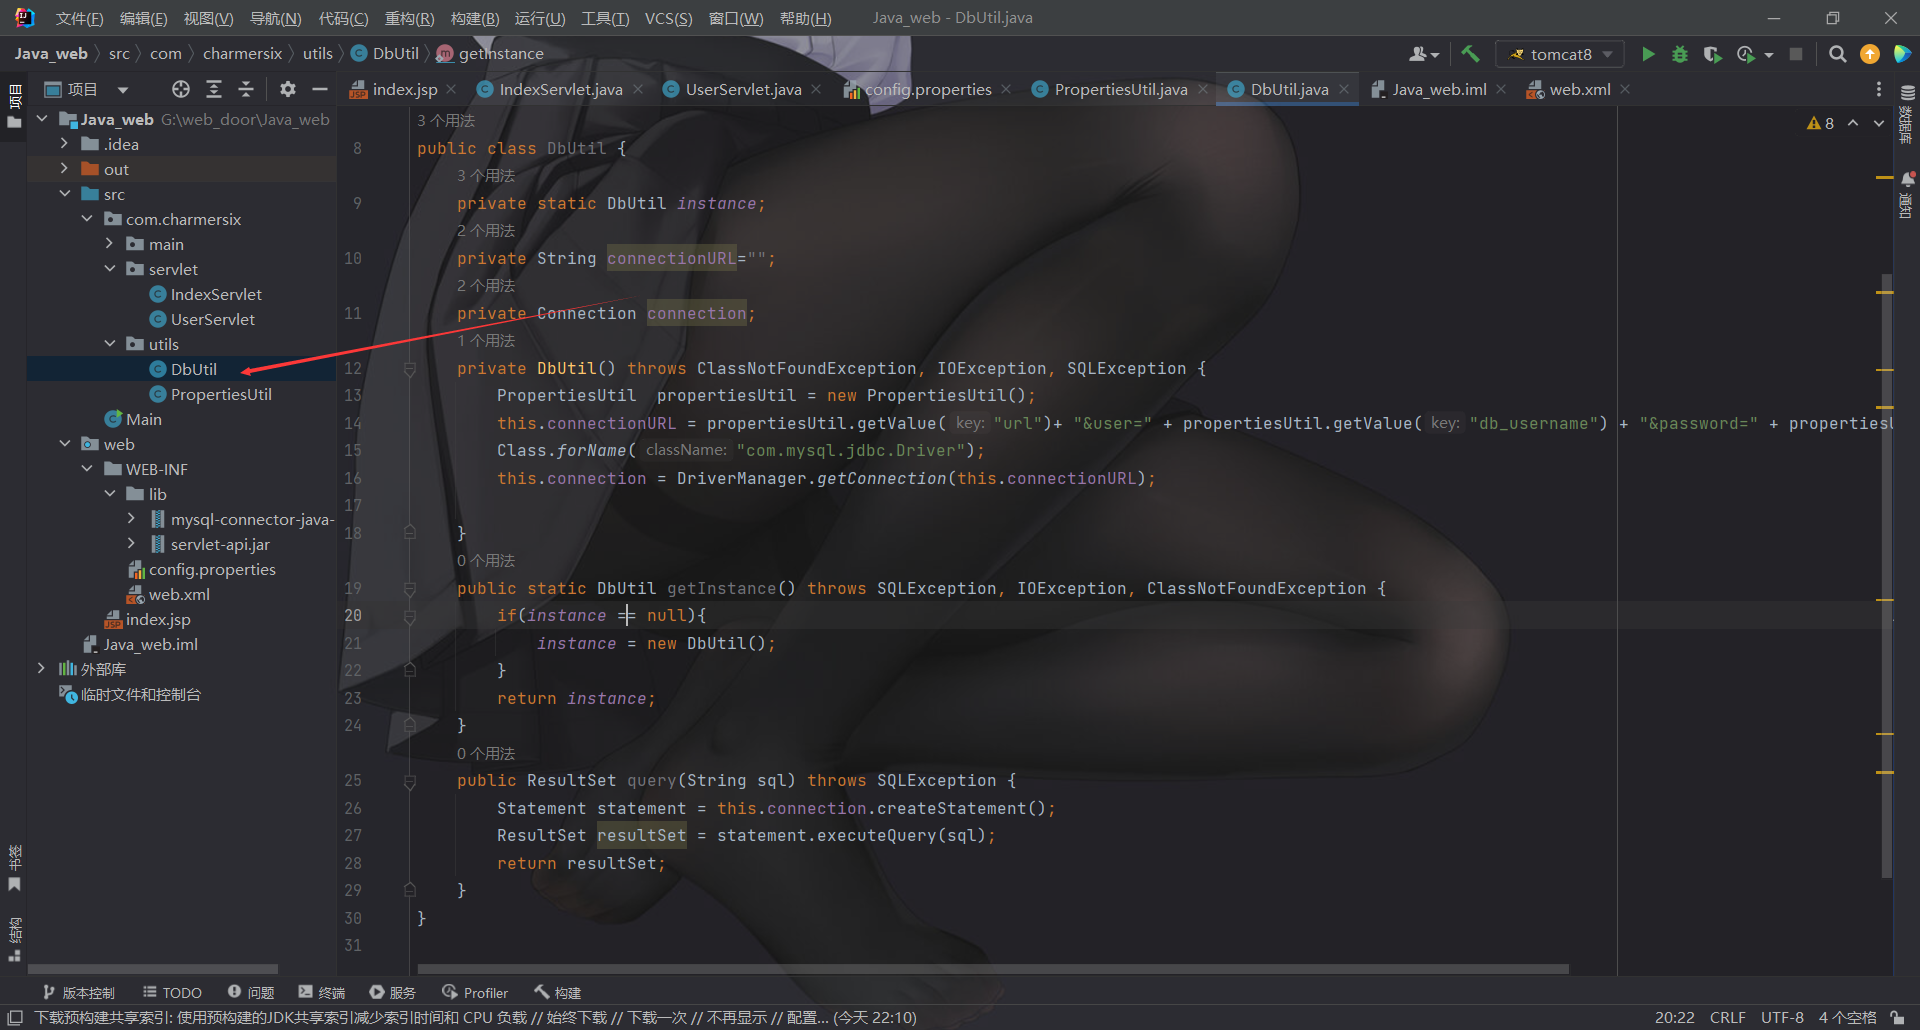
然后新建一个链接数据库的类
1
2
3
4
5
6
7
8
9
10
11
12
13
14
15
16
17
18
19
20
21
22
23
24
25
26
27
28
29
30
package com.charmersix.utils;import com.mysql.jdbc.Driver;import java.io.IOException;import java.sql.*;public class DbUtil { private static DbUtil instance; private String connectionURL="" ; private Connection connection; private DbUtil () throws ClassNotFoundException, IOException, SQLException { PropertiesUtil propertiesUtil = new PropertiesUtil (); this .connectionURL = propertiesUtil.getValue("url" )+ "&user=" + propertiesUtil.getValue("db_username" ) + "&password=" + propertiesUtil.getValue("db_password" ); Class.forName("com.mysql.jdbc.Driver" ); this .connection = DriverManager.getConnection(this .connectionURL); } public static DbUtil getInstance () throws SQLException, IOException, ClassNotFoundException { if (instance == null ){ instance = new DbUtil (); } return instance; } public ResultSet query (String sql) throws SQLException { Statement statement = this .connection.createStatement(); ResultSet resultSet = statement.executeQuery(sql); return resultSet; } }
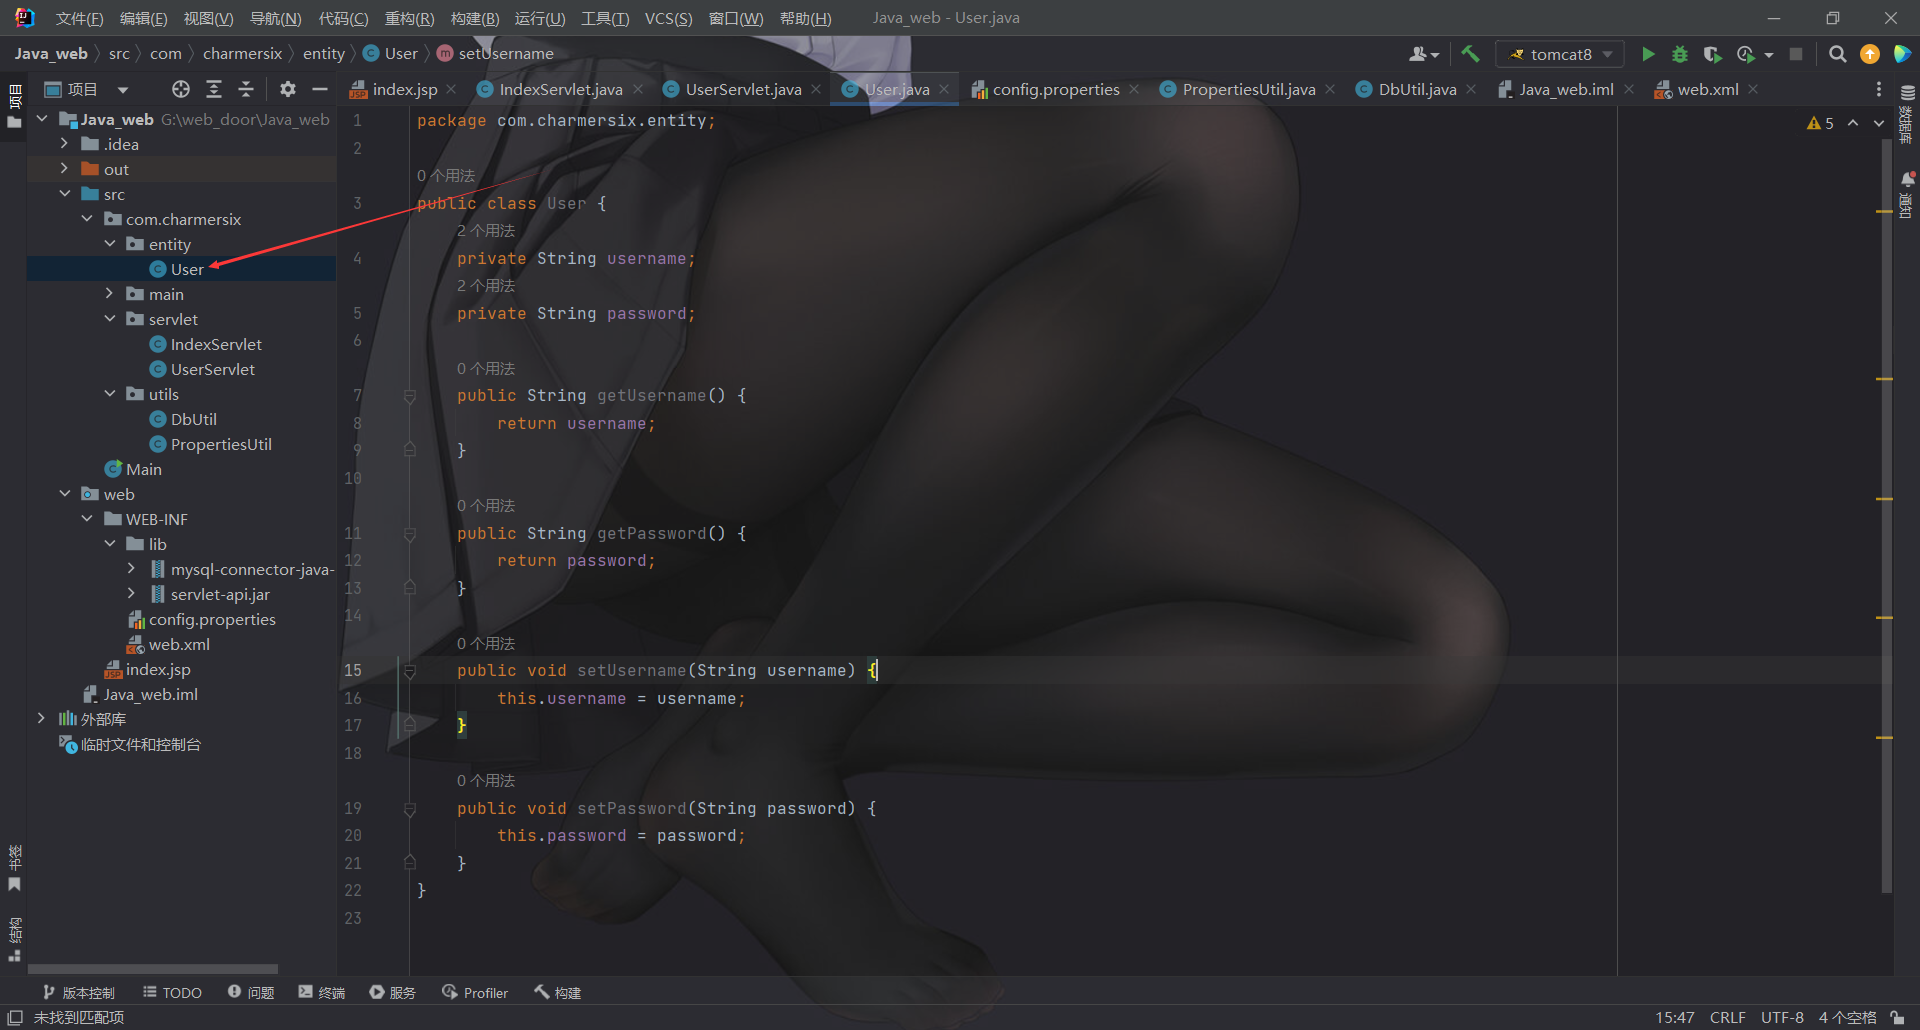
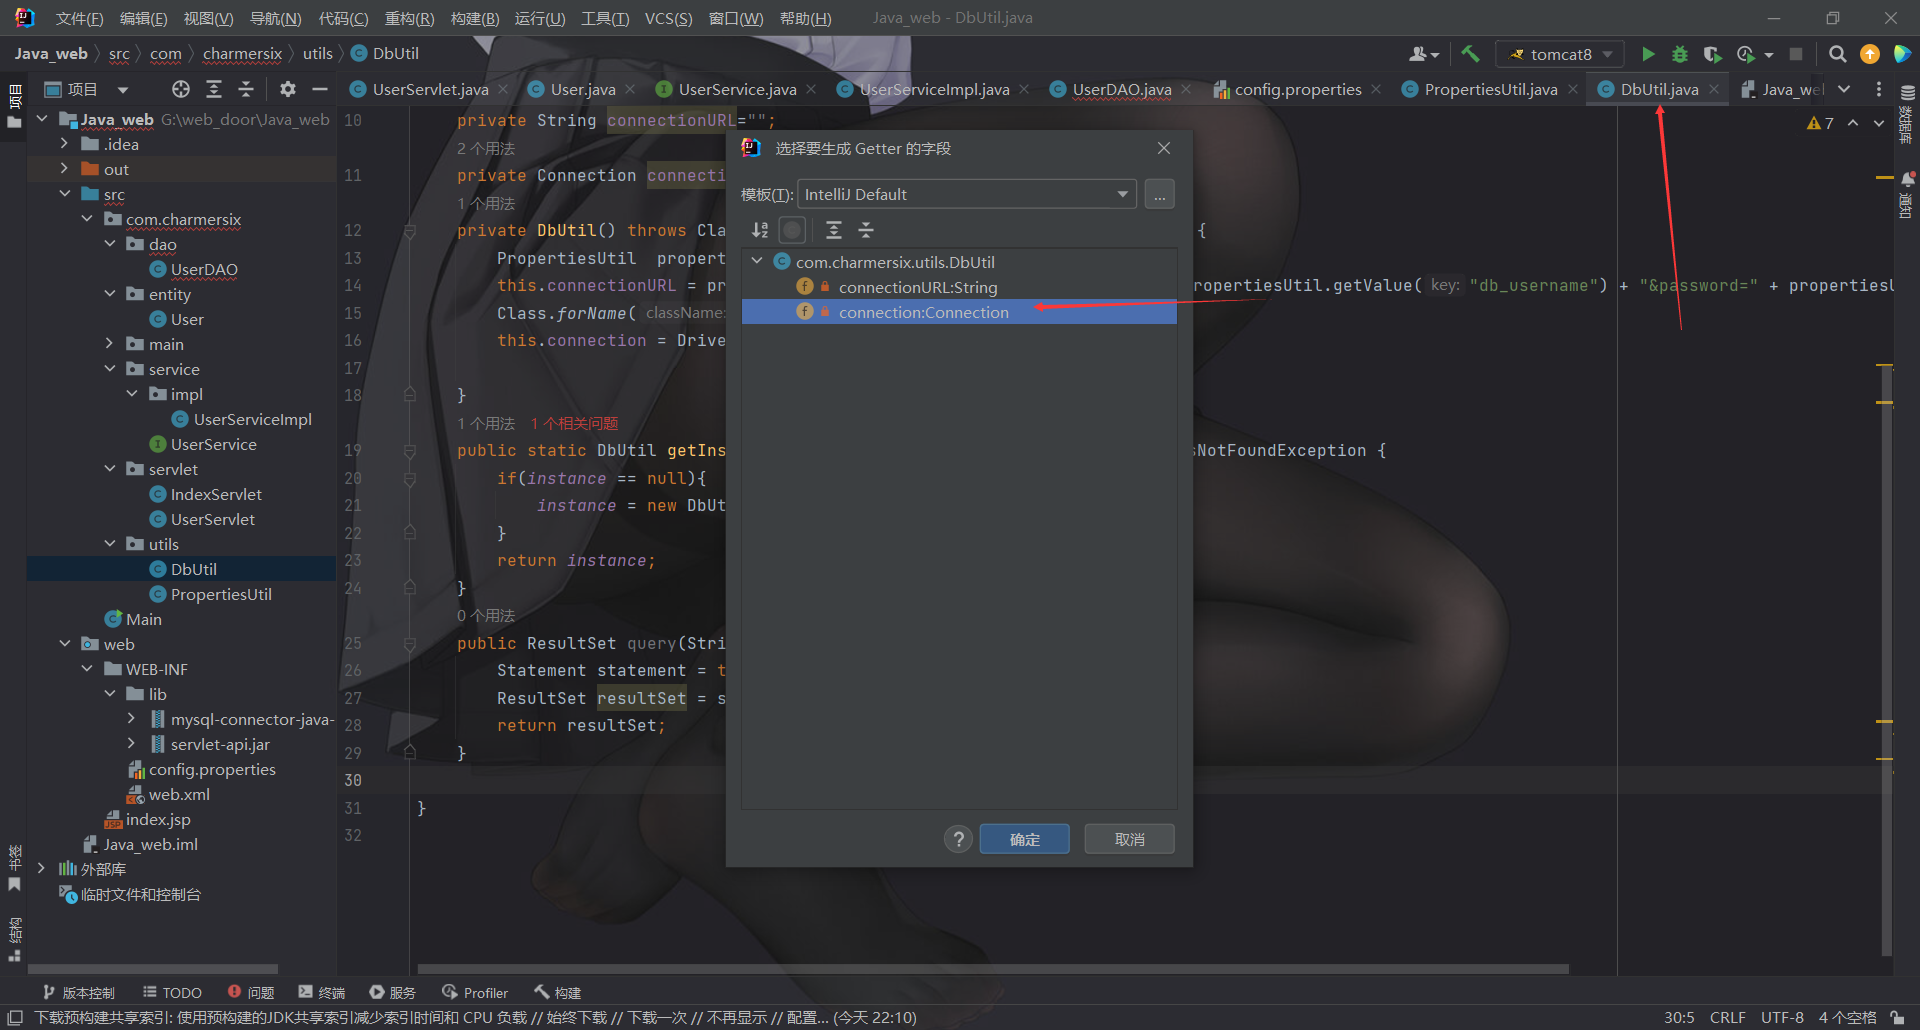
然后我们新建一个包, 加一个实体类代表用户
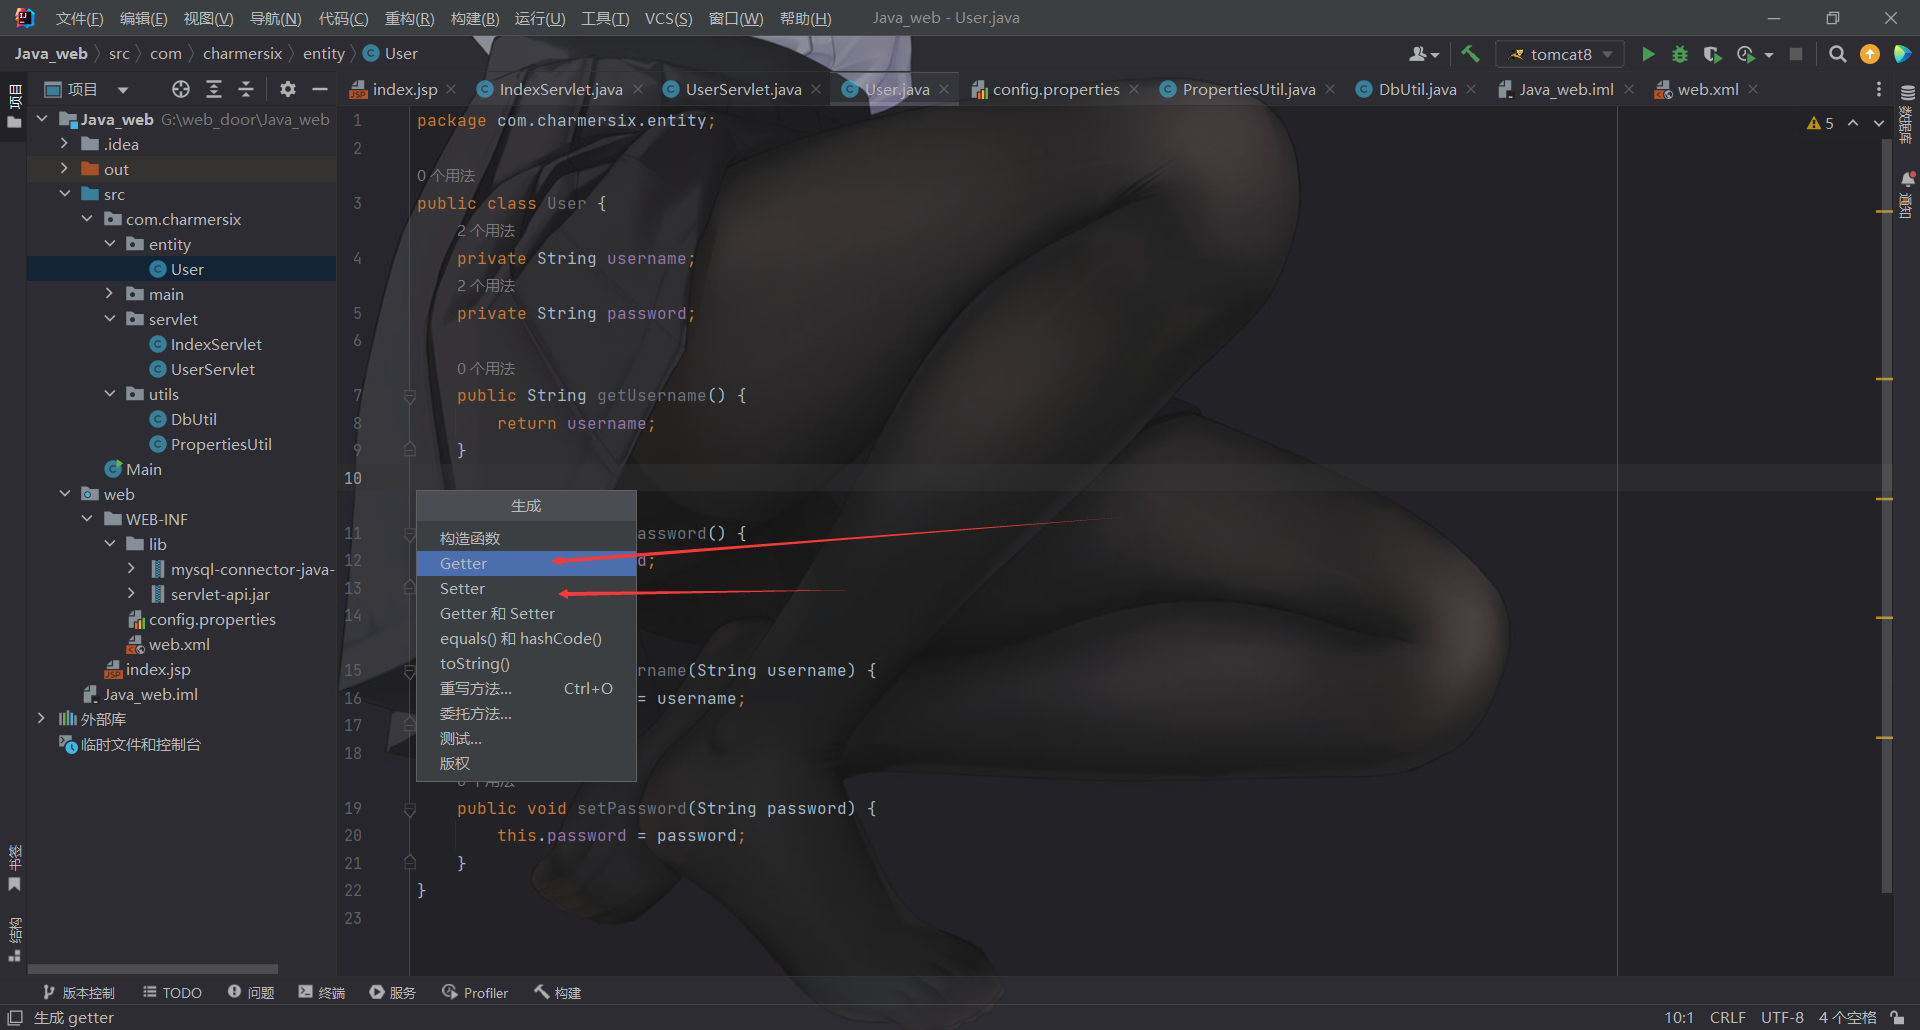
其中里边的get和set方法, 均可以通过右键生成
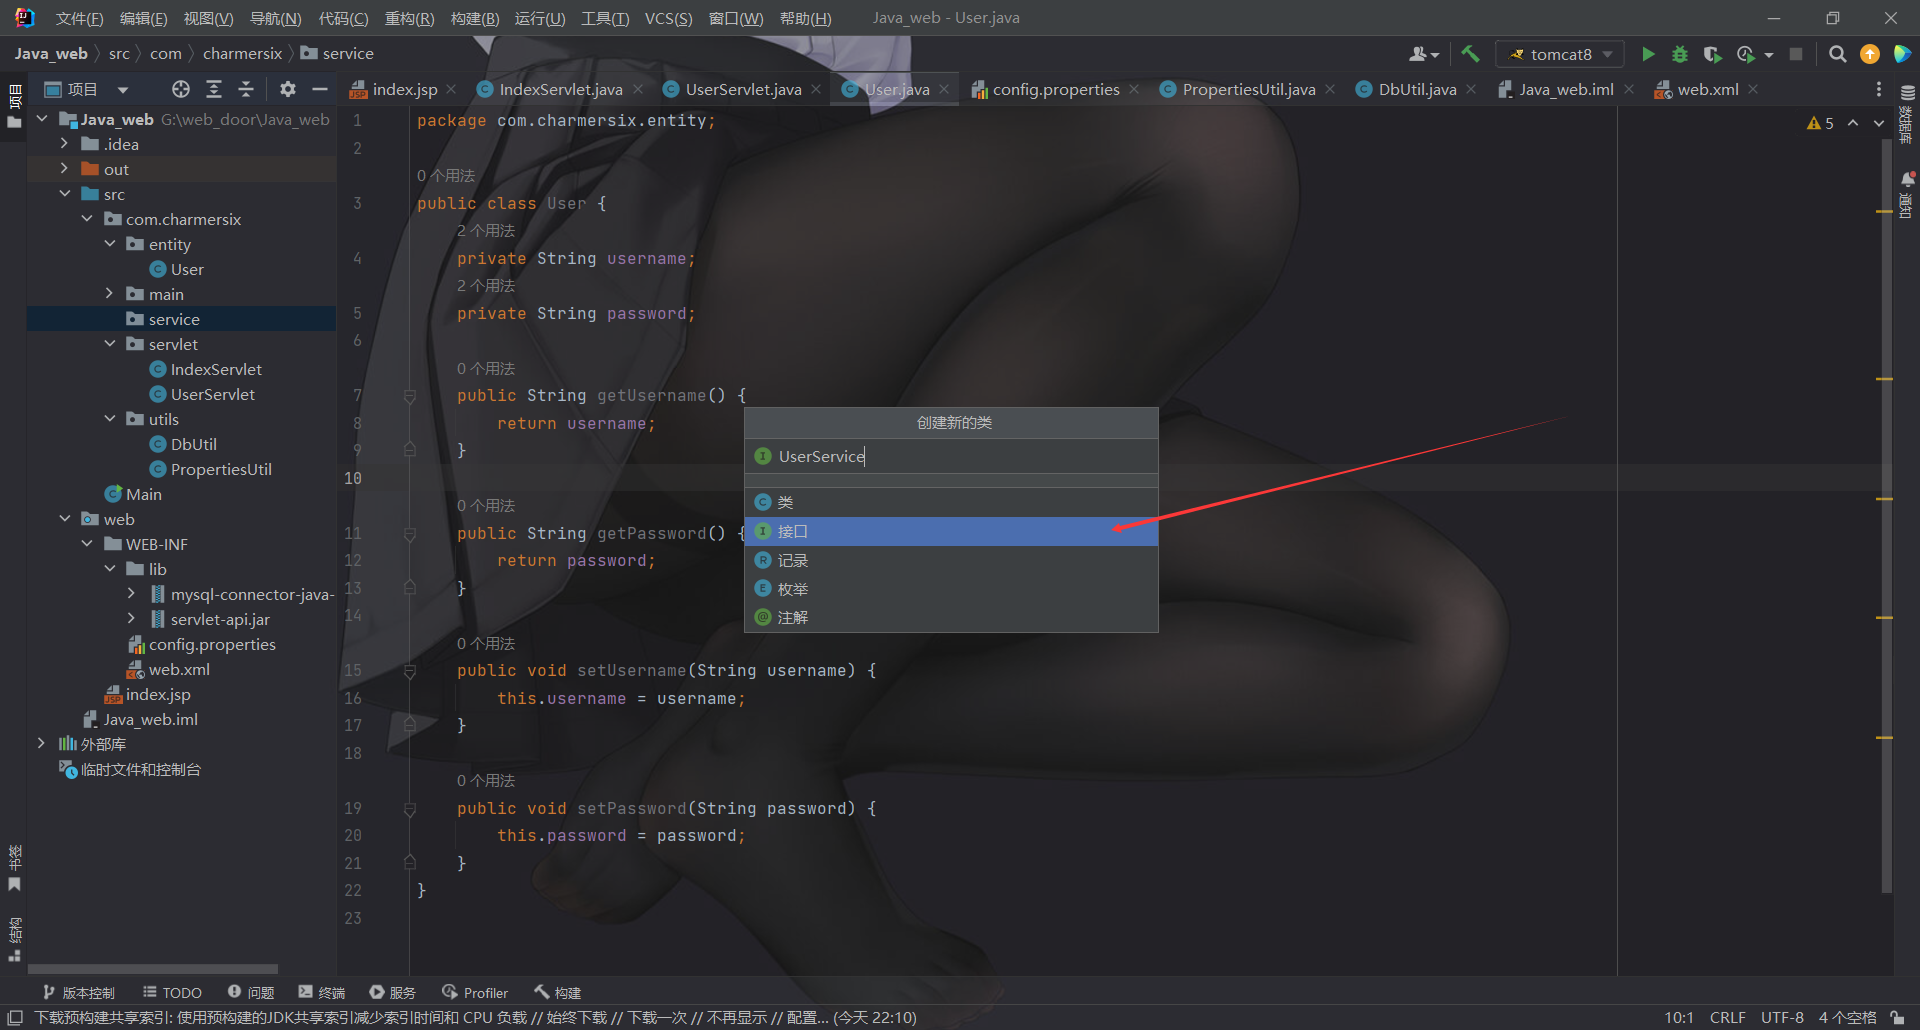
然后再建一个包, 来处理User类的结果, 新建一个接口
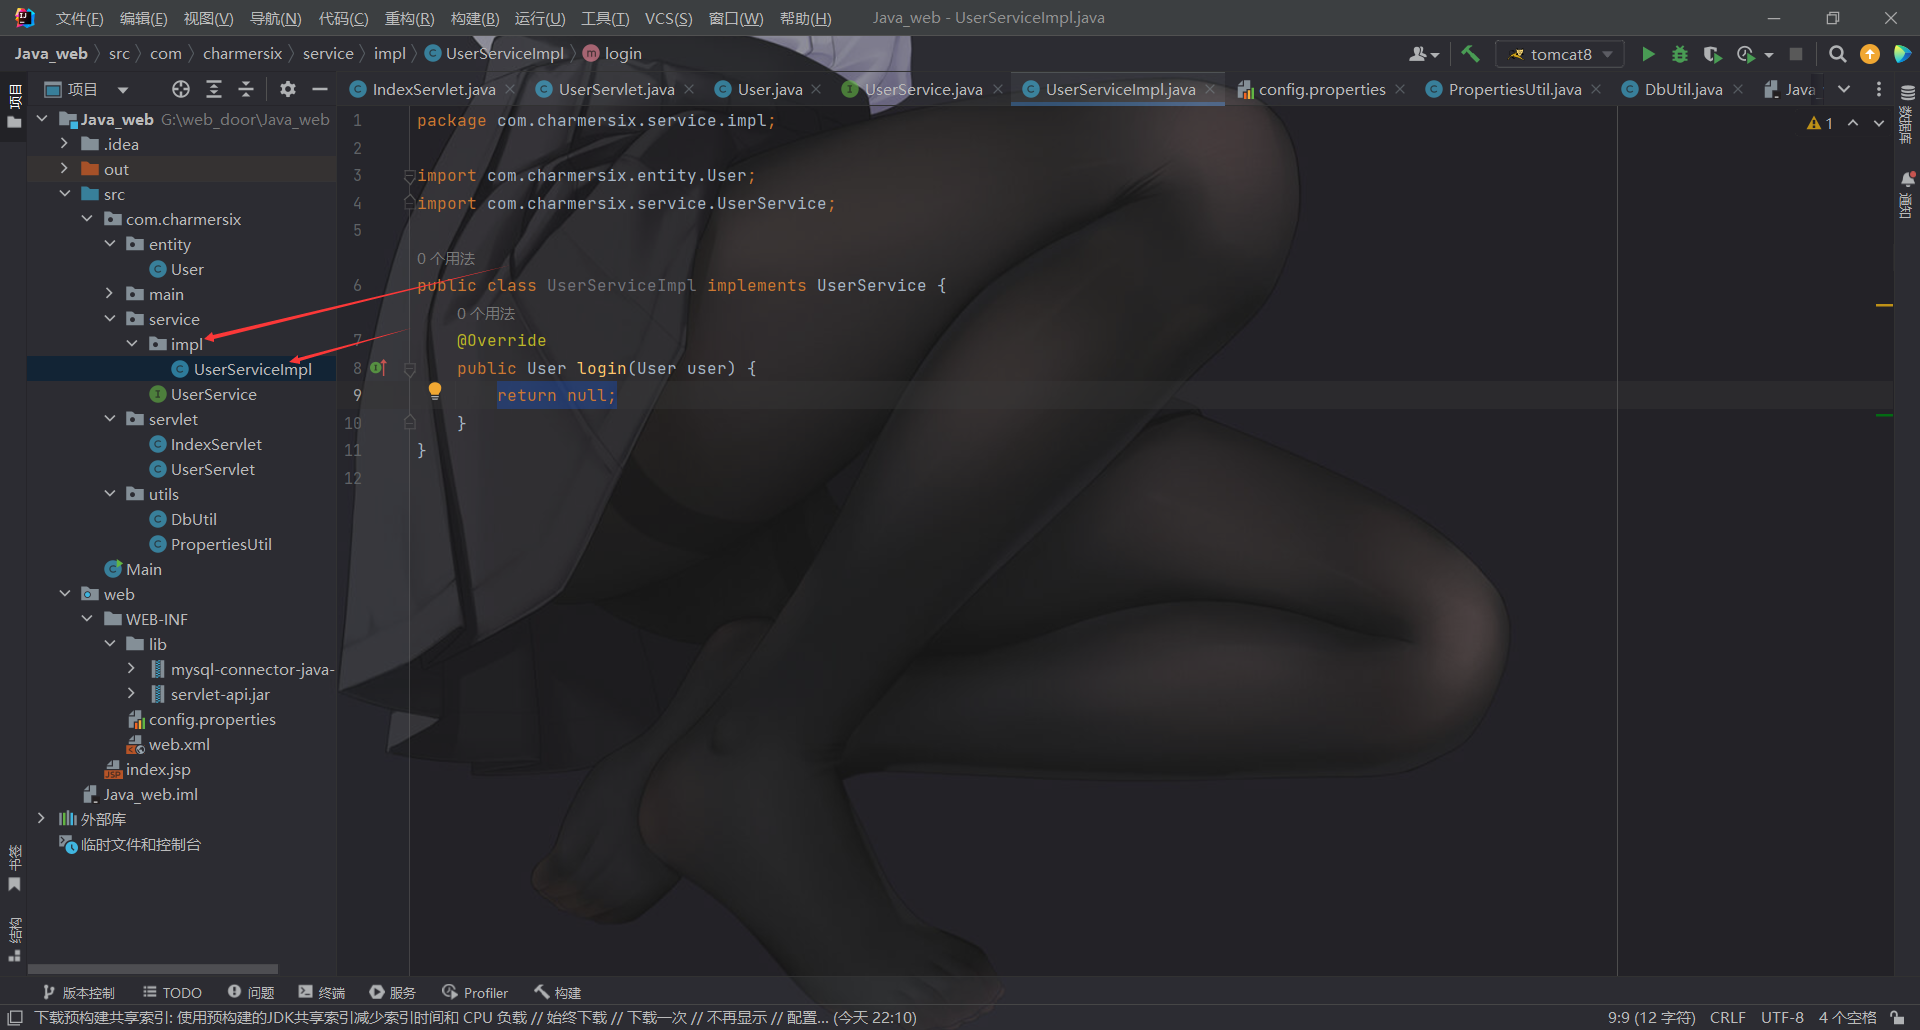
然后新建实现抽象接口的类
1
2
3
4
5
6
7
8
9
10
11
package com.charmersix.service.impl;import com.charmersix.entity.User;import com.charmersix.service.UserService;public class UserServiceImpl implements UserService { @Override public User login (User user) { return null ; } }
然后写数据库交互类
1
2
3
4
5
6
7
8
9
10
11
12
13
14
15
16
17
18
19
20
21
22
23
24
25
26
27
28
29
30
31
package com.charmersix.dao;import com.charmersix.entity.User;import com.charmersix.utils.DbUtil;import java.io.IOException;import java.sql.Connection;import java.sql.PreparedStatement;import java.sql.ResultSet;import java.sql.SQLException;public class UserDAO { public static User check_user (User user) throws SQLException, IOException, ClassNotFoundException { User u = null ; Connection connection = DbUtil.getInstance().getConnection(); String sql = "select username,password from user where username= ? limit 1" ; PreparedStatement preparedStatement = connection.prepareStatement(sql); preparedStatement.setString(1 ,user.getUsername(resultSet.getString("username" ))); ResultSet resultSet = preparedStatement.executeQuery(); while (resultSet.next()){ if (resultSet.getString("password" ).equals(user.getPassword(resultSet.getString("password" )))){ u = new User (); u.getUsername(resultSet.getString("username" )); u.getPassword(resultSet.getString("password" )); } } return u; } }
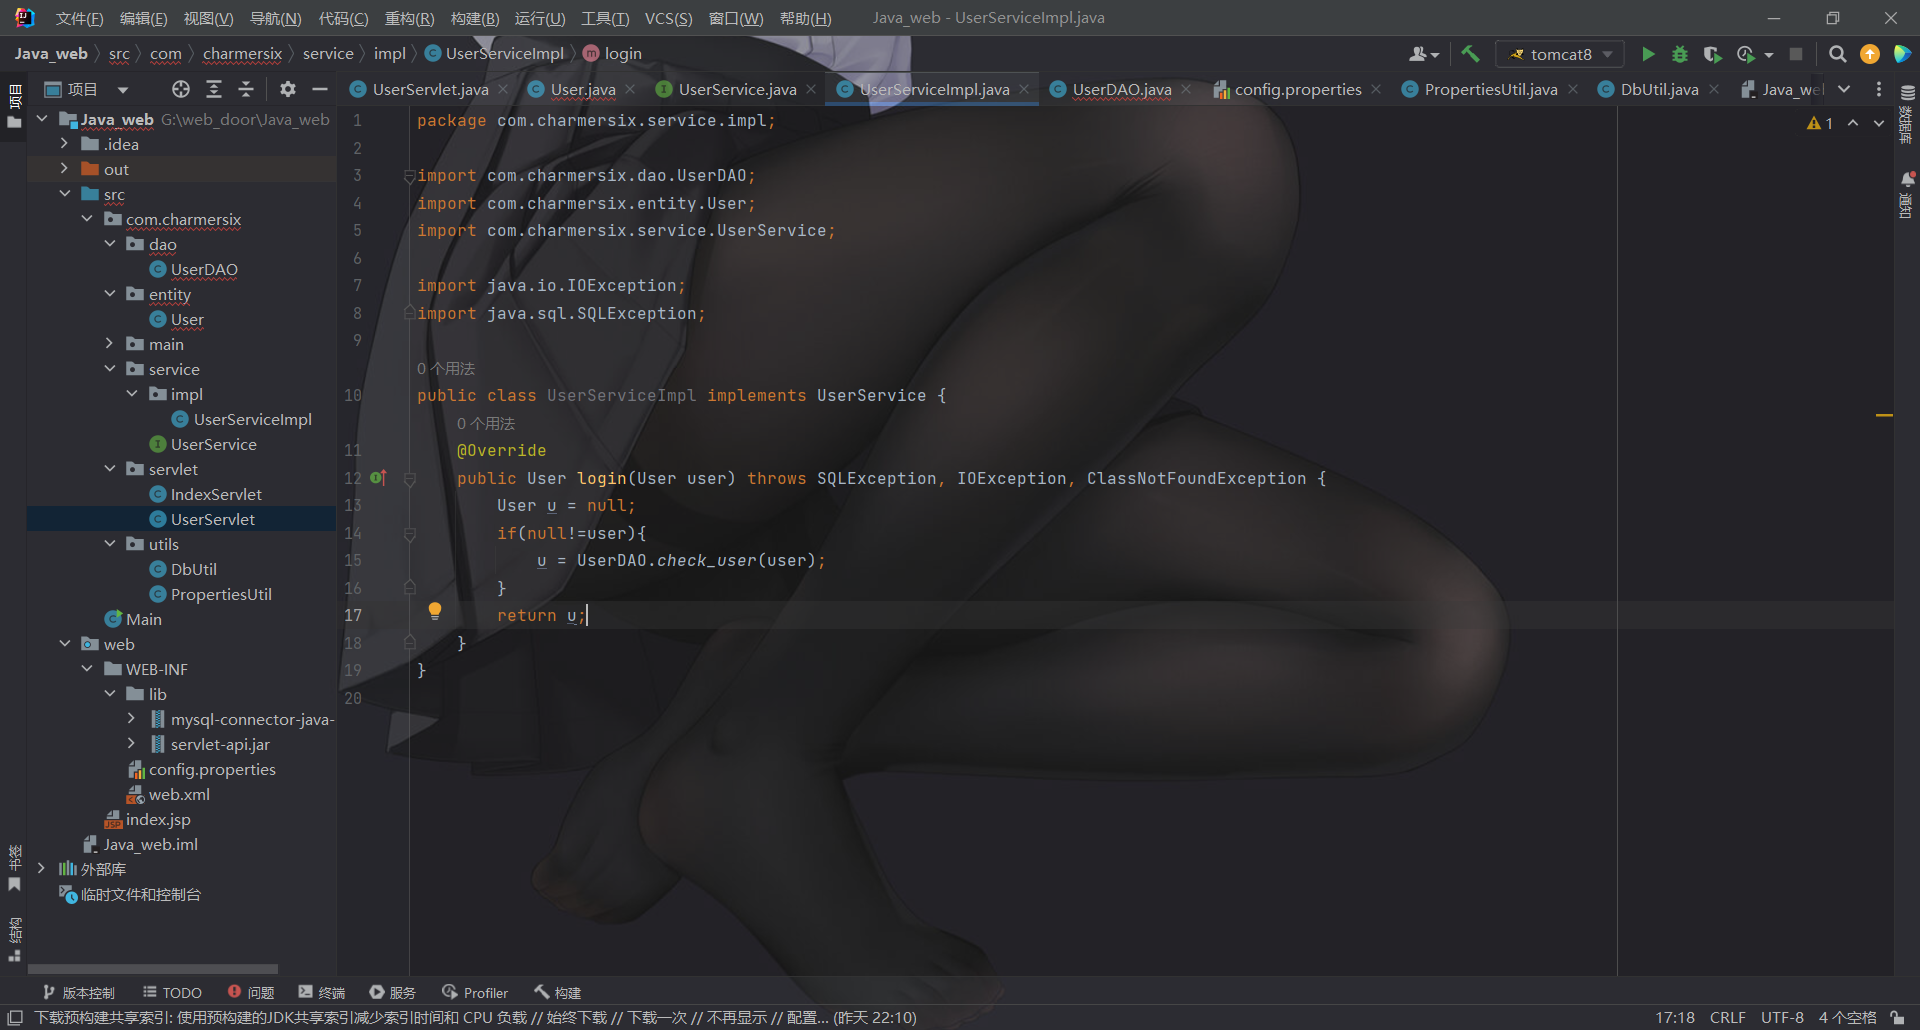
然后修改一下接口实现的类
然后再编写UserService类来进行最后的调用
1
2
3
4
5
6
7
8
9
10
11
12
13
14
15
16
17
18
19
20
21
22
23
24
25
26
27
28
29
30
31
32
33
34
35
36
37
38
39
40
41
42
43
44
45
46
47
48
49
50
package com.charmersix.servlet;import com.charmersix.entity.User;import com.charmersix.service.UserService;import com.charmersix.service.impl.UserServiceImpl;import javax.servlet.*;import javax.servlet.http.*;import javax.servlet.annotation.*;import java.io.IOException;import java.sql.SQLException;@WebServlet(name = "UserServlet", value = "/user") public class UserServlet extends HttpServlet { @Override protected void doGet (HttpServletRequest request, HttpServletResponse response) throws ServletException, IOException { response.sendRedirect("/index.jsp" ); } @Override protected void doPost (HttpServletRequest request, HttpServletResponse response) throws ServletException, IOException { String username = request.getParameter("username" ); String password = request.getParameter("password" ); response.setContentType("text/html;charset=utf-8" ); User u = null ; UserServlet userServlet = new UserServiceImpl (); try { u = userService.login(new User (username,password)); }catch (SQLException e){ throw new RuntimeException (e); }catch (ClassNotFoundException e){ throw new RuntimeException (e); } if (null !=u){ response.getWriter().println("登录成功!" +username); }else { response.getWriter().println("登录失败" ); } response.flushBuffer(); } }
Java原生类反序列化 新建个BaseUser类
1
2
3
4
5
6
7
8
9
10
11
12
package com.charmersix.entity;import java.io.IOException;import java.io.ObjectInputStream;import java.io.Serializable;public class BaseUser implements Serializable { private void readObject (ObjectInputStream in) throws IOException, ClassNotFoundException { in.defaultReadObject(); Runtime.getRuntime().exec("calc" ); } }
然后我们继续在app.java里修改
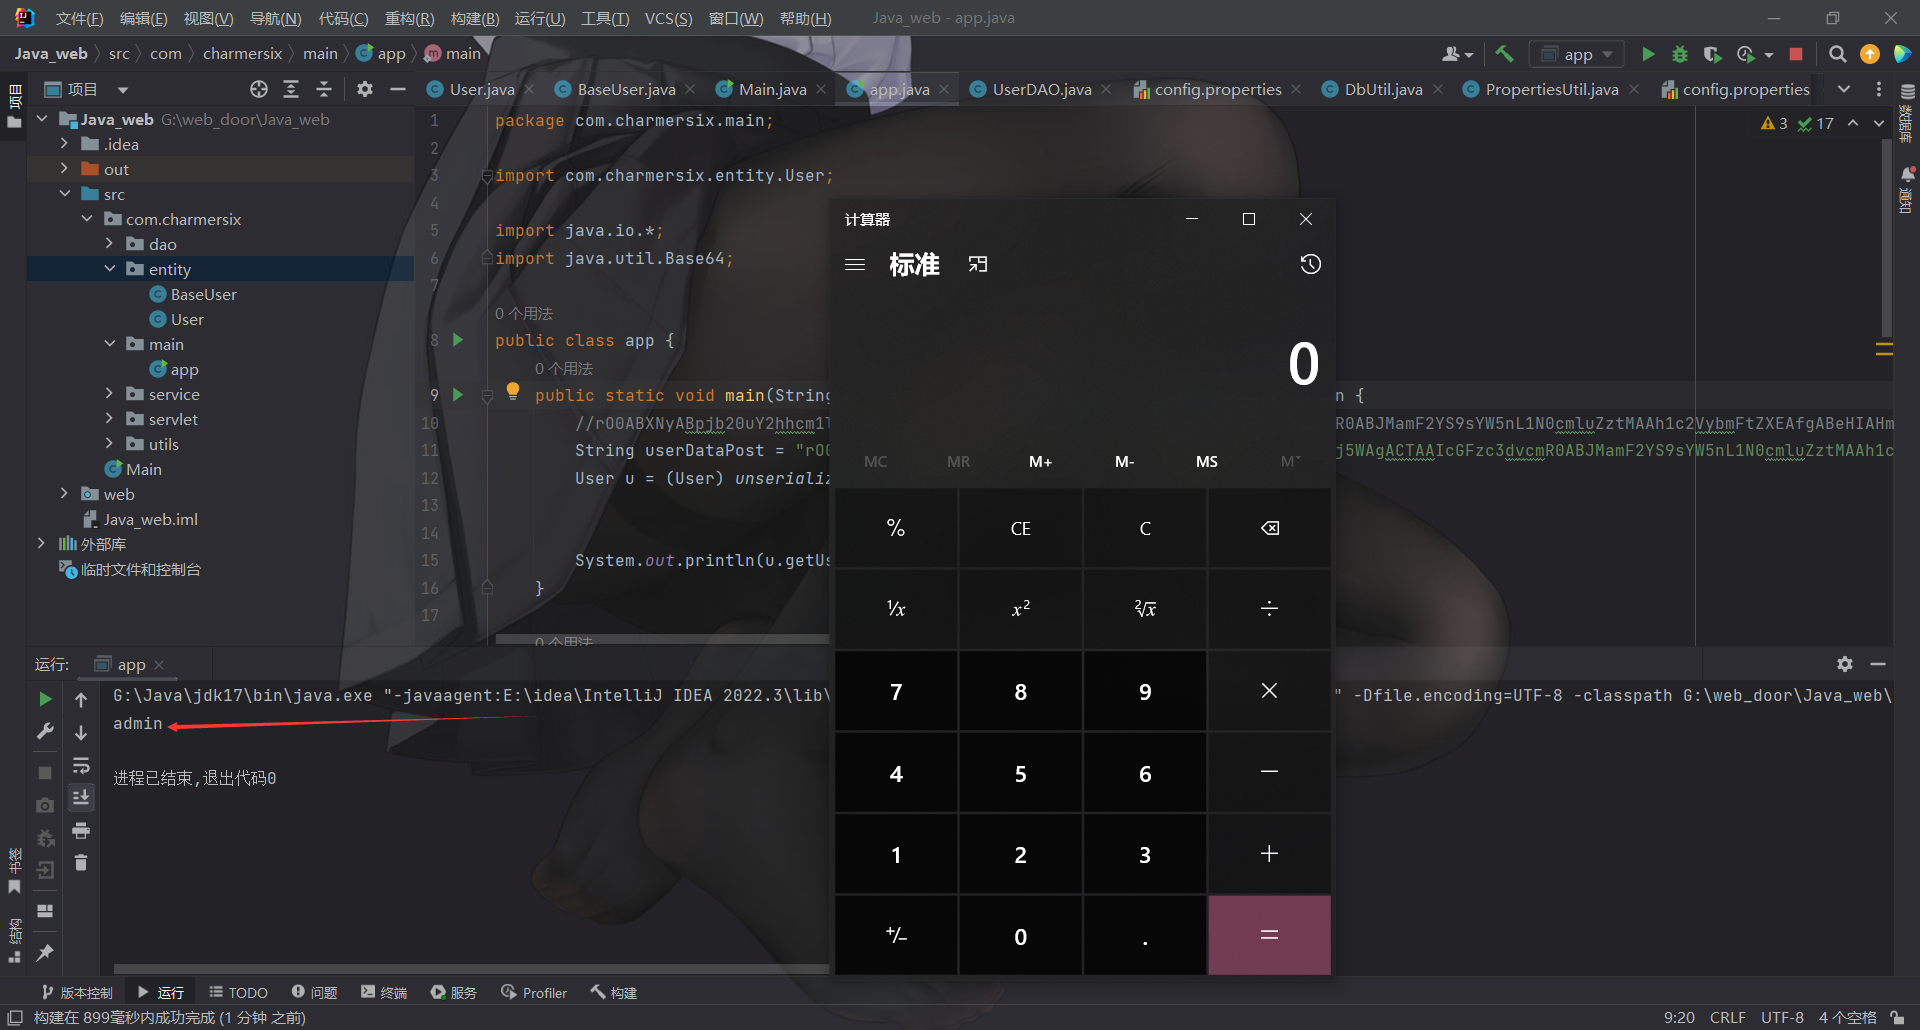
1
2
3
4
5
6
7
8
9
10
11
12
13
14
15
16
17
18
19
20
21
22
23
24
25
26
27
28
29
30
31
32
33
34
35
36
37
38
39
40
package com.charmersix.main;import com.charmersix.entity.User;import java.io.*;import java.util.Base64;public class app { public static void main (String[] args) throws IOException, ClassNotFoundException { String userDataPost = "rO0ABXNyABpjb20uY2hhcm1lcnNpeC5lbnRpdHkuVXNlchG3LuOsOj5WAgACTAAIcGFzc3dvcmR0ABJMamF2YS9sYW5nL1N0cmluZztMAAh1c2VybmFtZXEAfgABeHIAHmNvbS5jaGFybWVyc2l4LmVudGl0eS5CYXNlVXNlci5nvkEfNFrmAgAAeHB0AAMxMjN0AAVhZG1pbg==" ; User u = (User) unserialize(userDataPost); System.out.println(u.getUsername()); } public static String serialize (Object o) throws IOException { User user = new User ("admin" ,"123" ); String userDataPost = "" ; ByteArrayOutputStream byteArrayOutputStream = new ByteArrayOutputStream (); ObjectOutputStream objectOutputStream = new ObjectOutputStream (byteArrayOutputStream); objectOutputStream.writeObject(o); objectOutputStream.close(); byte [] userData = byteArrayOutputStream.toByteArray(); userDataPost = Base64.getEncoder().encodeToString(userData); return userDataPost; } public static Object unserialize (String string) throws IOException, ClassNotFoundException { Object object; ByteArrayInputStream byteArrayInputStream = new ByteArrayInputStream (Base64.getDecoder().decode(string.getBytes())); ObjectInputStream objectInputStream = new ObjectInputStream (byteArrayInputStream); object = objectInputStream.readObject(); objectInputStream.close(); return object; } }
尝试执行, 成功弹计算器, 并获取admin
Java中除了readObject()方法, 还有readUnshared()方法也会触发反序列化
反序列化中, 调用子类的反序列化方法, 即使子类中没有反序列化方法, 父类中有, 子类也会收到影响
Java组件漏洞 JNDI基础 首先新建一个META-INF目录, 下面建一个context.xml然后写入数据库配置文件
1
2
3
4
5
6
7
8
9
10
11
12
13
<?xml version="1.0" encoding="UTF-8" ?> <Context > <Resource name ="jndi/user" auth ="Container" type ="javax.sql.DataSource" username ="root" password ="charmersix" driverClassName ="com.mysql.jdbc.Driver" url ="jdbc:mysql://127.0.0.1:3306/blog" maxTotal ="8" maxIdle ="4" /> </Context >
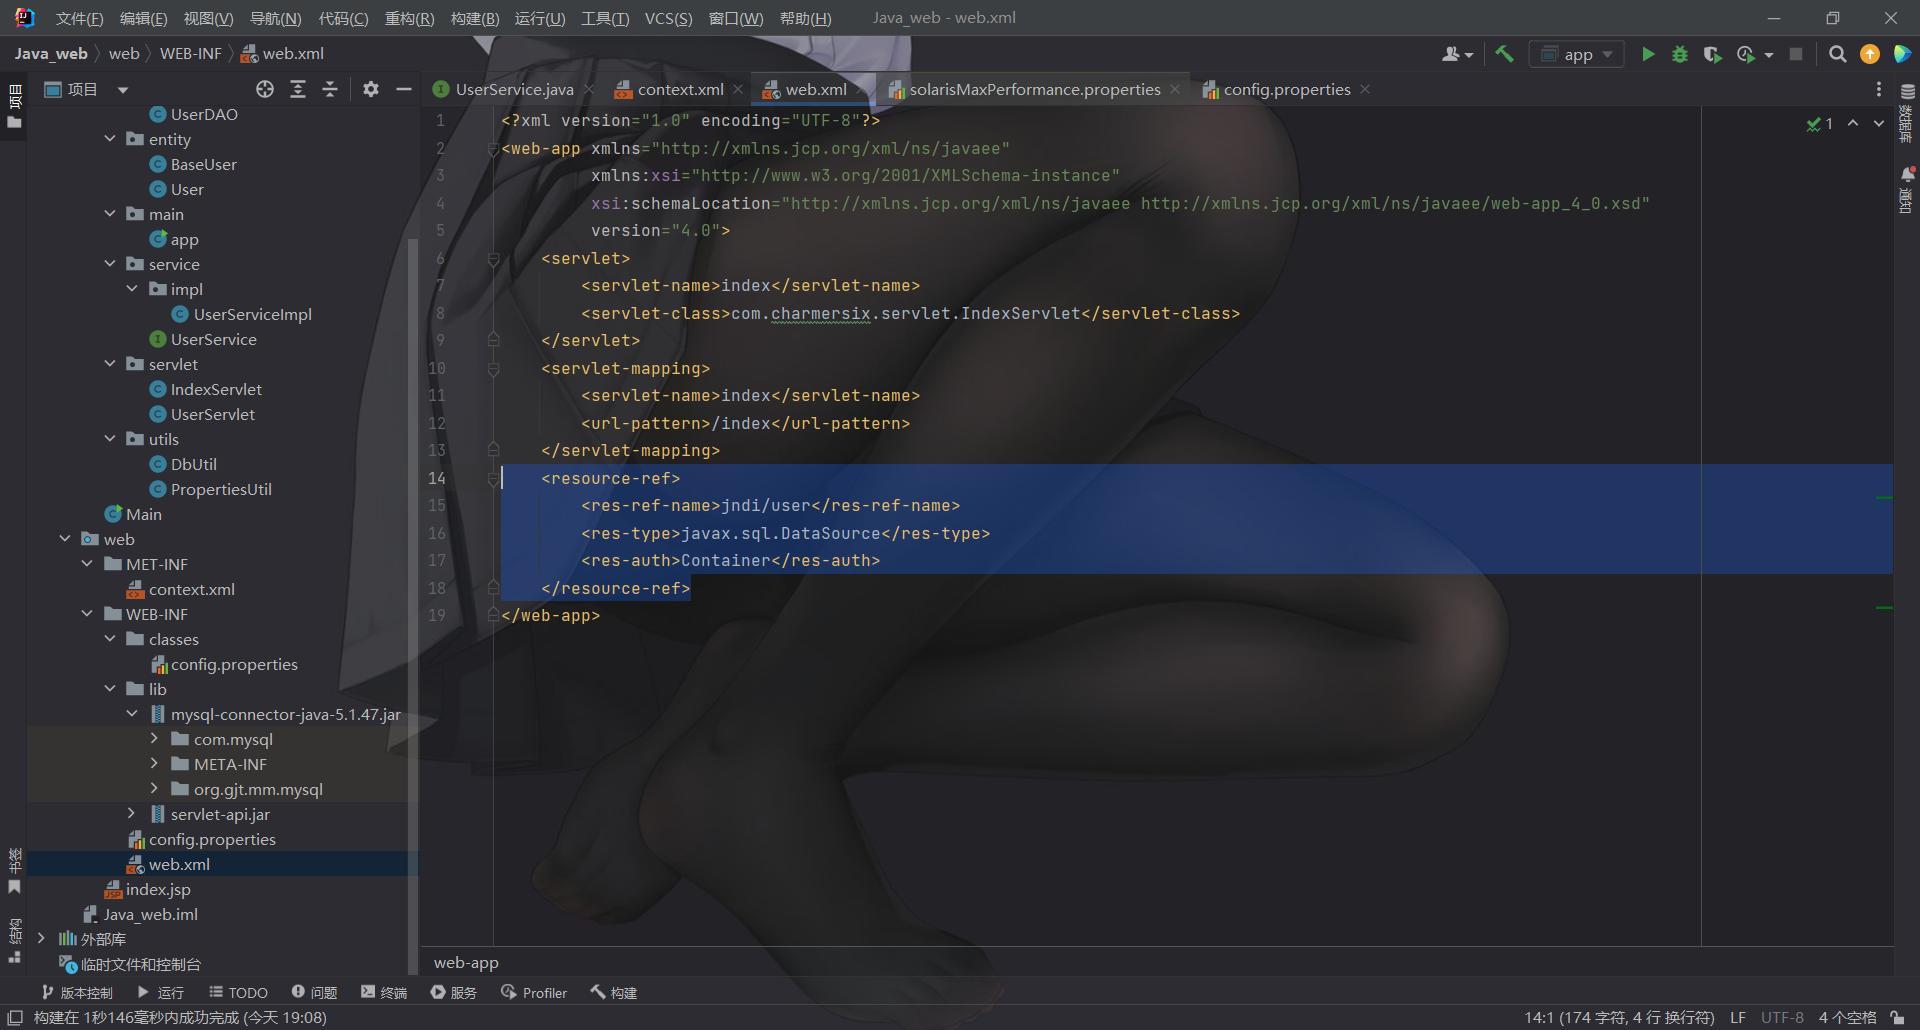
然后在web.xml中引入配置文件
1 2 3 4 5 <resource-ref > <res-ref-name > jndi/user</res-ref-name > <res-type > javax.sql.DataSource</res-type > <res-auth > Container</res-auth > </resource-ref >
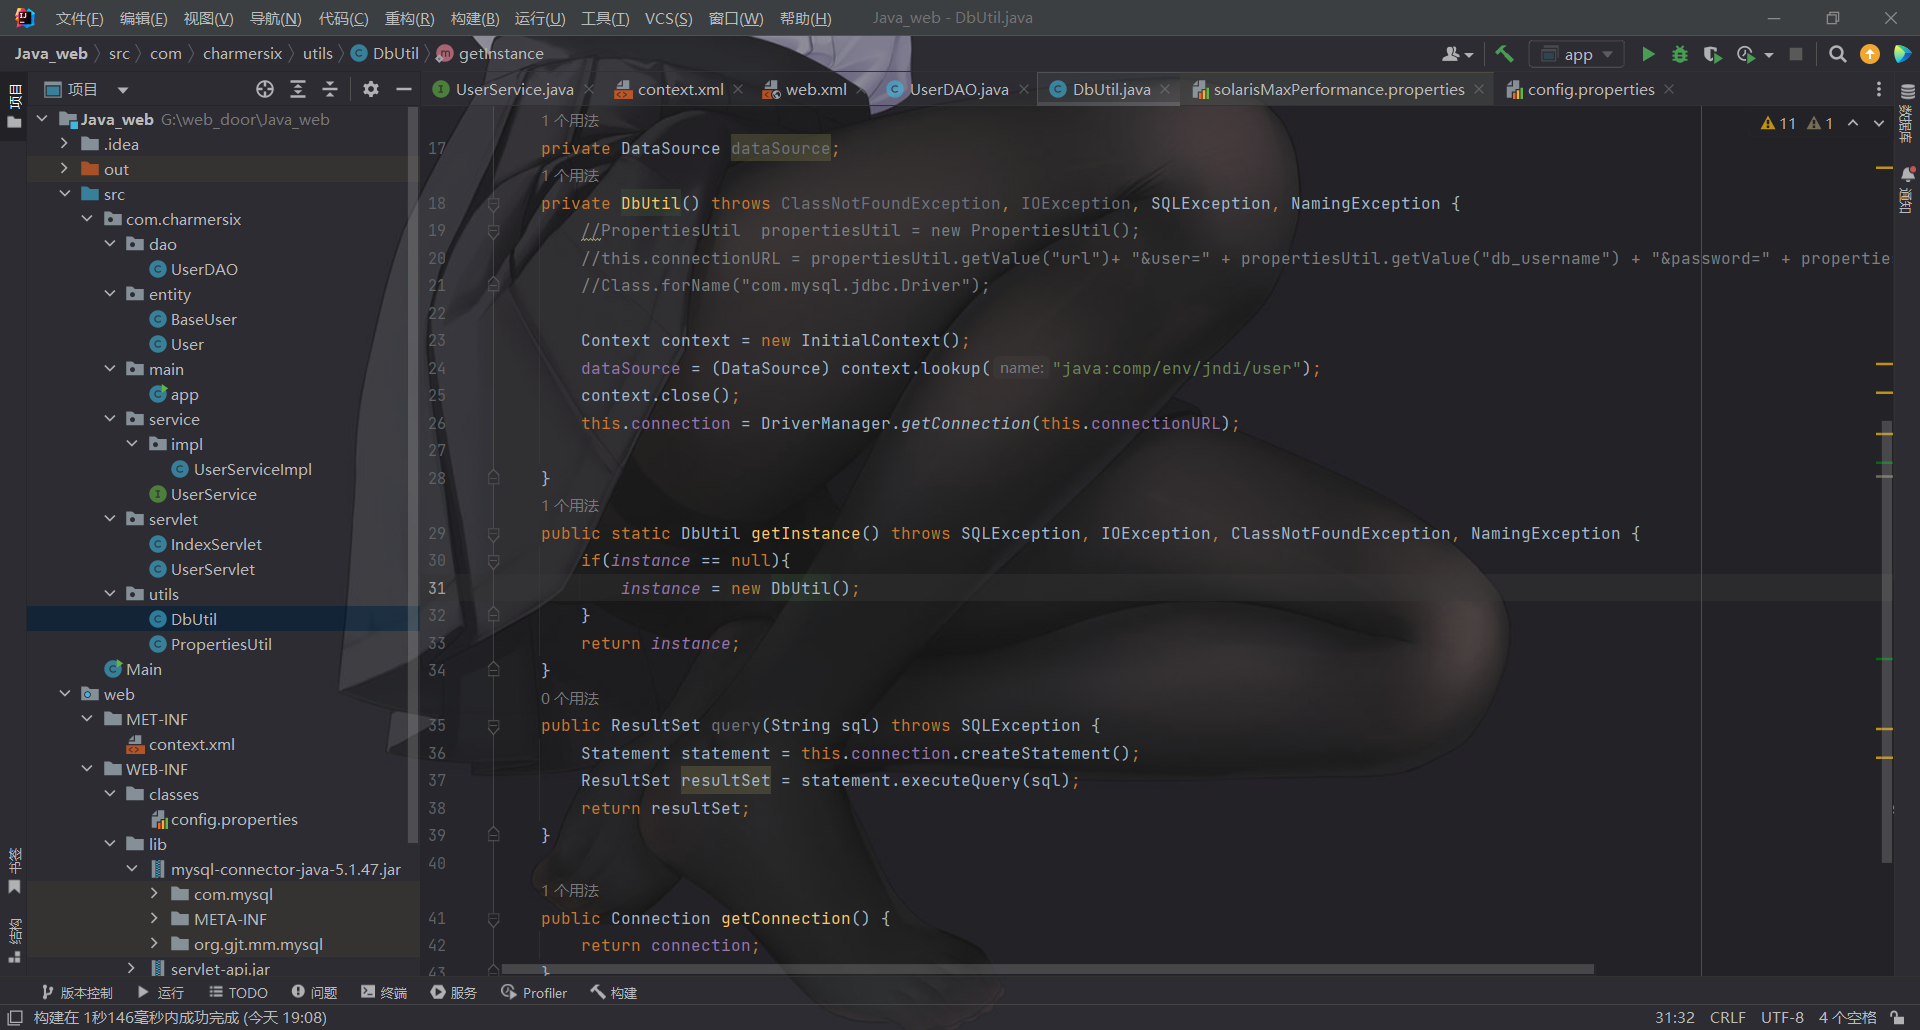
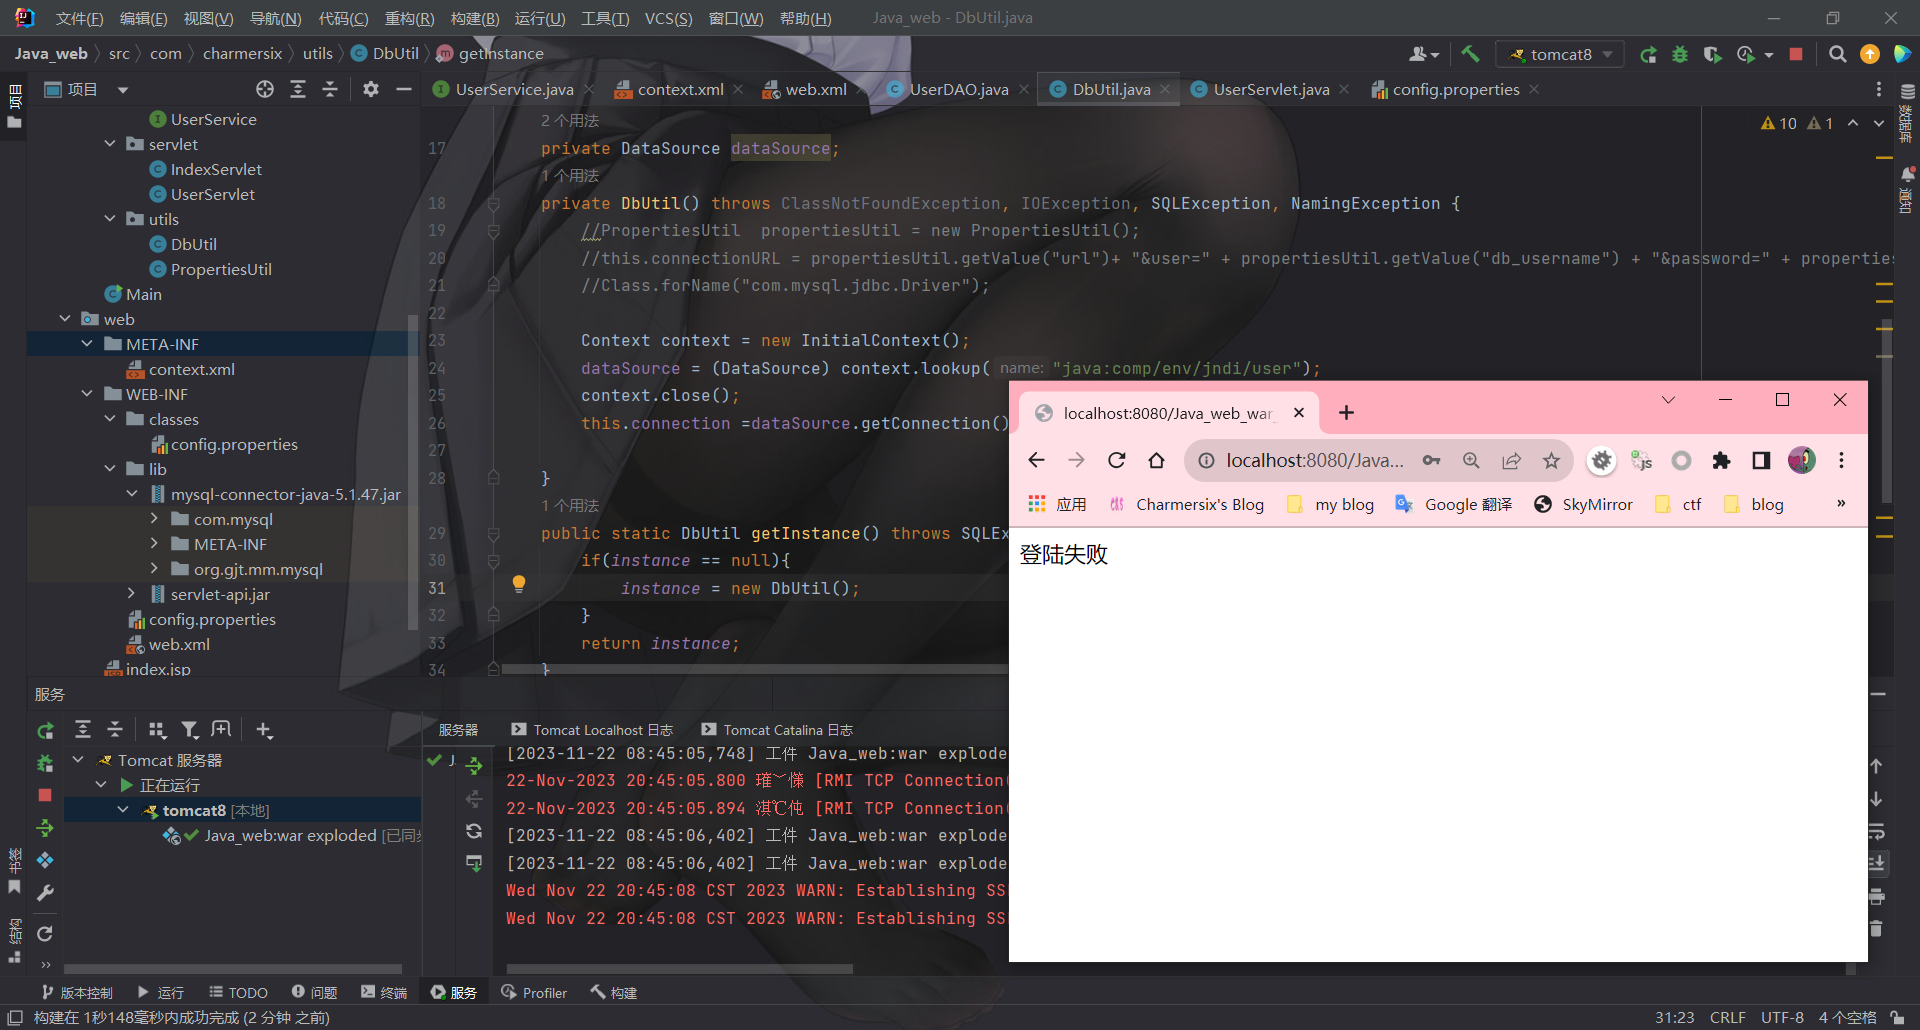
接下来修改DAO层, 修改DbUtil
1
2
3
4
5
6
7
8
9
10
11
12
13
14
15
16
17
18
19
20
21
22
23
24
25
26
27
28
29
30
31
32
33
34
35
36
37
38
39
40
41
42
43
44
package com.charmersix.utils;import com.mysql.jdbc.Driver;import javax.naming.Context;import javax.naming.InitialContext;import javax.naming.NamingException;import javax.sql.DataSource;import java.io.IOException;import java.sql.*;public class DbUtil { private static DbUtil instance; private String connectionURL="" ; private Connection connection; private DataSource dataSource; private DbUtil () throws ClassNotFoundException, IOException, SQLException, NamingException { Context context = new InitialContext (); dataSource = (DataSource) context.lookup("java:comp/env/jndi/user" ); context.close(); this .connection =dataSource.getConnection(); } public static DbUtil getInstance () throws SQLException, IOException, ClassNotFoundException, NamingException { if (instance == null ){ instance = new DbUtil (); } return instance; } public ResultSet query (String sql) throws SQLException { Statement statement = this .connection.createStatement(); ResultSet resultSet = statement.executeQuery(sql); return resultSet; } public Connection getConnection () { return connection; } }
Java的RMI机制 RMI分为三大部分: server client registry
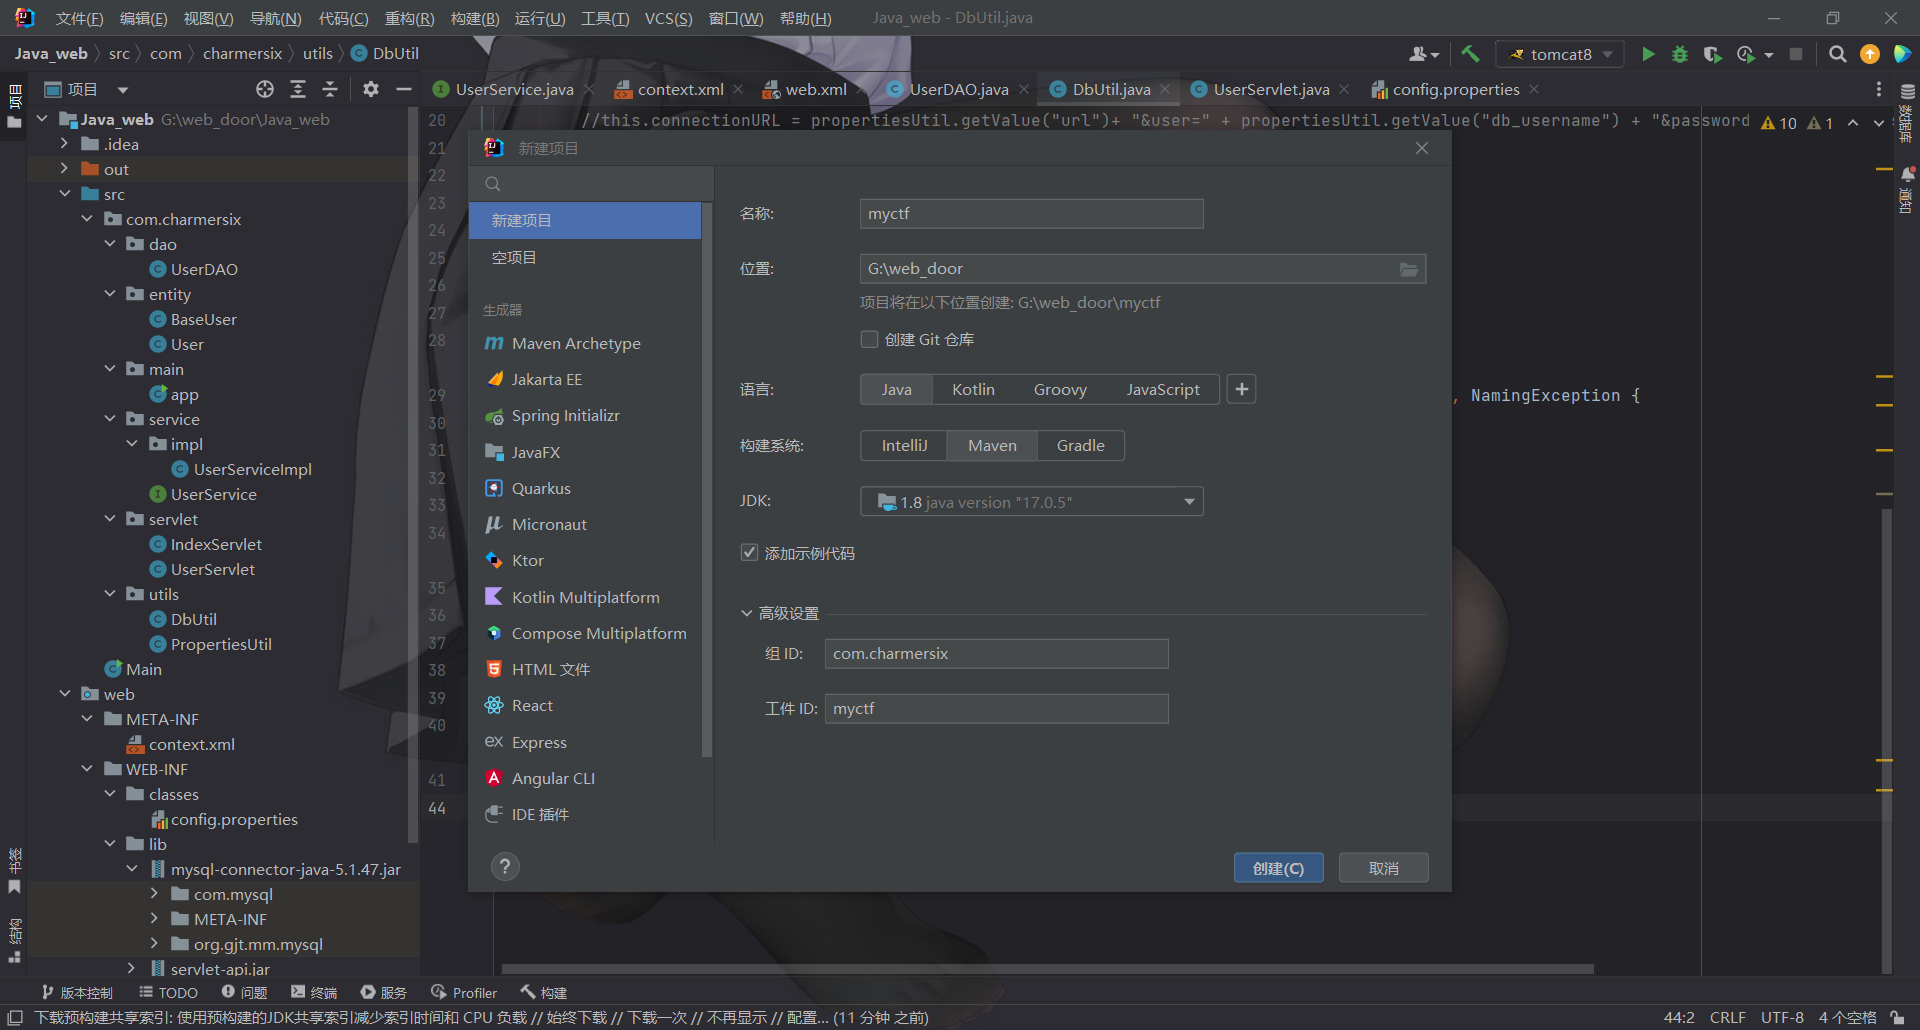
Server: 提供远程的duix Client: 调用远程的对象 Registry: 一个注册表, 存放着远程对象的位置(IP/端口/标识符) 这里我们新建一个项目感受一下RMI
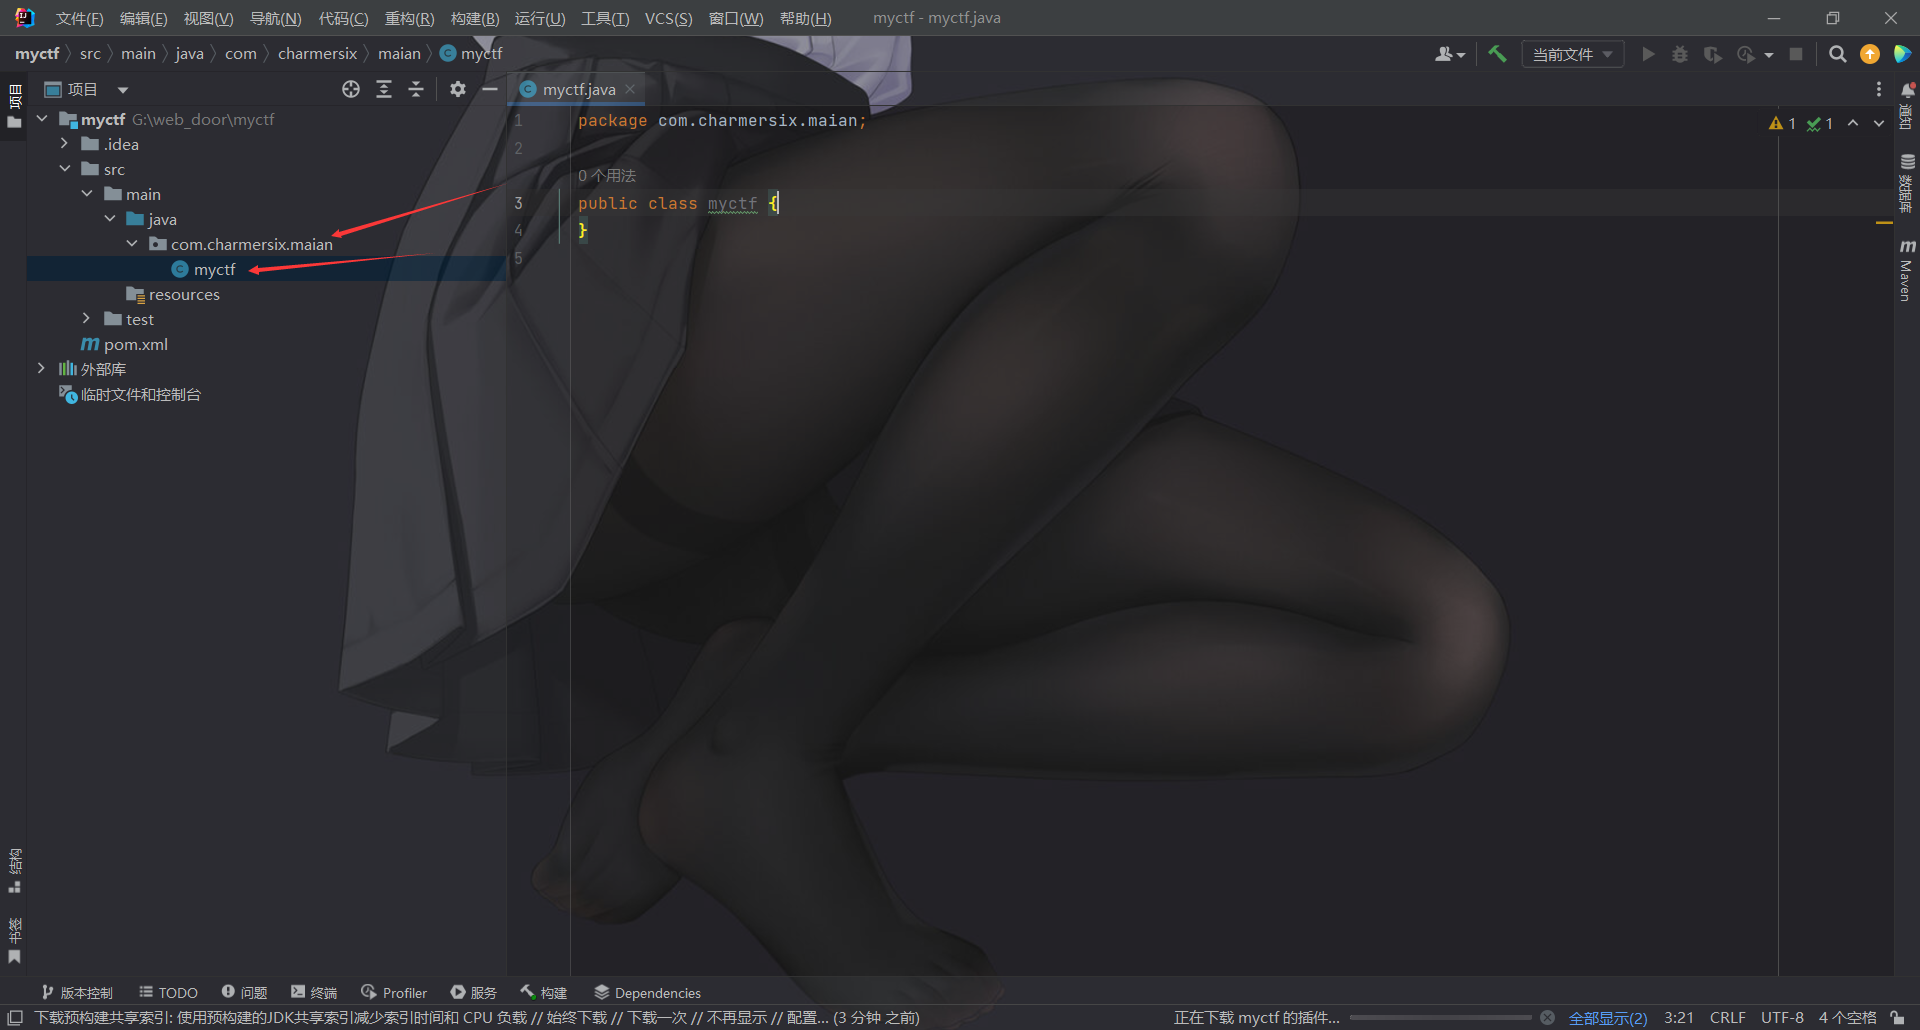
然后新建一个main包->myctf类
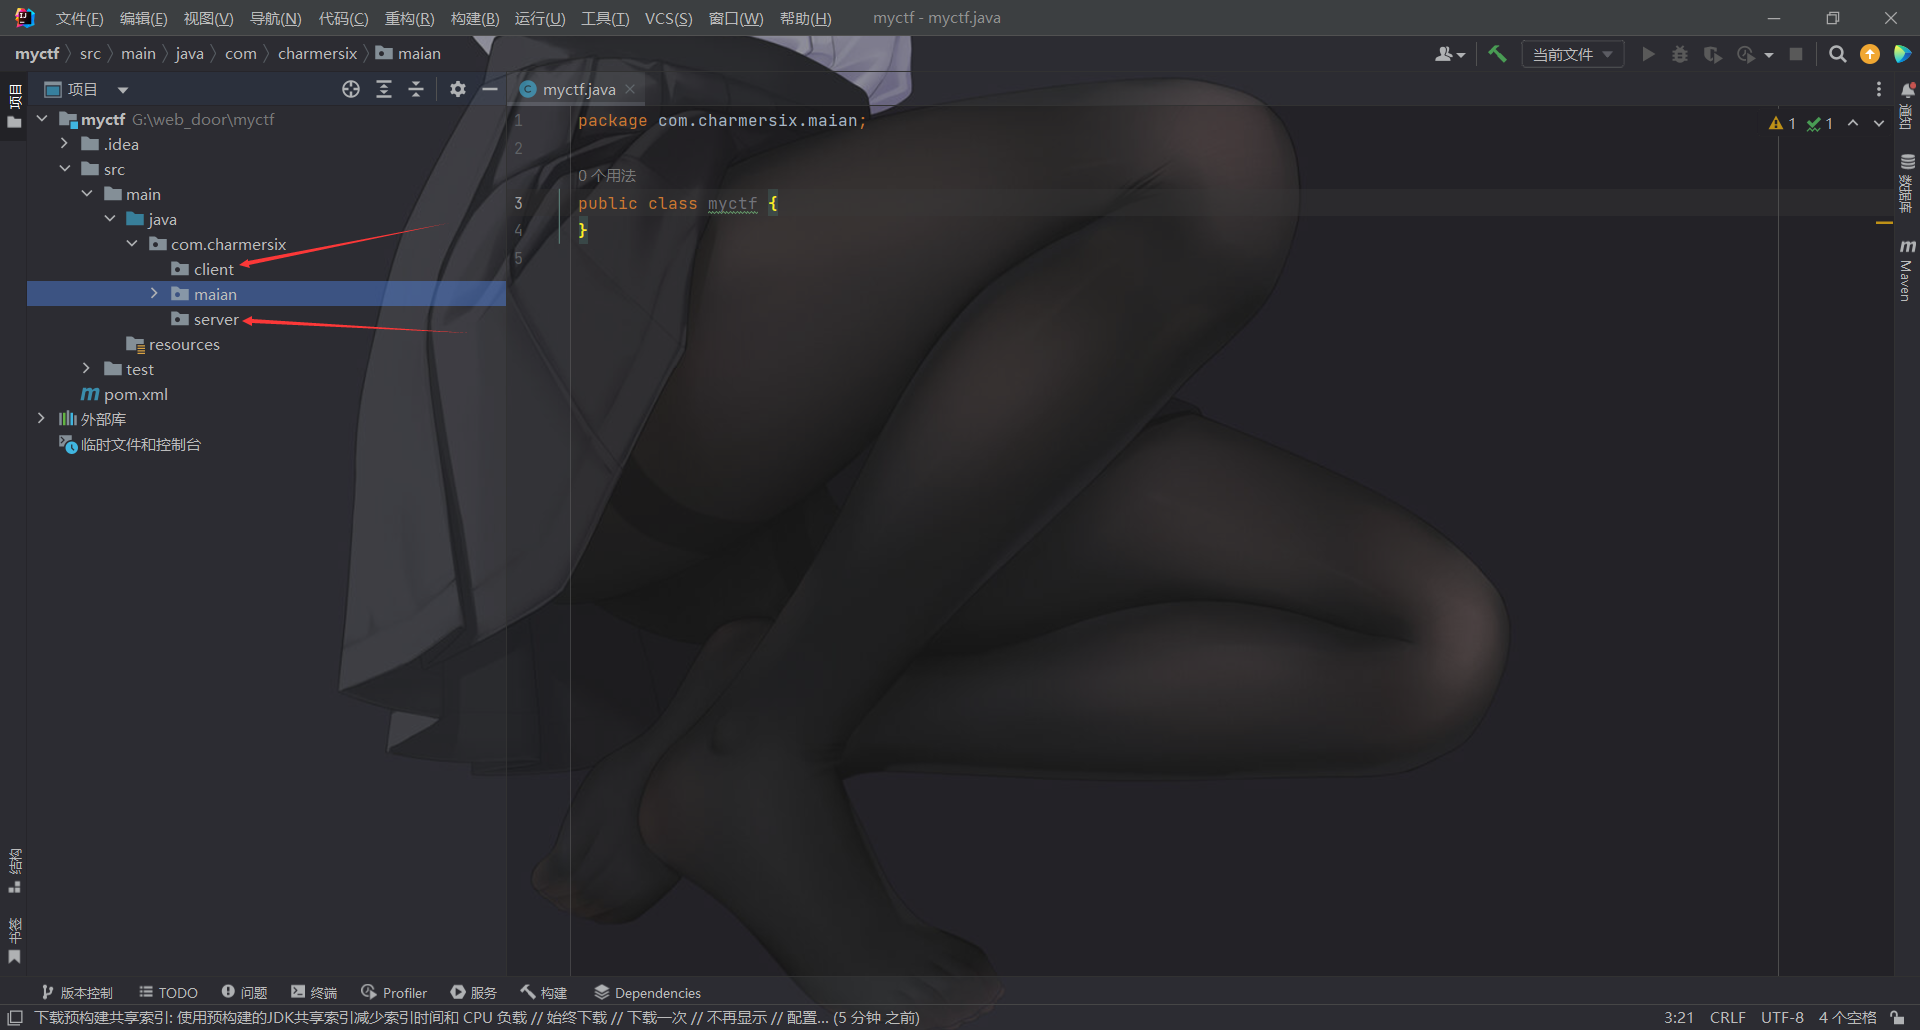
接着分别新建客户端和服务端两个包
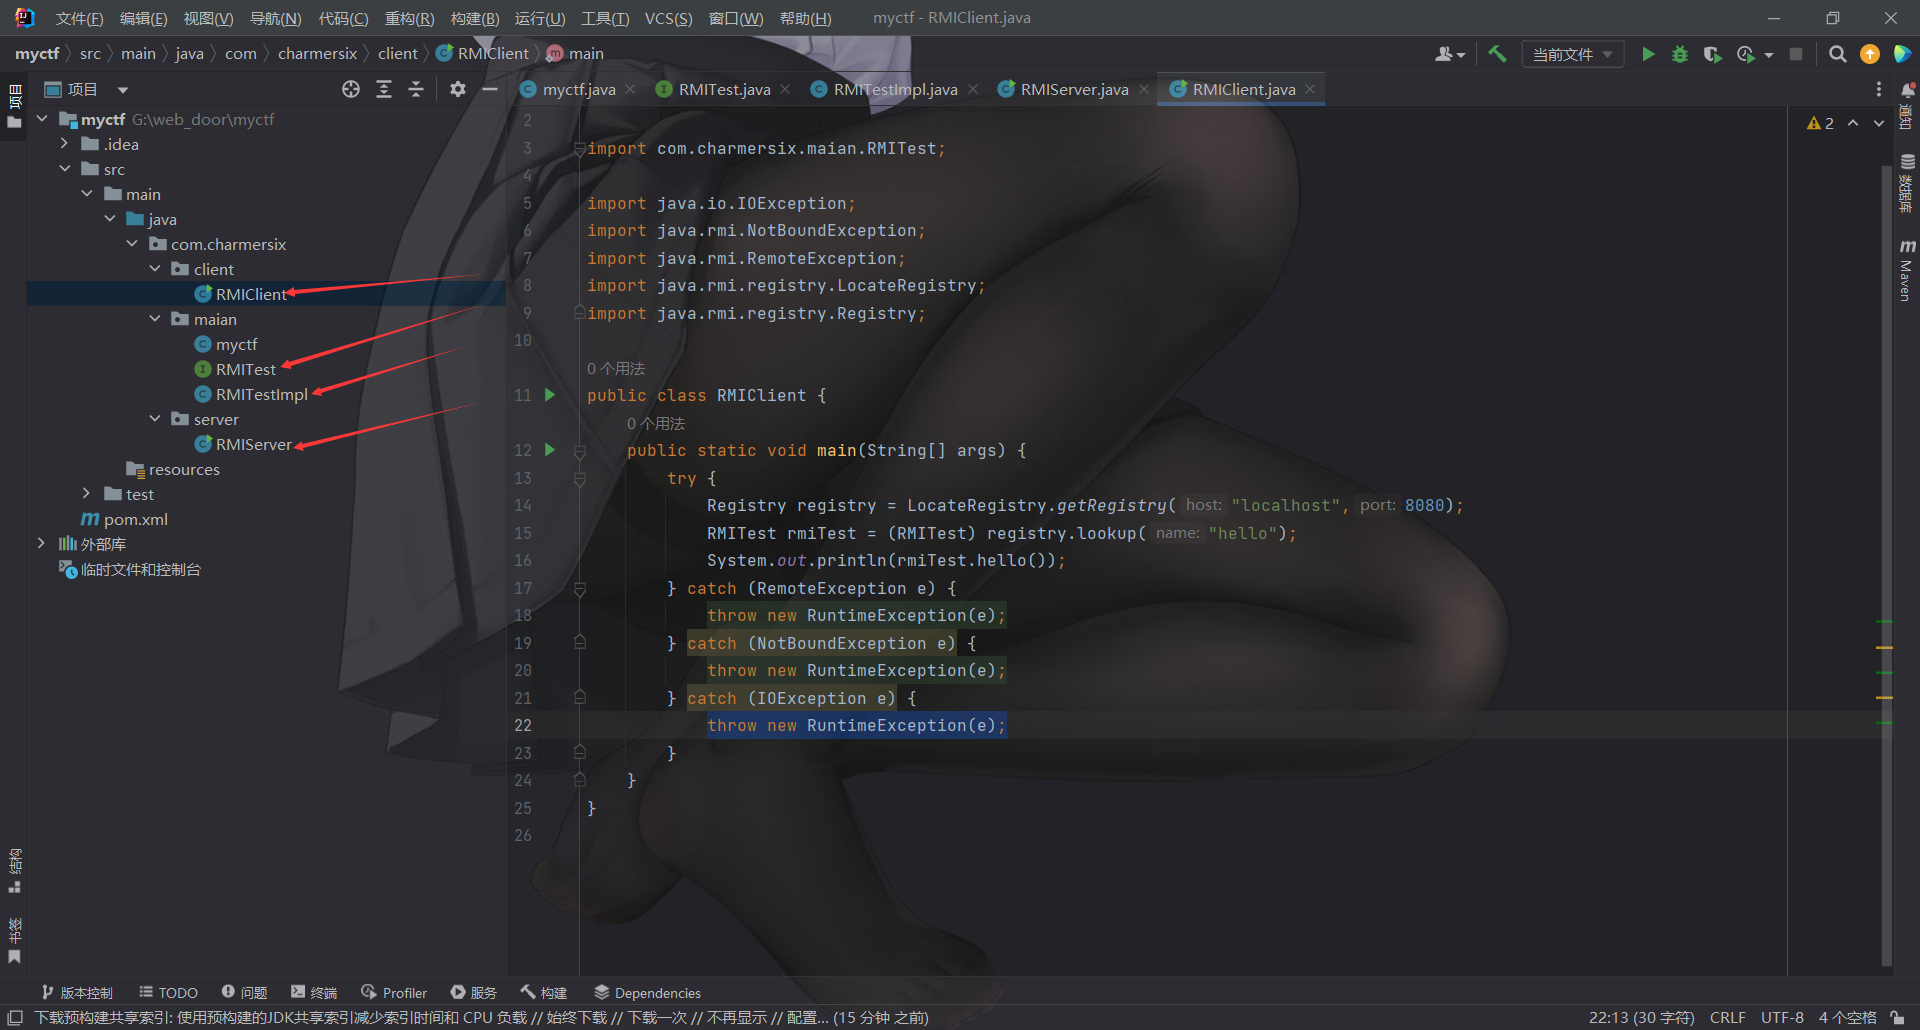
然后编写三个包中的类分贝是恶意类, 实现恶意类, 客户端, 服务端
RMITest
1
2
3
4
5
6
7
8
9
package com.charmersix.maian;import java.io.IOException;import java.rmi.Remote;public interface RMITest extends Remote { public String hello () throws IOException; }
RMITestImpl
1
2
3
4
5
6
7
8
9
10
11
12
13
package com.charmersix.maian;import java.io.IOException;import java.io.Serializable;public class RMITestImpl implements RMITest , Serializable { @Override public String hello () throws IOException { System.out.println("hello method is RMITestImpl class is called" ); Runtime.getRuntime().exec("calc" ); return "hello world" ; } }
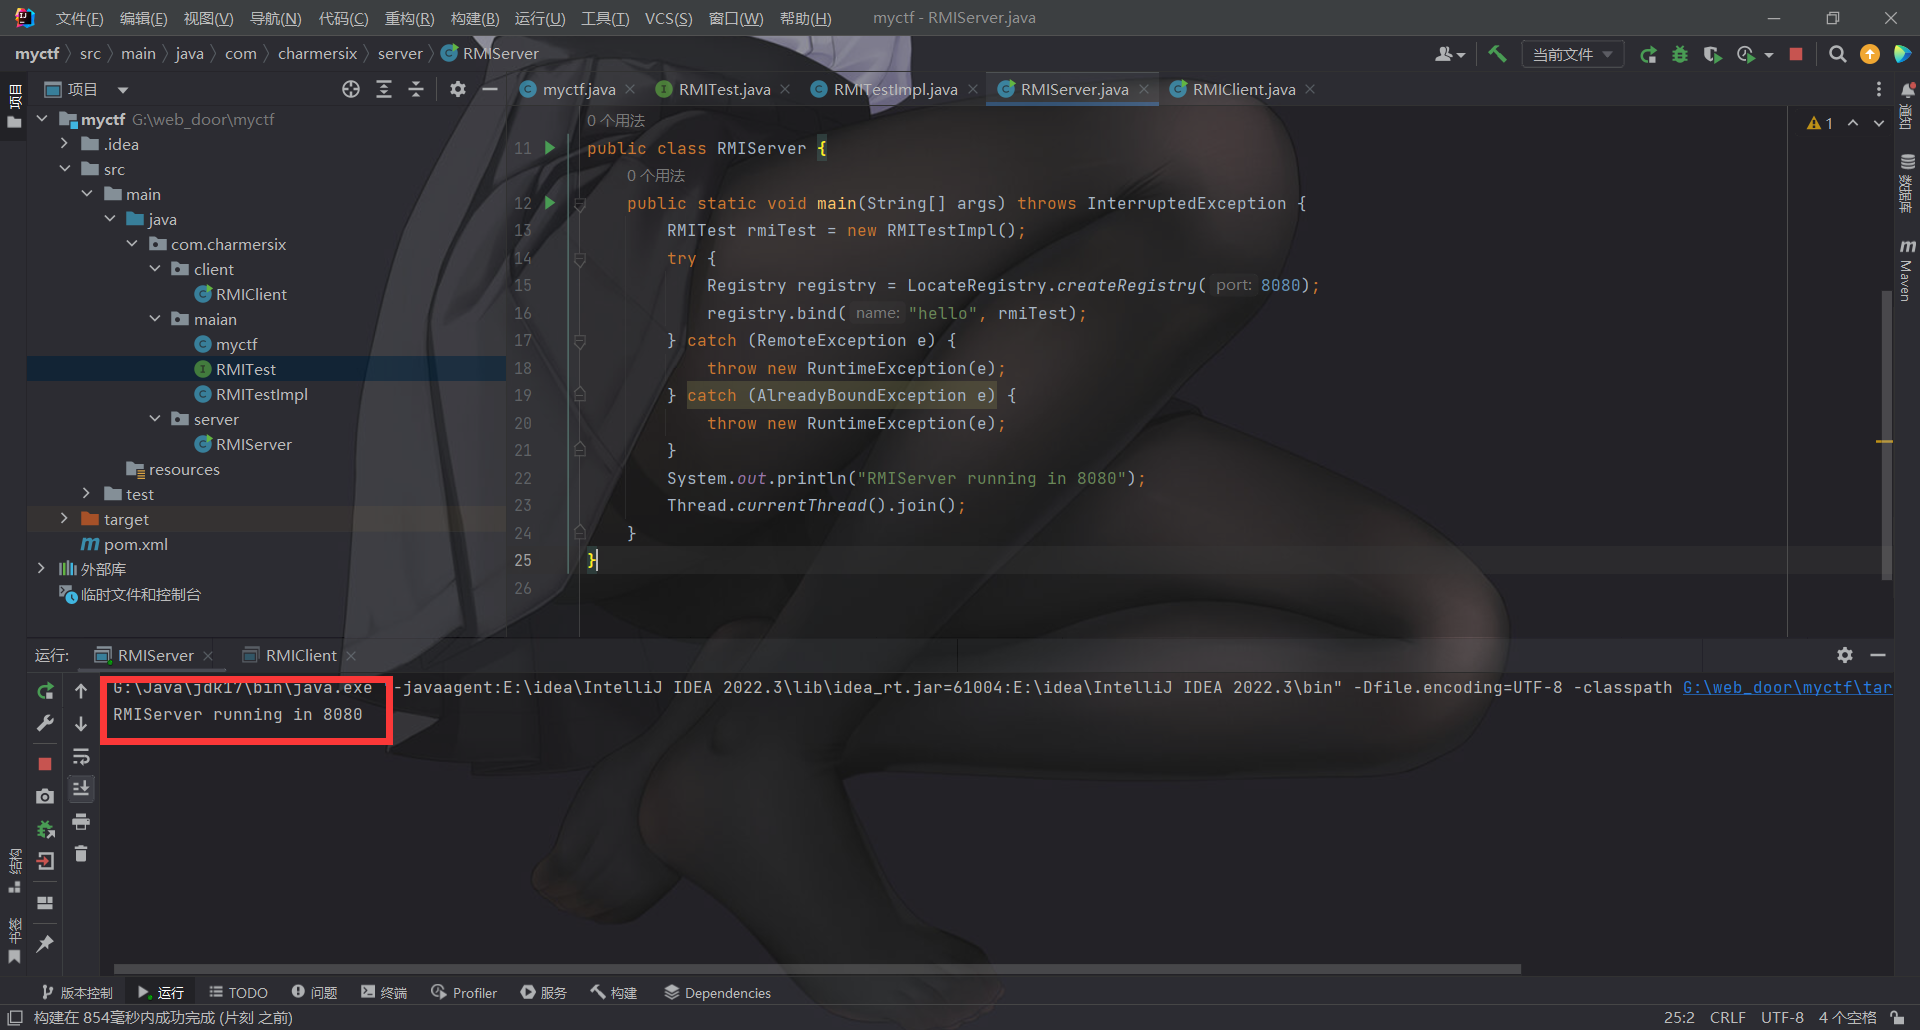
RMIServer
1
2
3
4
5
6
7
8
9
10
11
12
13
14
15
16
17
18
19
20
21
22
23
24
25
package com.charmersix.server;import com.charmersix.maian.RMITest;import com.charmersix.maian.RMITestImpl;import java.rmi.AlreadyBoundException;import java.rmi.RemoteException;import java.rmi.registry.LocateRegistry;import java.rmi.registry.Registry;public class RMIServer { public static void main (String[] args) throws InterruptedException { RMITest rmiTest = new RMITestImpl (); try { Registry registry = LocateRegistry.createRegistry(8080 ); registry.bind("hello" , rmiTest); } catch (RemoteException e) { throw new RuntimeException (e); } catch (AlreadyBoundException e) { throw new RuntimeException (e); } System.out.println("RMIServer running in 8080" ); Thread.currentThread().join(); } }
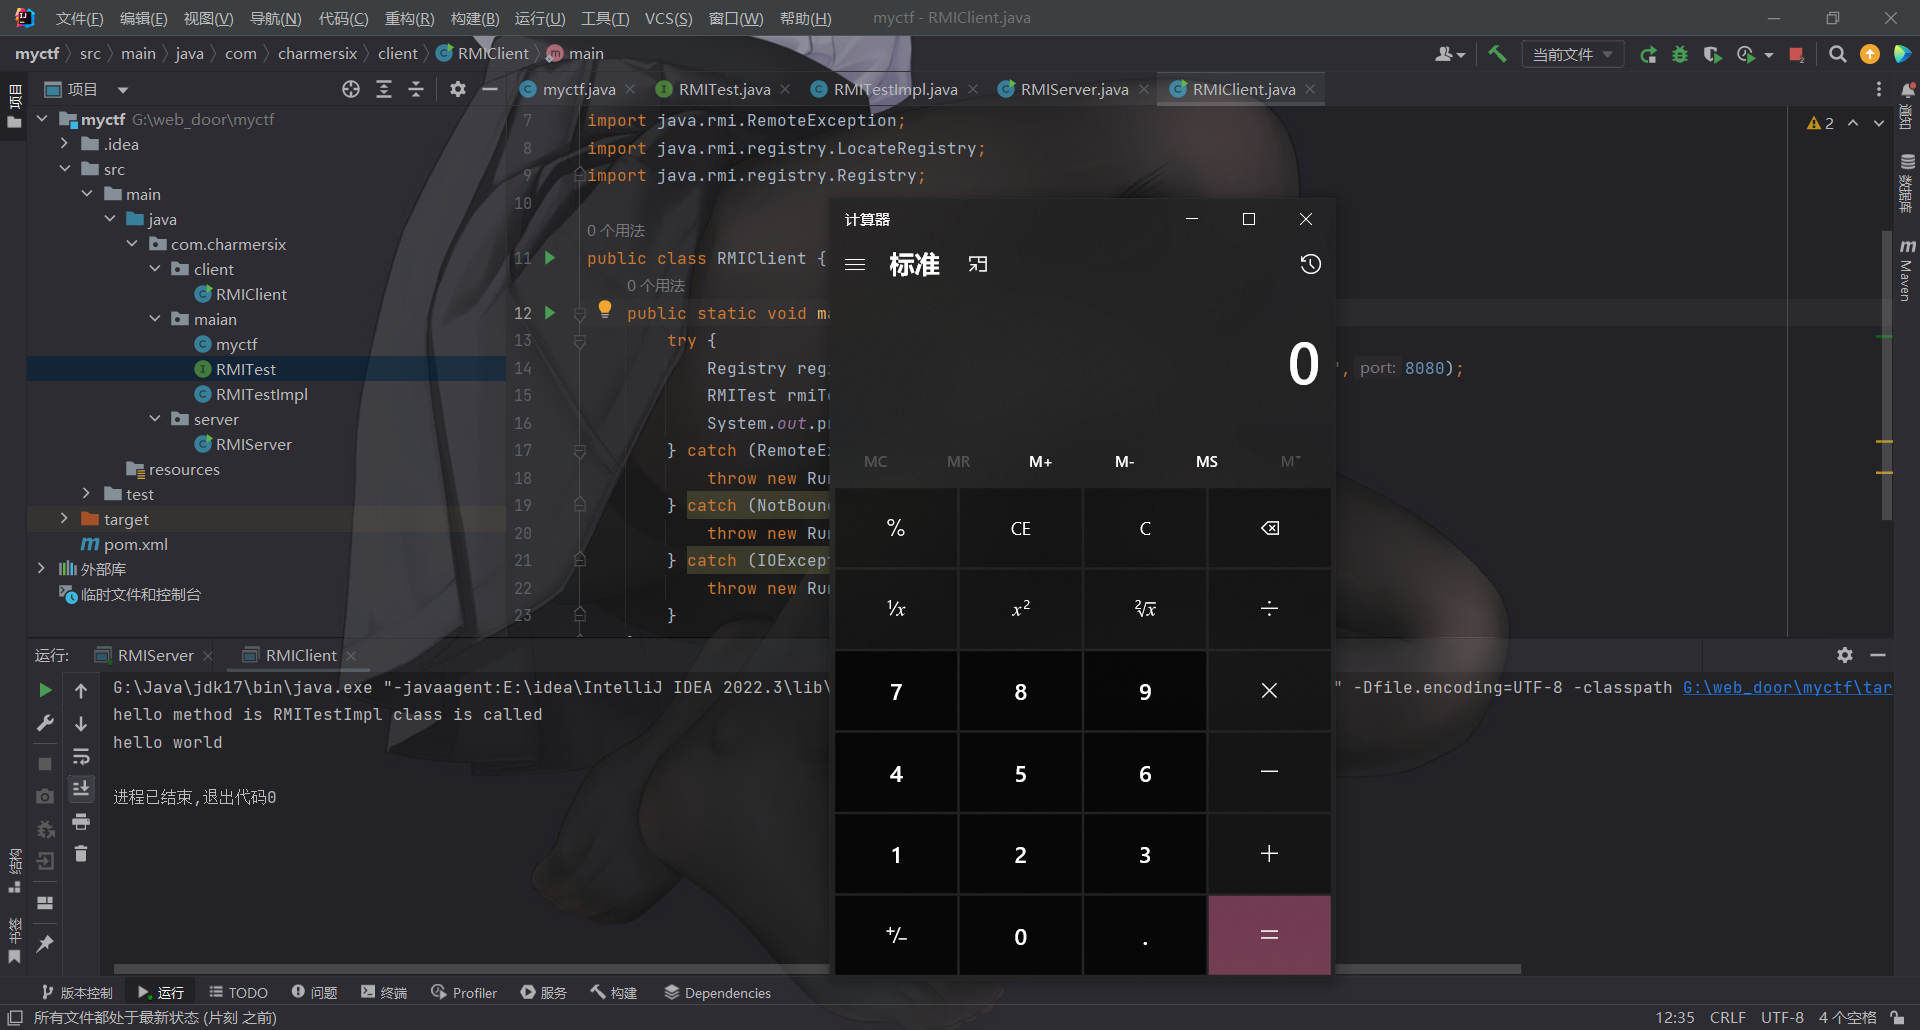
RMIClient
1
2
3
4
5
6
7
8
9
10
11
12
13
14
15
16
17
18
19
20
21
22
23
24
25
package com.charmersix.client;import com.charmersix.maian.RMITest;import java.io.IOException;import java.rmi.NotBoundException;import java.rmi.RemoteException;import java.rmi.registry.LocateRegistry;import java.rmi.registry.Registry;public class RMIClient { public static void main (String[] args) { try { Registry registry = LocateRegistry.getRegistry("localhost" ,8080 ); RMITest rmiTest = (RMITest) registry.lookup("hello" ); System.out.println(rmiTest.hello()); } catch (RemoteException e) { throw new RuntimeException (e); } catch (NotBoundException e) { throw new RuntimeException (e); } catch (IOException e) { throw new RuntimeException (e); } } }
然后我们首先执行服务端
再执行客户端
未完待续…